-
-
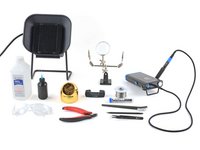
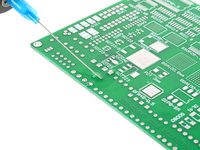
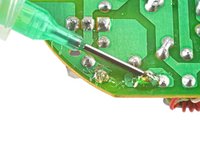
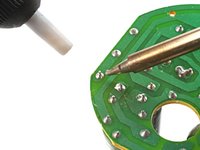
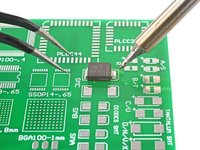
在这个步骤中使用的工具:Tack Flux SMD291 no clean 5cc ROHS$13.99
-
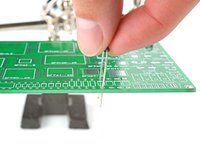
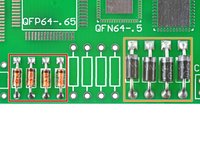
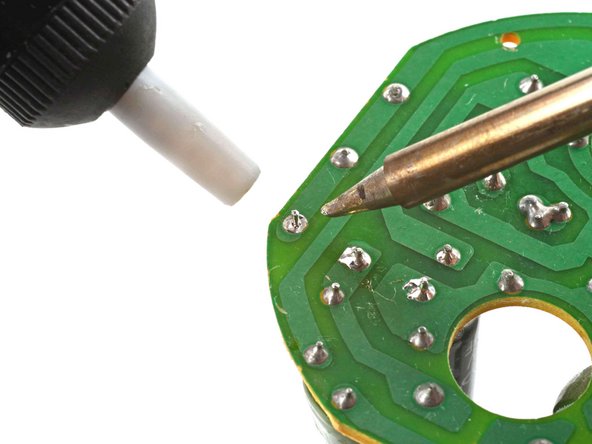
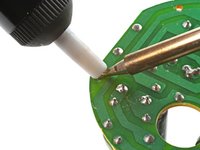
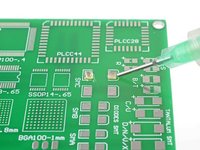
在焊点上涂抹一层助焊剂。
-
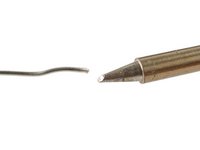
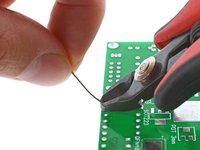
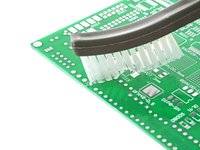
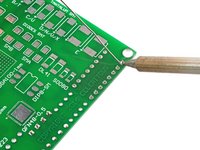
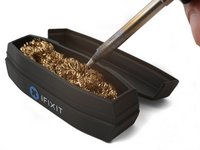
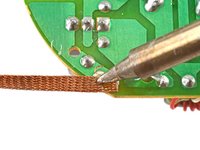
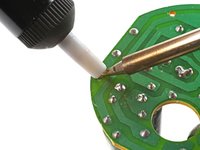
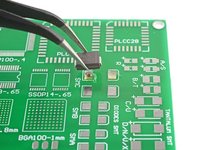
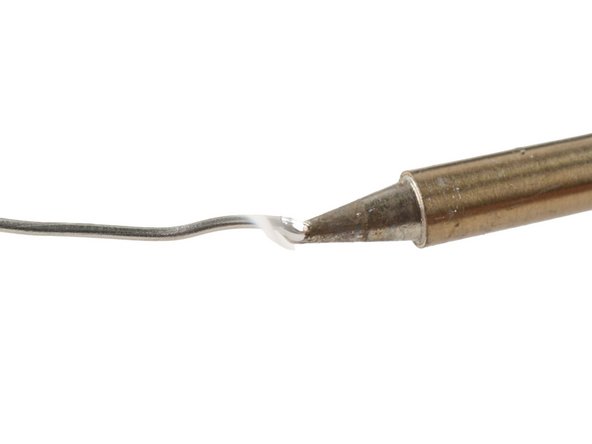
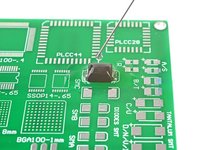
将吸锡线的干净部分放置在焊点的顶部。
-
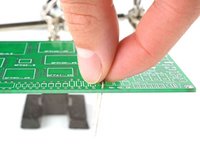
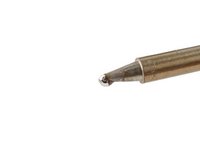
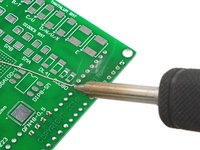
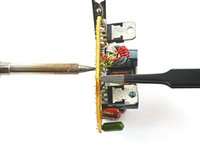
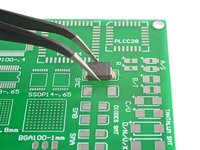
将烙铁头用力压在灯芯上 2-3 秒。您要将灯芯加热到足够的温度,以便熔化其下方的焊料。
-
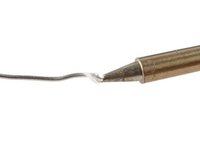
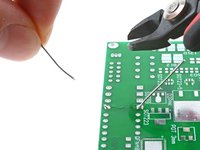
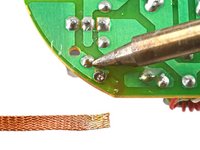
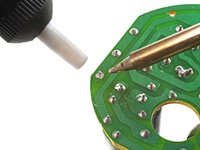
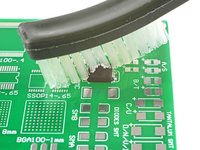
当焊料浸透芯线时,滑动芯线,使新的部分接触接头。当芯线的颜色从铜色变为银色时,您就知道它已经浸透了。
-
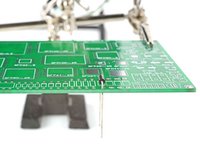
一旦大部分焊料浸透到灯芯中,就将灯芯和焊嘴一起从接头处提起。
-
-
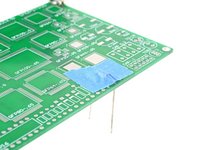
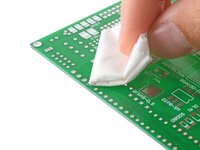
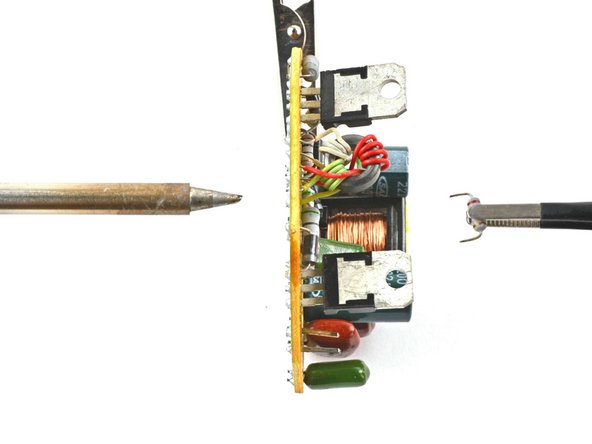
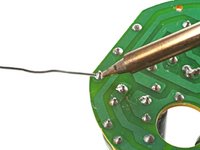
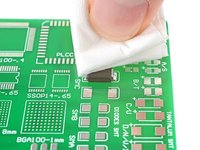
在这个步骤中使用的工具:Polyimide Tape$9.99
-
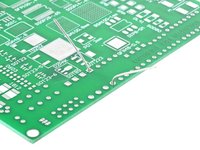
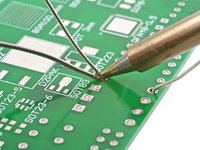
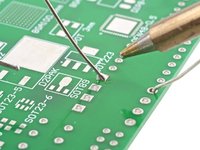
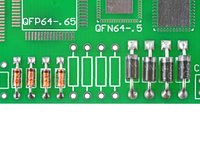
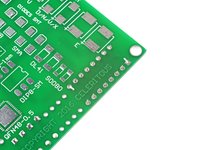
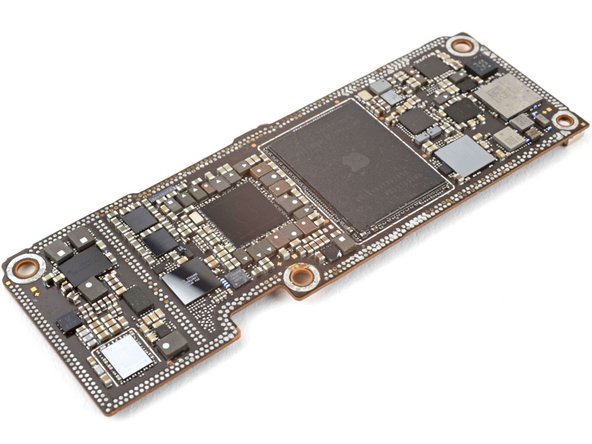
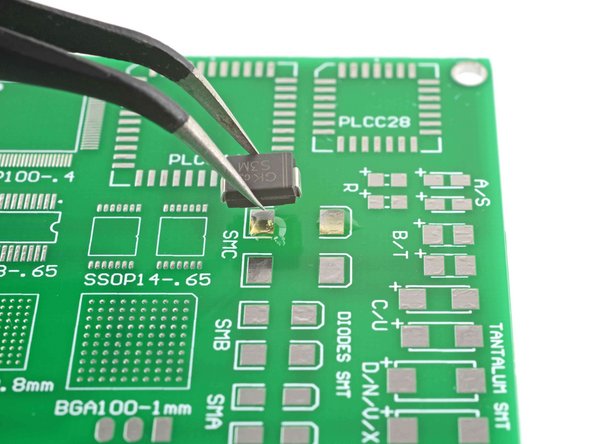
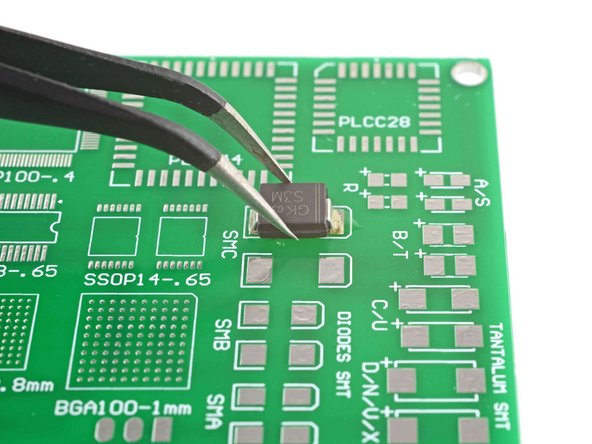
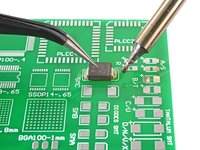
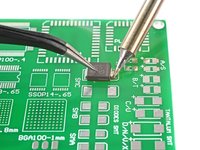
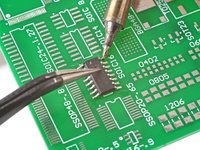
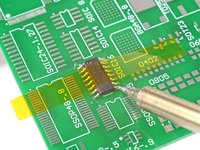
将组件固定到位并焊接角引线以将其固定到位。
-
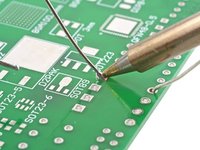
或者,您可以使用 聚酰亚胺胶带 将组件固定到电路板上,然后焊接角引线。
-


恭喜您完成了这本焊接入门指南!您向掌握一门宝贵的多用途技能迈出了第一步。有了这些基础知识,您就可以胜任各种电子项目和维修工作了。请记住,熟能生巧,所以不要犹豫去尝试和改进你的技术。
有关焊接的更多信息,请访问单击此处。
485等其他人完成本指南。


团队

36指南评论
TIP: Another method which works well for clearing solder from holes (especially on repairs like AC Jacks on laptops) is to use compressed air to clear melted solder from holes. A quick blast with a duster can works well (I have even used a drink straw in a pinch and blown out with a blast of air from mouth). Heat the solder until it liquefies, put the duster straw right above the solder and quickly hit the melted solder with an air blast to instantly clear the hole of solder. This works well on very small holes as melted solder does not always push out cleanly with metal tools. You have to be quick with the air blast because the solder re-hardens rapidly.
just be careful doing this lol, flying molten solder can and will burn you or other components.
Logixal -
Flying solder might also get into places you don't want it. Making shorts and other unwanted connections of which you don't know where they are, so it can give you a very hard time finding them.
This is not IPC standards but for the ghetto approach, it will get the job done. I solder in manufacture settings, run my own shop. This is wrong to a degree but will do. If ifixit would like tips from ILLFIXIT then your more then welcome!
Tony Stark - 回复