
iPhone 14 Pro Max Taptic Engine 更换

简介
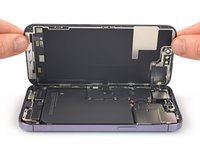
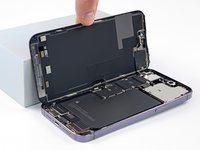
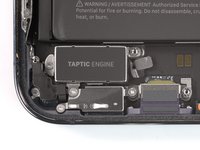
转到步骤 1Taptic Engine负责 iPhone 的振动和触觉反馈功能。 使用本指南移除和更换 iPhone 14 Pro Max 的 Taptic Engine。
本指南使用的是A2894(国际通用型)型号。 如果你修复的是不同的 iPhone 14 Pro Max 型号,你的手机可能看起来会有些不同,但过程应该是相同的。
为了安全考虑,在拆机之前请先将电池电量消耗至25%以下。 这样可降低在维修过程中电池意外损坏而发生的危险。如果你的电池膨胀突起,请采取适当的措施.
在重新组装设备时,你需要更换粘合剂来重新连接电池和屏幕。你的设备将正常运行,但很可能会失去外壳IP(侵入保护)防护。
你所需要的
配件


工具


查看更多...
-
-
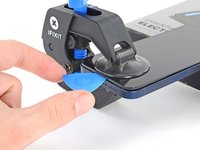
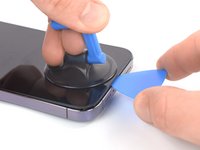
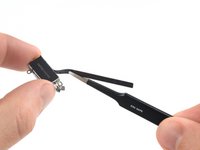
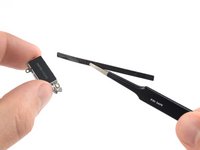
从尖端测量 3 毫米,并用永久性记号笔标记三角撬片。
Got to step 2 and realized the fix kit doesn't include an opening pick! Looks like a guitar pick, and I have those lying around. Is that expected? Looks like the pick is used in many steps below. There's a little blue crowbar that isn't mentioned in the instructions. Perhaps that replaces the opening pick?
Hi! I can't see which guide you were using when writing this comment. Can you reply here with which guide and fix kit you used?
I see you posted this in Meta. I hope it's resolved soon! In the meantime, a guitar pick may work well enough for your repair.
what fix kit?
My fix kit didn't include an opening pick either
My AliExpress refurbished screen came with a pick that has a coin-like circle that pops out, so no modification was necessary
It's not an Ifixit KIT if it doesn't include everything. You'll need to order the opening pic separately. Or head to Walmart like myself and look for guitar pics. Hopefully, this will work just as well.
No pick in mine as well. It’s really not clear that you have to order this separately when ordering an IPhone SE 202/2022 screen repair kit. Is this the case?
Frustrated, I ordered a compact package where everything was encapsulated. Useless suction tools could not separate the screen. If it is unable to decouple the screen, then why sucking suction tools you have provided.
For my kit the triangle pick was stuck inside the box with the screen not with the other tools maybe it's also there for you
Y’all are getting far, FAR too detailed with some of this stuff…. Measuring and marking the pick that you won’t actually use to open the device?!? lol that’s kinda funny. Just heat it up, grab a spudger, and the back just pops right off! The iFixit tech need to stick to the KISS method more often, you know KEEP IT SIMPLE STUPID!!! Like l, for reals, I’ve been doing this stuff for YEARS and using iFixit guides regularly and this is just ridiculous at this point!
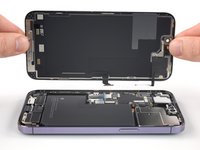
Will the phone still work if the sensor assembly on the back of the screen is damaged?
-
-
-
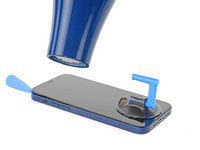
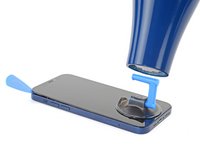
将重叠的透明包装胶带条黏在 iPhone 的后玻璃上,直到覆盖整个手机后部。
-
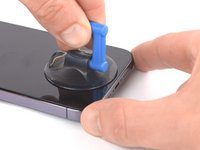
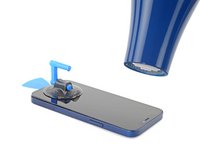
如果在接下来的几个步骤中无法让吸盘粘在手机上,请将强力胶带(折叠到把手中,然后用它提起后玻璃。
-
-
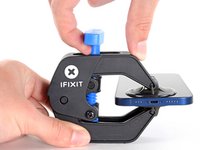
在这个步骤中使用的工具:Clampy - Anti-Clamp$24.95
-
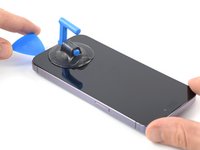
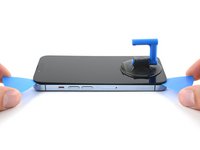
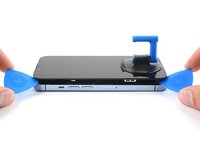
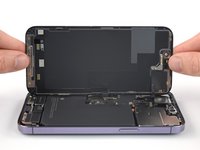
将蓝色手柄拉向铰链以解除开启模式。
-
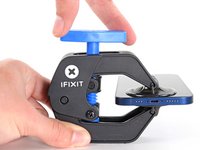
将反向钳手臂滑过 iPhone 的左边缘或右边缘。
-
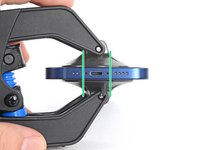
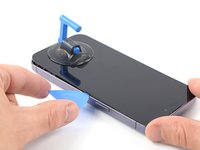
将吸盘放在靠近 iPhone 底部边缘的位置——一个在正面,一个在背面。
-
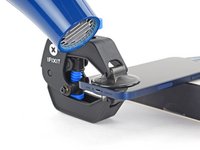
向下推吸盘以将吸力施加到所需区域。
-
-
-
You will need to replace the entire module connected via the damaged ribbon cable, or worse, buying an entirely new screen.
-
在这个步骤中使用的工具:Magnetic Project Mat$19.95
-
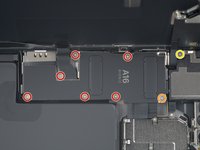
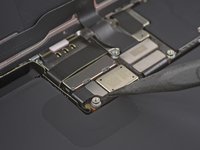
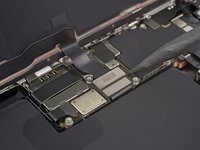
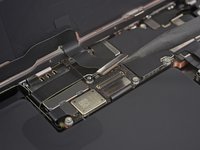
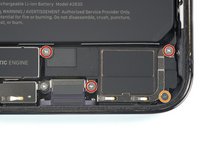
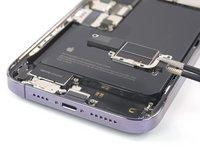
使用 Y000 螺丝刀卸下固定电池连接器盖的八颗螺钉:
-
六颗 1.3 毫米长的螺丝
-
一颗 1.6 毫米长的螺丝
-
一颗 1.9 毫米长的螺丝
You need to correct the guide. Are five 1.3mm-long screws two 1.6mm-long screws and one 1.9mm-long screw.
second 1.6mm-long screw sit a third one counting from left on right side of lcd flex cable
There is a second 1.6 mm-long screw that is placed on the lower standoff screw. The top left (third total from left) is slightly longer to accommodate the standoff screw. Placing this in the wrong spot will cause long screw damage.
The two previous commenters are correct, probably change to notate the two 1.6mm screws.
Nice job, guys!
Matt Lison - 回复
-
-
在这个步骤中使用的工具:Standoff Screwdriver for iPhones$5.49
-
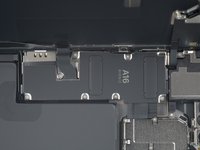
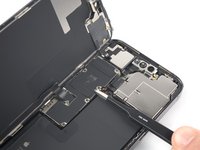
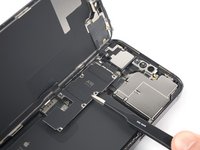
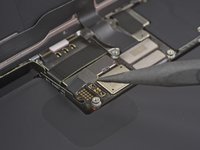
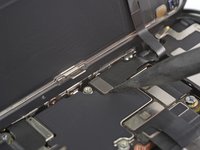
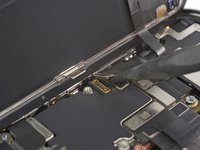
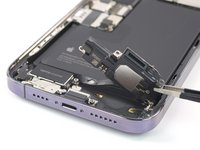
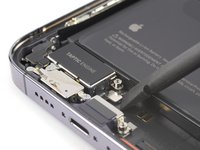
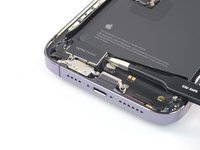
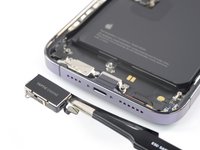
用菲利普螺丝刀取下固定Taptic Engine的两个螺丝:
-
一个1.8毫米长的螺丝
-
一个2.3毫米长的螺丝
-
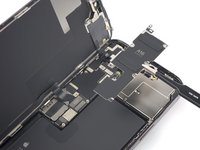
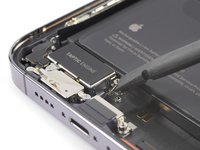
使用支架螺丝刀卸下固定 Taptic Engine 的 2.9 毫米支架螺丝。
-


2等其他人完成本指南。


2条评论
Dominik, this is one of the best guides I've seen on the Taptic Engine replacement! I was looking on YouTube as well but many of the videos were not as in-detail as this guide. A big thank you! wordle solver