简介
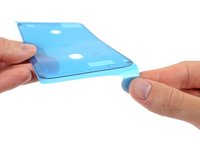
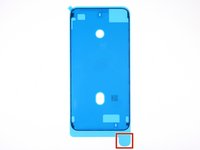
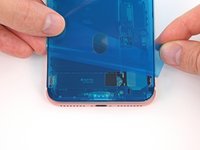
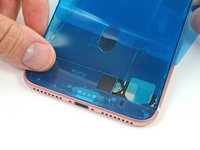
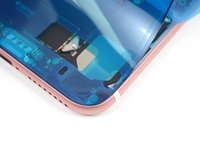
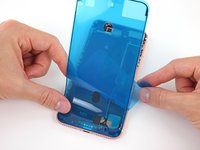
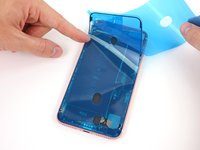
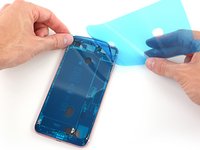
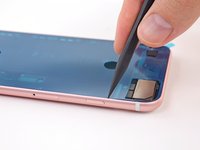
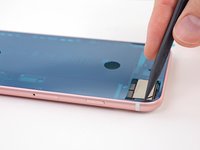
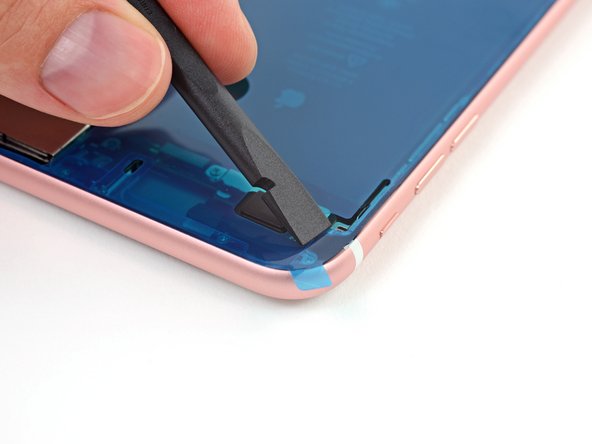
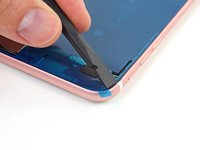
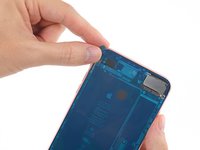
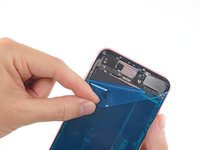
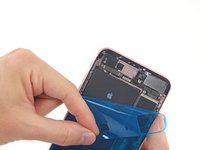
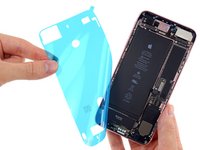
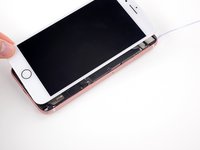
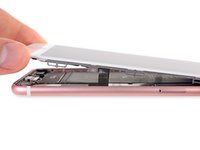
在维修过后,参考本指南将粘合胶贴合到您的iPhone显示屏边框下方的正确的位置。更换新的粘合胶可以保持您的iPhone防水功能。预先切割好的粘合胶比较脆弱,如果没有正确贴合很容易导致损坏而使其不能继续使用,因此若是您首次参考本指南操作的话最好备用一些粘合胶。
请确保你购买的粘合胶与你的显示屏颜色相匹配使之看起来完好如初。
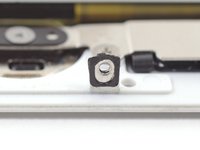
本步骤可应用到诸如 iPhone6s及以后的手机。(先前的型号不需要使用显示屏粘合胶。)
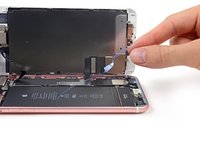
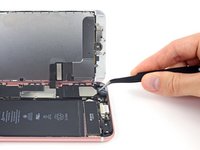
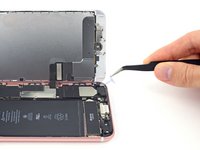
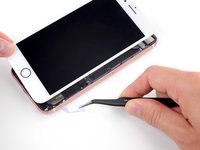
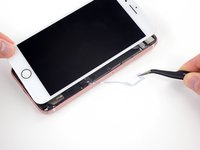
在开始之前,你应该已经拆下了你的iPhone显示组件并将其放在一边。如果没有,请回到你具体的iPhone维修指南,并按照指南进行操作,直到你准备重新安装显示组件为止。
你所需要的
视频概述
-
-
-
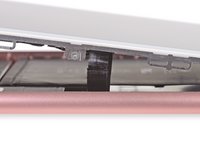
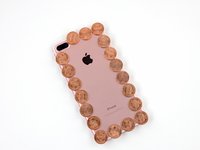
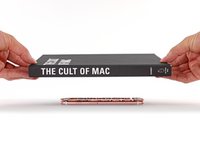
你可以使用任何面值的硬币,只要他们和摄像头一样厚或比其稍厚。
-
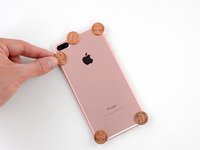
在你的手机四角各放置一个硬币,并在摄像头两边也各放置一个硬币。
-
在手机周围放满硬币。
-
使用吹风机或加热风枪,均匀加热手机周围,直到它们稍微热到不能触摸。 热量将帮助粘胶粘合更完整。 请勿使手机过热,否则可能会导致电池起火或损坏其他热敏元件,比如显示屏。
-


1097等其他人完成本指南。


49指南评论
I just bought few iPhone 7 adhesives from my supplier, and I noticed that the adhesive is not really fitting on the frame.
The iFixit shop pictures show us the iPhone 7 Plus adhesive for black color and the iPhone 7 adhesive for white color.
The iPhone 7 Plus seems to be more precise and correct than the iPhone 7 one : the iPhone 7 Plus one respect the screw hole at upper left corner for example, but the iPhone 7 one doesn’t, it has extra curves (same as iPhone 6s lower left corner) and it doesn’t take up the full width of the frame edge.
Can anyone show us the shape of an original adhesive from a brand new iPhone 7 to compare ?
This was the trickiest part of my screen replacement. Slim double sided adhesives always intimidate me because you only get one chance to line it up. I succeeded on my first attempt by following this guide and taking my time to line up the first edge as best as I could. The sides are the hardest part as they are very thin and I almost failed getting them lined up. Luckily I hadn’t pressed them down and was able to correct my alignment. Good preperation of the phone by removing the old adhesive completely and cleaning the area is my number one recommendation.
Adhesive makes everything harder. I chose to replace the adheasive on my 6s plus during a battery replacement, and it was easily the hardest part. No fault of Ifixit or this guide… the instructions above are spot on. But the cleaning of the adheasive takes forever, easily tripled my total repair time. And its really, really nerve racking to place the new adheasive. I do stuff like that all the time, but this was nuts. The strips are so tiny and delicate! Be really, really careful and take your time. This earns its “moderate” difficulty and then some.
wow that was hard to get in place. clean the edges well and use isopropyl alcohol. also practice a lot before removing the cover protection.
ericrose62 - 回复
am working on this now