简介
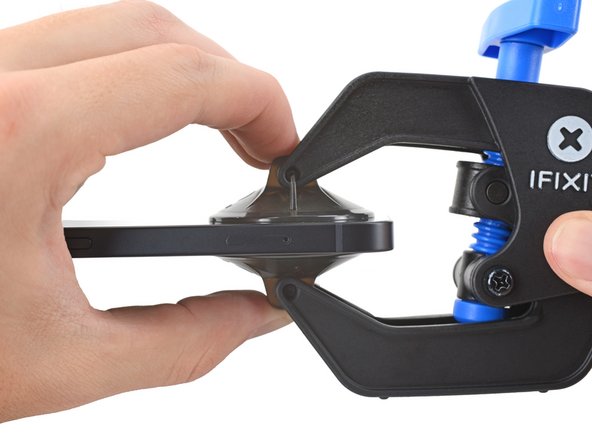
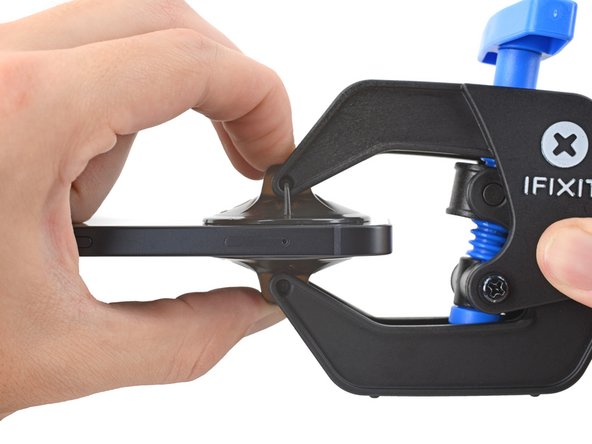
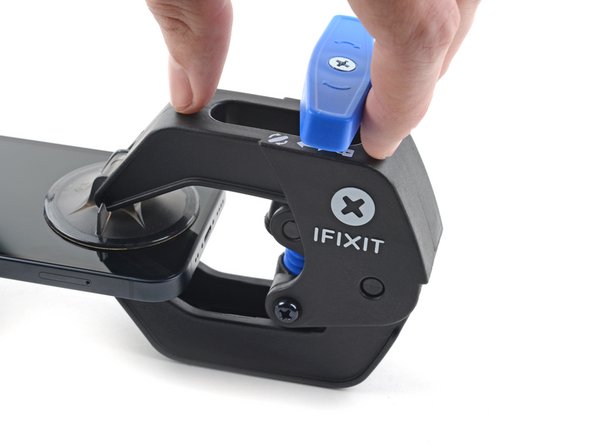
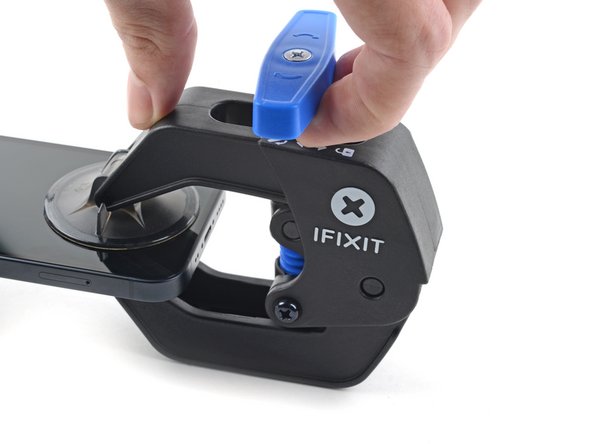
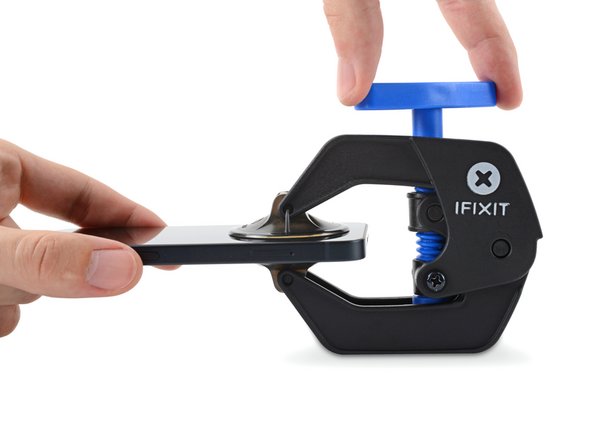
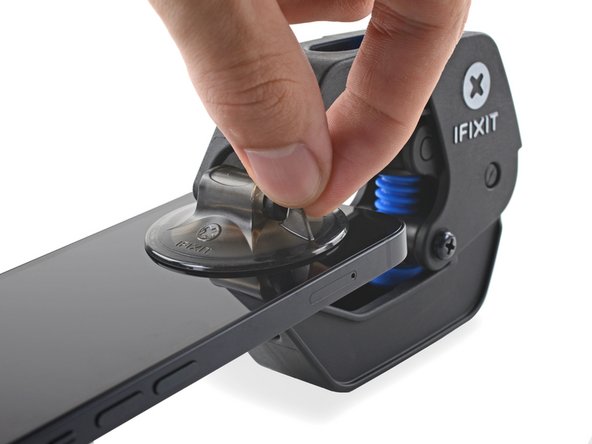
阅读本指南来学习使用反向钳来打开设备。
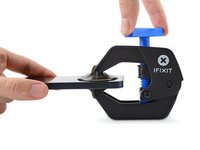
你所需要的


111等其他人完成本指南。


10指南评论
Very clear step-by-step guide. The next time I do a battery replacement I intend to use one of these.
4surferboy - 回复
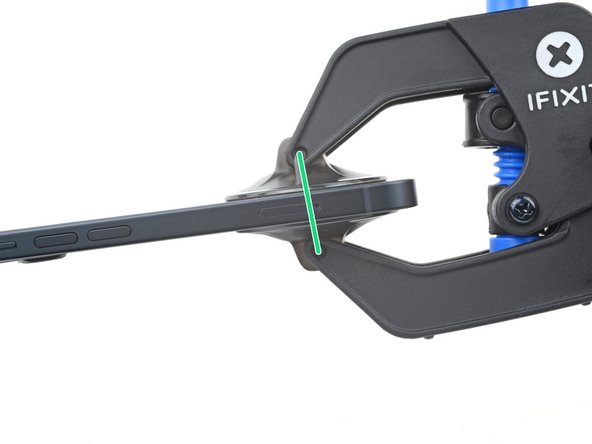
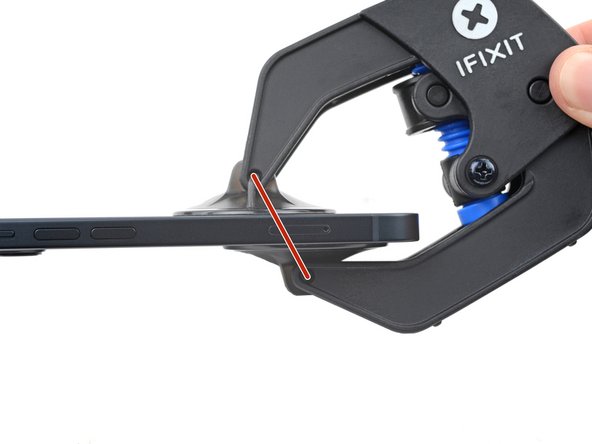
Engaging the Opening Mode the first time takes a bit of a push, don't be afraid, keep pushing until you hear a click. Seems to be easier to engage after the first time.
Hi Ed,
Thanks for the helpful feedback! I've implemented your note into the guide step.
I used mine to open a Samsung Galaxy Tab A7 tablet. Very frustrating, seemed like you needed three hands to put it in place (though later I found a better procedure). The OEM case glue was quite powerful (used a heating pad to get the tablet Very hot). The Anti-Clamp had difficulty holding to the back of the case and kept losing its grip. I didn't try the packing tape trick, just now noticed it. I mainly used the top suction cup just by itself.
The replacement battery had a very long battery cable and didn't lay flat, which caused a bright spot on the display where the cable "kink" was. So time to remove the case again. This time I stuck each suction cup individually, screen side first, the case - firmly pressing each cup flat after placement. No need to "fight" the Anti-Clamp to get it in place, plus I think I got a better hold with the cups. The B-7000 glue I used was much easier to break loose than the OEM case glue.
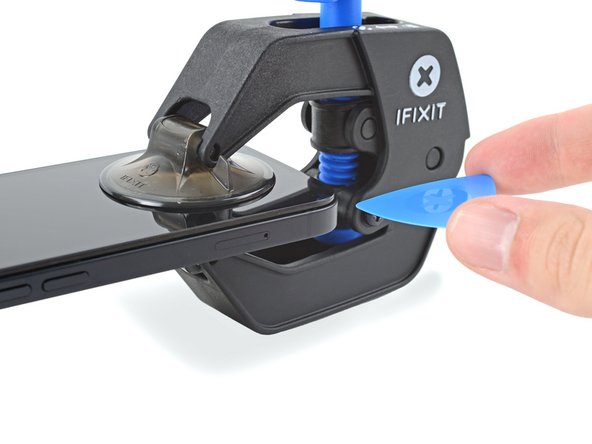
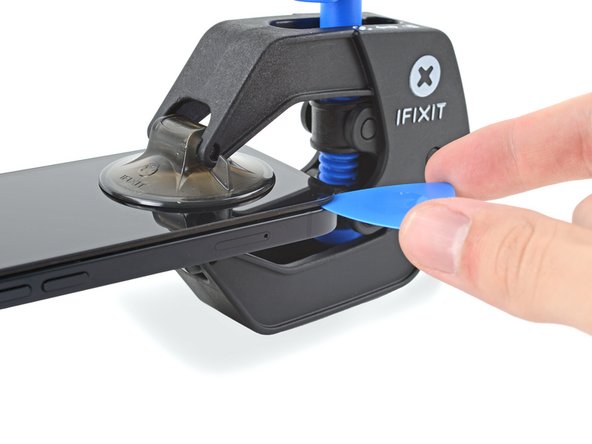
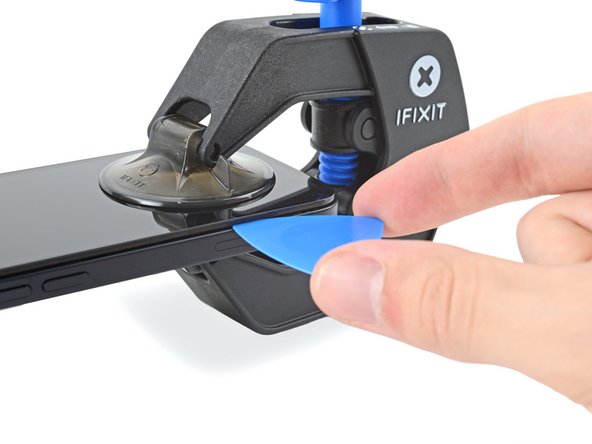
To loosen the suction cups I slid an opening pick under the edge of the cup.