视频概述
-
-
首先让我们摸清Air的配置:
-
13.3英寸LED背光IPS视网膜显示屏,分辨率2560 X 1600(像素密度227PPI)
-
1.6GHz双核英特尔酷睿i5处理器(可睿频加速至3.6GHz),集成英特尔UHD Graphics 617显卡
-
苹果T2定制安全芯片/协处理器
-
8GB的2133MHz LPDDR3 SDRAM
-
128GB基于PCI-E的SSD
-
802.11ac Wi-Fi以及蓝牙4.2
-
两个雷电3(USB-C)接口,同时支持充电、DisplayPort、雷电以及USB3.1 Gen 2
-
-
-
在正式进入内部冒险之前,先花点时间探寻这台Air的外观。
-
机身底部下方我们找到了些镭射“花纹”和一些P型梅花螺丝。
-
翻起屏幕,我们看到了熟悉的第三代蝶式结构键盘,让我们想起了MacBook Pro.
-
Air同无Touch Bar的13英寸MacBook Pro极为相似,除去厚度与Touch ID,其他几乎没有差别。
-
···虽然冠以“Air”的称号,但当12英寸的MacBook加入对比,却显得并没有那么轻薄。
-
-
-
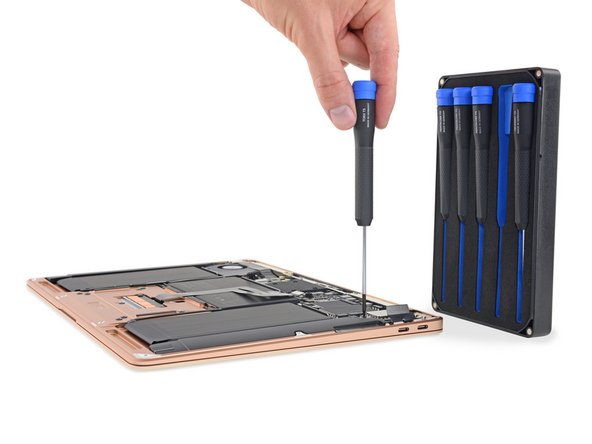
仅取出6颗TR型梅花螺丝断开一些排线,我们同主板之间的隔阂便被消除—完美!没有什么是我们Marlin螺丝刀组件不能解决的。
-
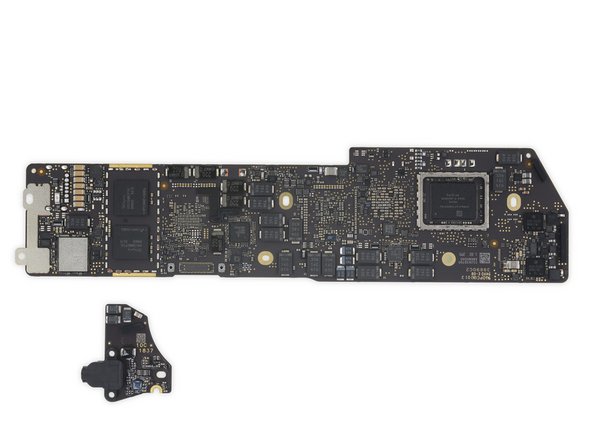
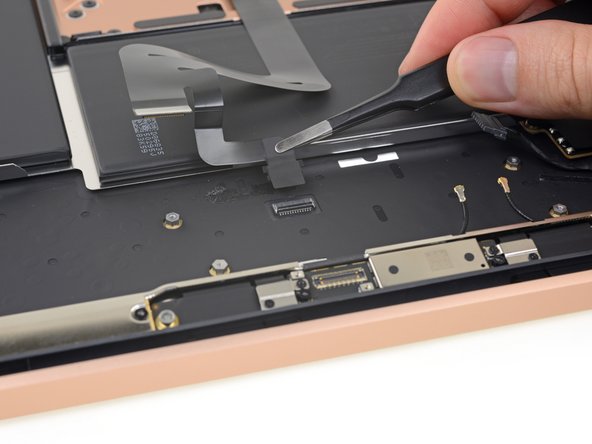
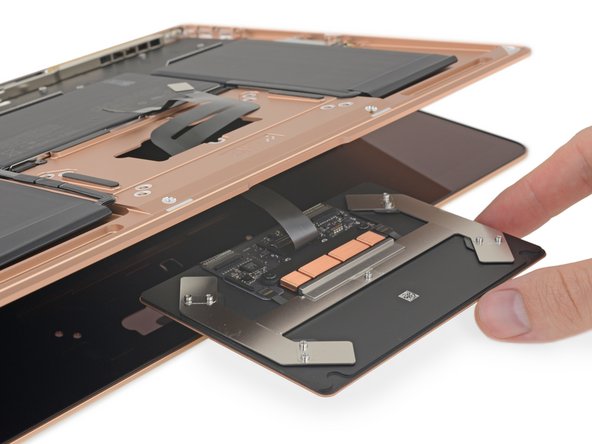
接着我们拿出了子板,其上带有一个高度濒危的耳机接口以及一些用于连接扬声器和Touch ID的排线。
-
这块子板带有一颗:Cirrus Logic CS42L83A音频编解码器。
-
-
-
-
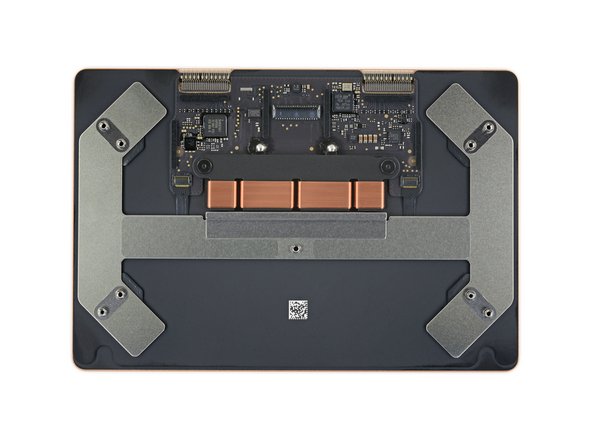
我们把主板翻了个面并找到了更多的芯片:
-
两颗SK海力士(SKhynix)H9CCNNNCPTAL LPDDR3 RAM(共计8GB)
-
村田制作所(Murata)339S00446 1ZE SS8915047(可能是Wi-Fi模组)
-
Intersil 95828A HRTZ X829PMJ
-
恩智浦(NXP)80V18 安全NFC模块
-
旺宏电子(Macronix)MX25U3235F串行多I/O闪存
-
德州仪器(Texas Instruments)CD32-15C00电源控制器
-
德州仪器(Texas Instruments)TPS51980A同步降压转换器
-
-
-
继续!维修友好型的设计(或者说更加友好)我们找到了扬声器之下的易拉胶!
-
我们并不喜欢粘合剂—可重复使用的螺丝更加友好—但,这种iPhone式的易拉胶比盲目地使用溶胶剂并疯狂撬电池来的好。
-
另外,只有易拉胶的存在,说明了有人想要提升整机的可维修性和拆解可能性。
-
-
-
感谢来自MacRumors的帮助,让我们感觉到拆解这台设备的电池可能没某台视网膜显示屏的设备那么难。
-
果然,我们找到了四颗螺丝和六条友好的易拉胶用于固定为Air提供
AirPower电源的电池。 -
一个坚固的框架,就像是旧版本的Air,用于支撑电芯并且让更换变得简单。
-
这里是参数:49.9Wh能量,如果你进行多家对比,你会发现这比戴尔(DELL)新的XPS 13(52Wh)小一点,但比微软(Microsoft)Surface Laptop 2(45.2Wh)和惠普(HP)即将推出的Spectre X360(43.7Wh)更大。
-


61条评论
Am I losing my eyesight, or is that fan not directly connected to any type of heat dissipating hardware? Looks like it’s either just providing a general low-pressure-air-flow throughout the internals - OR - it pushes air back through that antenna/heatsink-bracket-type-thing and coming out the other end of it?
Could you confirm or explain this in more detail?
I think it is just an exhaust fan, that removes hot air from a laptop case outside (from the right side of the case, under the screen) and creates a negative pressure inside, which helps a laptop to “suck“ some cool air from the outside through the intake on the left side of case, under the screen. The shape of the radiator ribs also suggests some airflow from left/right side of the case to the opposite side.
Serge B. -
The only thing that fan is doing is moving a (tiny) bit of air indirectly across the logic board and the heatsink. Or at least that is what I think it does. As there is no direct heat conduction from logic board to case, the fan isn’t there to cool the case, that’s for sure.
Yeah it is just a case ventilation fan, it doesn’t blow any heatsinks directly. Although with the very low TDP of the processor, a case fan with radiator type heat sink should do the job.
Tom Chai -
Yes, as the 12” Macbook with a ~5W TDP chip manages without a fan, I’m sure a slower general airflow together with that heatsink works well for the 7W chip in the 2018 MBA.
And when looking closer - the vents on either side of the antenna bracket, that the fan exhausts through on one side - air is drawn in on the other side and then guided by the vanes in the ventilation holes, allowing it to flow easily from right to left (when viewing bottom/inside of the MBA) over the heatsink cooling fins. There doesn’t appear to be any other openings in the chassi, so Apple has probably designed the airflow pretty efficiently in this fashion.
Pretty cool! Only Mac laptop I’ve seen with a fan but without heat-pipes/sinks by the fan.