简介
为了便于维修,请使用我们的 维修工具套装 并使用此简短指南 来更换 iPhone 显示屏总成。
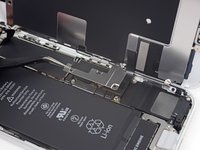
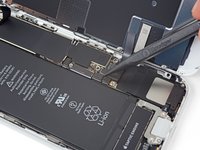
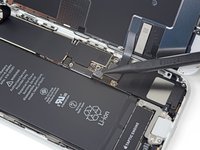
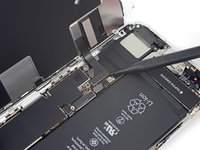
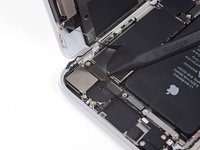
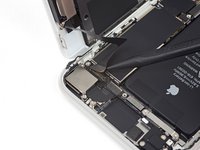
对于更高级的修复程序,本指南将仅帮助你更换 iPhone 8 LCD屏幕 + 触摸感应器组件(即“前面板”)。这需要你在安装之前将多个组件从原始屏幕转移到新屏幕 —— 包括前置摄像头,耳机扬声器,LCD屏蔽板和 Home 键。
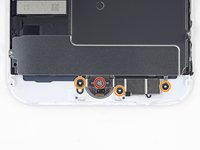
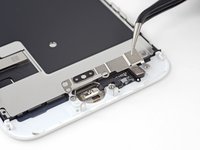
对于所有屏幕/显示屏维修,将原始的 Home 键/ Touch ID传感器小心地转移到新显示屏上以使其正常工作非常重要。固态 Home 键与原来的主板已经配对,所以更换后会无法使用。
注意: 如果你的iPhone的自动亮度功能在屏幕修复后无法正常工作,请确保你的iPhone已更新为iOS 12。更换屏幕后即使使用原始Apple屏幕,也会禁用True Tone功能。
你所需要的
-
-
如果你的屏幕玻璃碎了,可以使用胶带粘住整个屏幕,防止玻璃碎屑伤到你。
-
使用胶带粘满整个iPhone屏幕,直到覆盖整个显示屏。
-
如果破碎的玻璃在接下来的几个步骤中使吸盘很难粘住,请尝试使用强力胶带(例如布基胶带,然后用其提起显示屏。
-
-
在这个步骤中使用的工具:Clampy - Anti-Clamp$24.95
-
接下来的三个步骤演示了如何使用反向钳,一个旨在简化打开过程的工具。 如果你不使用 反向钳,请跳过这两个步骤以使用替代方法。
-
将蓝色手柄拉向铰链以解锁反向钳。
-
将手机塞进反向钳的两臂之间。
-
将吸盘放在屏幕上主页按钮的正上方——一个在前面,一个在后面。
-
向下推吸盘以将吸力施加到所需区域。
-
-
-
加热 iOpener并将其穿过反向钳。
-
折叠 iOpener,使其位于 iPhone 的底部边缘。
-
等待一分钟,让粘合剂有机会释放并出现开口间隙。
-
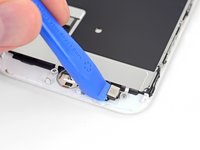
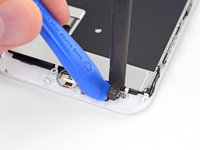
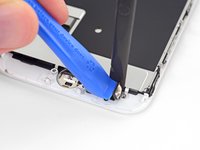
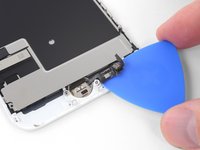
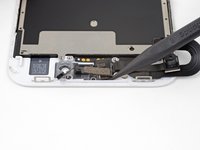
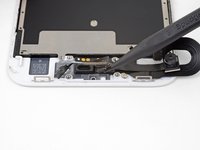
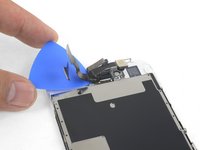
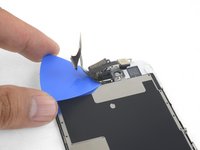
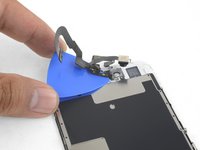
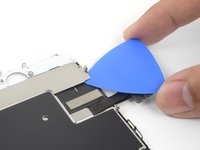
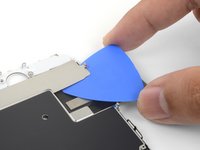
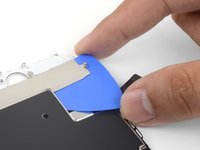
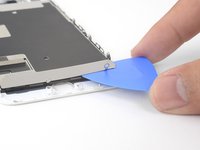
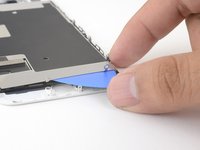
将撬片插入间隙中。
-
跳过接下来的三个步骤。
-
-


把你的更换零件和原装零件做对比——你可能需要转移一些旧的零件,或者在安装之前把新零件后面的胶带去掉。
请按逆序操作重组你的设备。
把你的电子废料带到 R2 或者 e-Stewards 认证的回收商那里。
维修进展不如意?请查阅我们的iPhone 8 问题解答社区 来排除障碍。
84等其他人完成本指南。


21指南评论
So I’m pretty sure I know the answer to this - but can I test out the screen replacement without hooking up the camera, home button, etc? Can I just attach the three cables to the phone to make sure the screen works, or would it brick the phone?
Hi Sarah,
You can test the display without bricking your phone. It may boot-loop when the front sensor/camera assembly isn’t connected though. Be careful while you work with an opened phone with the battery connected…it is easy to accidentally short things out!
After replacing the iPhone 8 LCD Screen and Digitizer, it seems that the battery is draining faster. I just wanted to see if this is a normal problem or was there something I missed during the install process?
My daughters phone was repaired and the same thing is happening to her
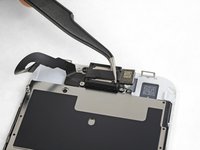
Do you have to remove the plastic holder for the camera?