-
-
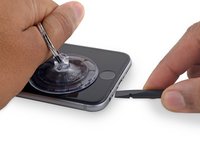
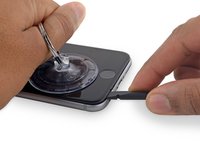
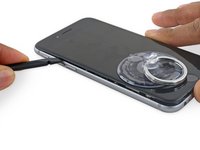
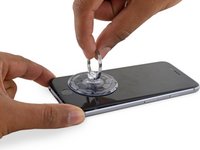
将蓝色的手柄朝铰链的方向拉,以解除反向钳的分离模式。
-
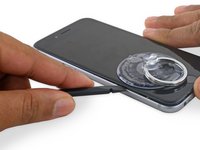
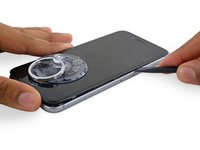
将支撑臂滑过 iPhone 的左边缘或右边缘。
-
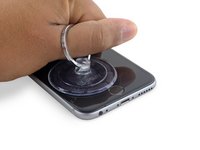
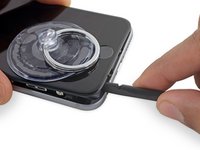
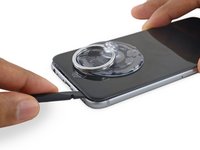
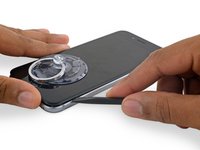
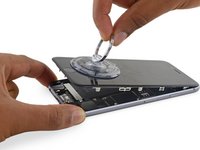
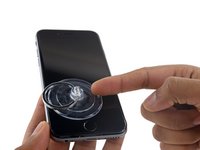
将两个吸盘放到Home键上方的屏幕——一个在前,一个在后(屏幕朝向自己的地方为前)。
-
将上方吸盘向下压以施加吸力到目标位置。
-
-
-
在这个步骤中使用的工具:Magnetic Project Mat$19.95
-
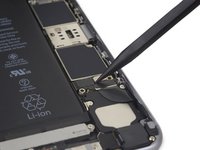
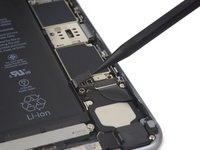
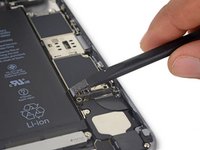
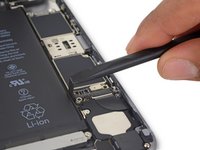
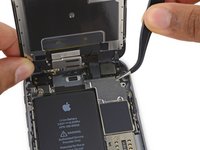
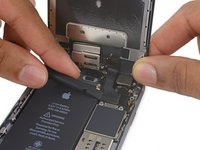
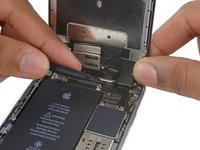
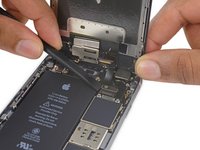
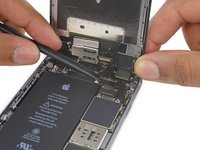
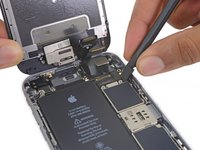
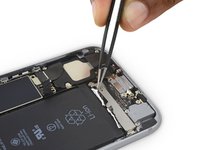
卸下电池排线固定架上的2颗十字 #00 螺丝。
-
1颗2.9 mm螺丝
-
1颗2.2 mm螺丝
-
-
-
假若你已经成功将胶带撕掉, 请直接到下个步骤。不然你就必须从后盖来撬开你的电池。
-
准备一个iOpener 并将其直接放在手机背面电池上方的位置。 或者你也可以选择使用加热枪或吹风机来加热。
-
然后,使用塑料撬棒轻轻提起电池。
-
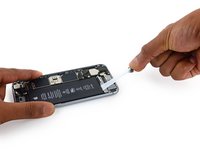
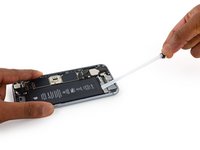
将牙线或细绳穿过电池上角后,将两端放在一起,用折叠的布包好,然后均匀拉动。
-


如果要组装的话,请按逆序操作一下上面的步骤。
把电子垃圾带至 R2 或 e-Stewards 认证的回收商。
为了达到电池的最优性能,在完成本指南后,校正你新安装的电池容量:充电至100%,然后保持充电两个小时以上。然后使用iPhone到电量耗尽关机。最后不间断充电到100%。
维修过程出现问题?访问论坛发现问题所在。
如果要组装的话,请按逆序操作一下上面的步骤。
把电子垃圾带至 R2 或 e-Stewards 认证的回收商。
为了达到电池的最优性能,在完成本指南后,校正你新安装的电池容量:充电至100%,然后保持充电两个小时以上。然后使用iPhone到电量耗尽关机。最后不间断充电到100%。
维修过程出现问题?访问论坛发现问题所在。
2045等其他人完成本指南。


239条评论
Easy fix. I would recommend getting the adhesive for the screen, as I completely destroyed about half of it when I removed the screen.
the adhesive strip under the battery do not use your hand to pull out, use tweezer and a stick roll it up slowly.......
That's a good idea! But on the other hand it looks a bit funny expanding it to about 1 meter ;-) - especially nice, if the owner is there watching …
That was actually way better than the original suggestion. If you hold the tweezer a little to the side while you roll up the adhesive, it will come off a little bit easier.
KatSeiko -
I found that instead of trying to pull the adhesive strips straight out, that by shifting the strip side to side as I pulled allowed it to “inch out” and break the bond more on a diagonal and snap out in one piece….