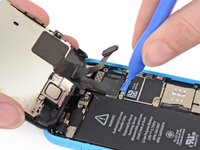
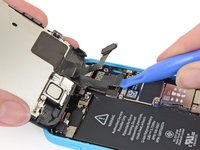
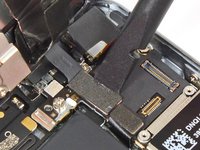
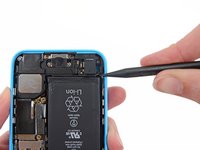
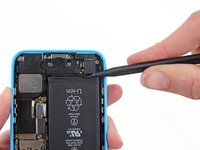
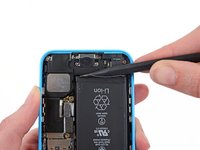
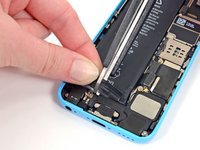
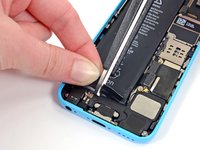
视频概述
-
-
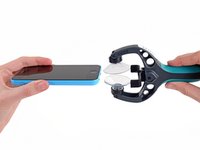
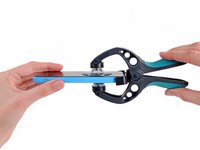
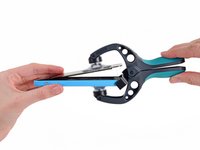
合拢iSclack的手柄,打开吸盘口。
-
把手机底部放入吸盘口,并抵在塑料深度计上。
-
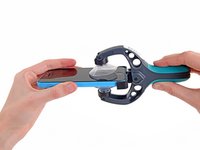
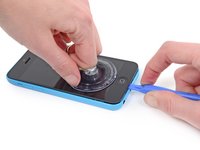
上方的吸盘口不要覆盖在Home键上。
-
打开iSclack的手柄合拢吸盘口。按压手柄使得吸盘口贴合在手机表面和底部中线上。
-
-
-
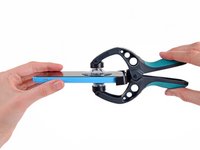
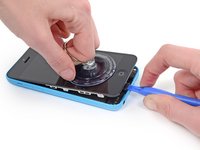
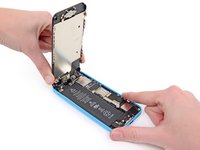
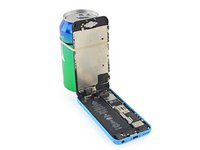
握好机器合拢iSclack手柄分离吸盘口,把屏幕从后盖上拉开。
-
iSclack致力于安全的打开iPhone,仅仅是完全分离部件而不会损坏排线。
-
可以跳过接下来的3步从第8步开始。
-
-
-
-
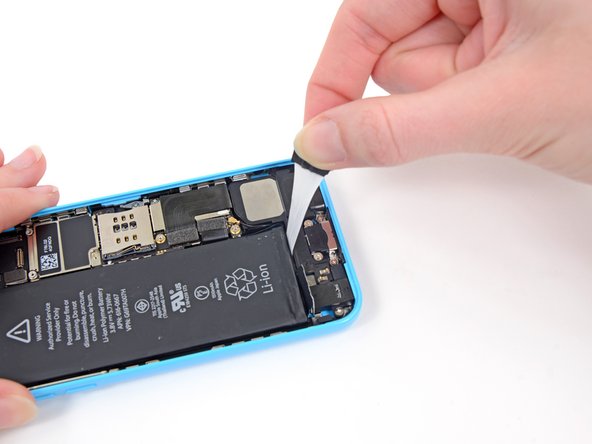
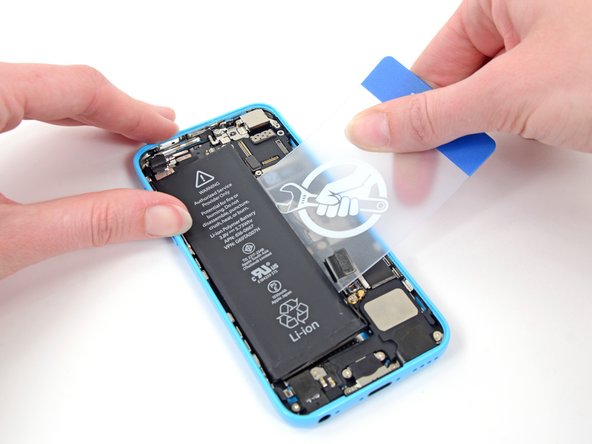
根据我们的iOpener加热指导或吹风机来加热将电池粘在后壳上的粘胶。
-
将iOpener平放在iPhone背面的相机右侧。 让它平滑贴合于手机后壳,以便iPhone和iOpener之间有良好的接触。
-
让iOpener在iPhone上放置大约90秒,然后再尝试取出电池。
-
如果使用吹风机或加热风枪,将手机背部加热到微烫的程度。
-
要重新组装您的设备,请按照本指南的相反顺序进行操作。为了获得最佳性能,请对新安装的电池进行校准:将电池使用到10%以下,然后不间断充电至100%。
如要组装的话, 请按逆序操作一下步骤。
将你的电子废料带到R2 或者 e-Stewards 认证的回收商。
维修不像计划中一样进行?查阅问题解答论坛来排查错误。
497等其他人完成本指南。
由衷感谢以下译者:
57%
这些译者帮助我们修补全世界! 您也想加入吗?
开始翻译 ›
49指南评论
I am disappointed with the guide - not up to iFixit's usual standards. I got the iPhone open and the battery out just fine, but there were *three* missing hints that would have cut a half-hour from my re-assembly:
1) The connector cover has three short screws and one long one. The video doesn't show which is the long one, so I had to farble around to get the screws back. (The long one is the top-right one, near the hinge on the right side of the phone)
2) There are no hints on the video or in the box about putting the adhesive strips back in. I was trying to get the tab to fold over, but got all wrapped up in the strips. It took a lot of time to fix it, and I still don't know if it's important to fold the tab over or not.
3) There is no information about whether to retain the clear cellophane wrapper that comes on the battery. I took it off - hope that's right.
That said, all the tools were included in the kit, they work as advertised. And the phone's back together, and we'll see how it works...
In reference to your #1 point, this is very good example of why a SCREW-MAT or iCracked Part Chart come in very handy!
Especially in repairs like the 5s ... some screws look the same, but are .01" different ... enough to scratch/break the trace underneath on the logic board .... adding another $100 (and a week travel time by mail, if you cannot do the repair yourself), to your repair - to have it micro-soldered.
With Screw-Mats or iCracked Part Charts, every screw is placed on it's corresponding marker, so you know exactly which screw is which.
If you are in a pinch, and do not have a Screw Mat, you can draw little diagrams on a piece of paper or a dry erase surface, and mark out where each and every screw goes, as sometimes there is that .01" difference in screw sizes, that can really screw up (no pun intended) your repair.
Cheers!
iBroke -
They did mention the screw size in the guide here by color coding the MM. I agree with point two, but that's nitpicking. Lastly (the reason I commented), you did it right. The plastic should be removed so it is just like the orig battery, if you would leave the cellophane on, the adhesive would be stuck to it instead of the battery and making for a poorly secured battery.
Overall, the parts and kit were good, but this phone is not my favorite iPhone to work on. Getting that old battery out was extremely annoying compared to the 4, 4s, 5, and 5s that I've all done in the past.
On a side note, this is the first ifixit branded battery I've received and I've ordered a lot of parts from them over the years. They used to source what looked line 100% orig batteries. I avoid non original batteries like the plague, I don't care if it's a phone, laptop, or even my APC UPS devices. Ifixit has earned my trust over the years with all the parts and tools so I went ahead and installed it, I'm sure it's good.
Apple doesn’t sell original batteries to outsiders.
If you are buying an Apple-branded battery, it’s either a fake or used.
toni -
Hey Toni, check out our parts and warranty information!


