简介
请按照本指南更换 Nintendo Switch Lite 上的故障或损坏的 LCD 显示屏。
Nintendo Switch Lite 使用 JIS 规格螺丝。如果没有 JIS 螺丝刀,也可使用普通十字螺丝刀头。但操作时注意不要用力过度拧花螺纹。 iFixit 十字螺丝刀头专为兼容 JIS 螺丝而设计。
注意: 本指南仅为更换 LCD 显示屏。如要更换整个屏幕模组(包含 LCD 显示屏和触控传感器),请参照此指南。如果屏幕上的玻璃破损,但显示功能正常,请参照以下指南更换触控传感器。
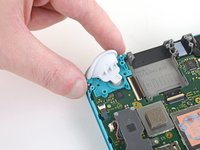
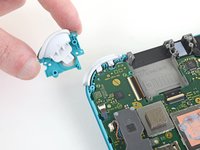
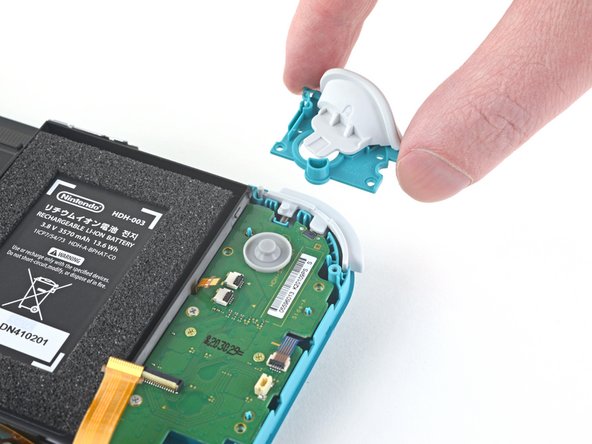
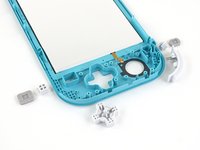
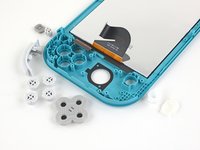
注意:此维修无需拆下摇杆和按键,但将其拆下可以让维修更容易。
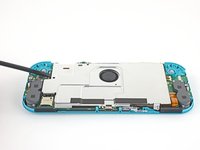
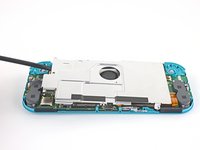
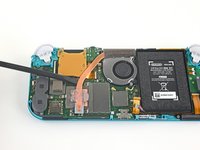
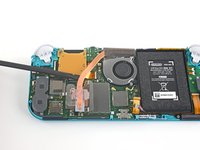
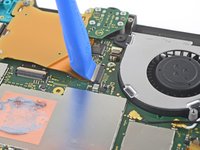
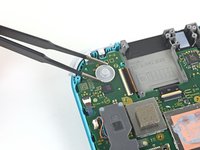
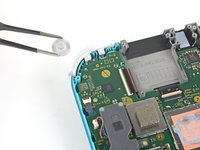
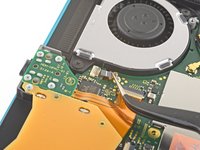
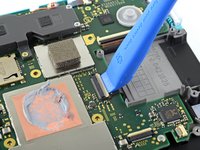
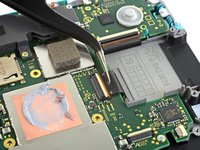
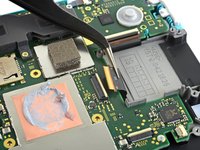
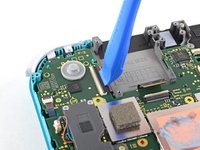
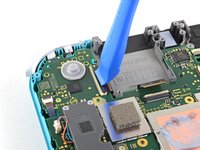
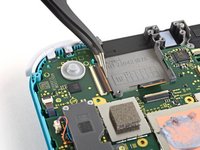
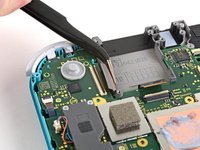
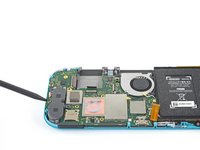
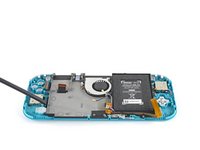
注意:此过程需要卸下屏蔽板和散热器。在重新安装屏蔽板和散热器之前,需要完全清理并重新涂抹屏蔽板、散热器,以及CPU上的导热膏。
你所需要的
-
-
-
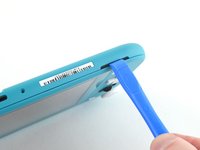
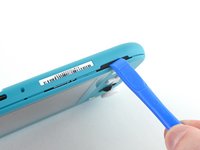
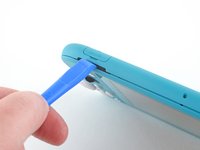
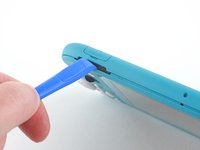
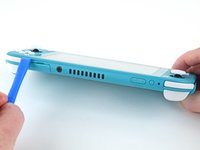
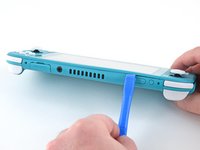
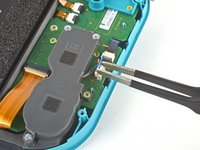
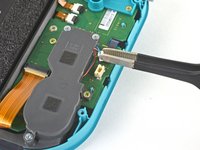
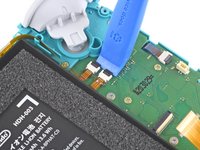
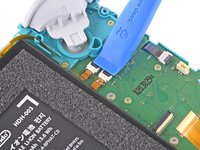
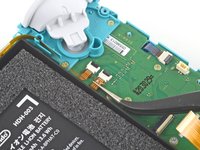
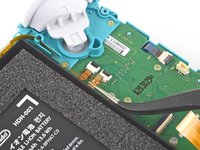
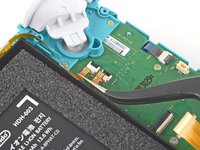
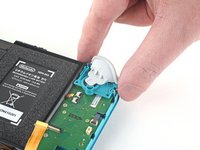
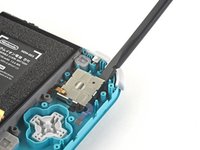
用 JIS 000 螺丝刀或 iFixit PH 000 螺丝刀卸下固定后面板的螺丝:
-
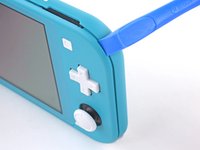
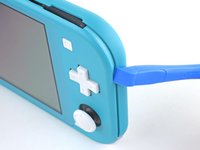
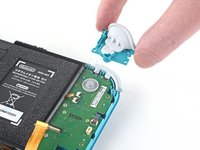
设备顶部的两个3.6毫米长的螺丝
-
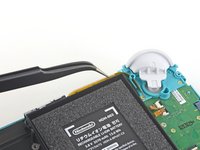
设备底部的两个3.6毫米长的螺丝
-
为防止这些拧的很紧的螺丝滑丝,请向下用力,缓慢操作,如果螺钉无法卸下,请尝试使用不同的螺丝刀。
-
-
-
-
-
-
-
-
-


62等其他人完成本指南。


25指南评论
Followed the guide to replaced a cracked screen on a Switch Lite, all good, guide was easy to follow and refitting wasn't too hard either, just a reversal of the disassembly
Luke Randall - 回复 分享
Fantastic guide, exactly what I was looking for! Unfortunately I managed to make the tape unusable and I need tape to connect the lcd to the digitizer and the digitizer to the case. I will likely use 2-3mm tape for the lcd to digitizer but I'm unsure what to use to connect the digitizer to the case. Any suggestions?
Thanks for taking the time to type this up. Really appreciate the effort that went in to this guide.
Great guide, I wish it would mention some of the procedures to tape the screen back in. After that, reversing the process was easy.
For gluing the screen and digitizer back in, I would strongly recommend liquid glue, like Zhanlida T-8000 for example. You can apply it very precisely and you can also correct/remove it if needed pretty easily. I used this stuff to repair around 200 phones and tablets in the last couple of years and were never disappointed.
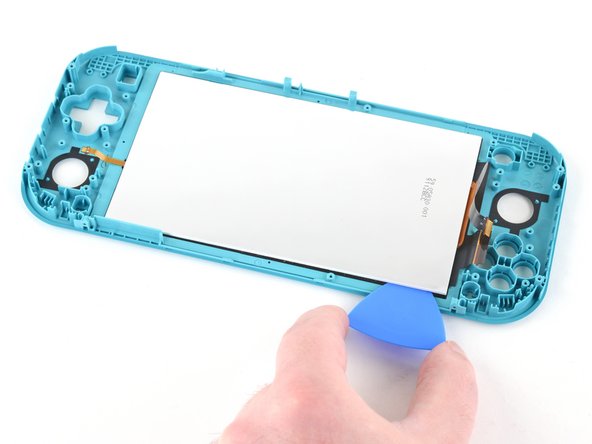
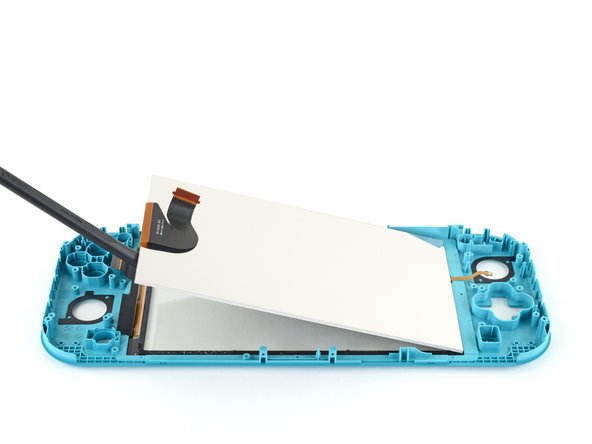
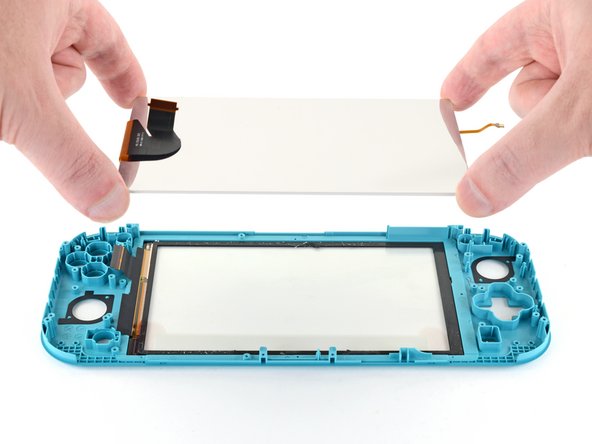
Also I would remove the digitizer AND the screen together, before removing the screen first from the digitizer… This will make the process of removing the screen from the digitizer a lot easier and safer.
I have ordered a crystal replacement case and a used lite with a scratched digitizer.. Have glued in the replacement digitizer so far, the console should arrive tomorrow.
Gluing in the digitizer was a breeze, just applied some glue all around (be careful not to use too much) and then just pressed down the digitizer all around and put a book on the top… Let the glue harden for around 24 hours and you are good to go.
Will leave some feedback how the screen removal went tomorrow. ;)