简介
请按照本指南更换任天堂 Switch Lite上破裂或损坏的数字触控器。此修理不需要卸下操纵杆或按钮,但使修理更加容易。
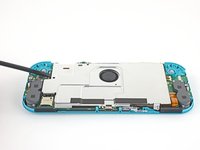
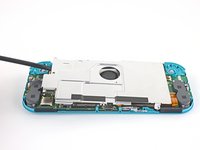
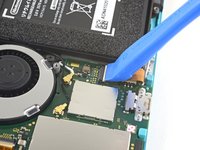
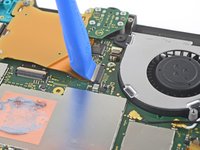
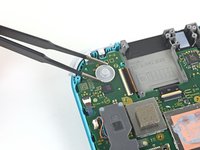
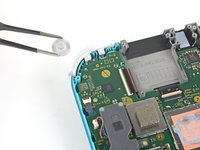
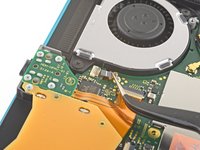
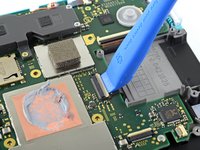
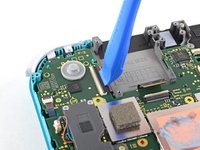
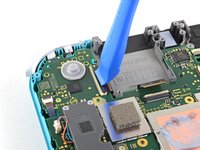
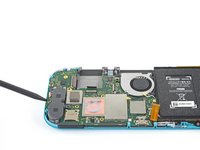
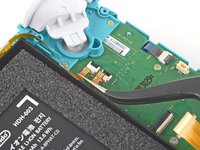
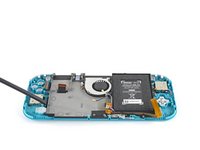
注意:此过程需要卸下屏蔽板和散热器。在重新安装屏蔽板和散热器之前,需要清除两个组件以及CPU上的导热膏,然后重新涂抹。
注意:如果屏幕停止工作,你可能只需要替换屏幕,而不是数字触控器。
你所需要的
-
-
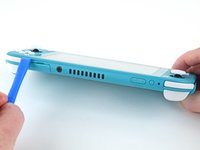
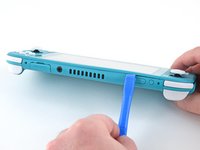
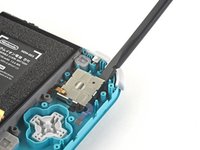
用 JIS 000 螺丝刀或官方 iFixit PH 000 螺丝刀卸下固定后面板的螺丝:
-
设备顶部的两个3.6毫米长的螺丝
-
设备底部的两个3.6毫米长的螺丝
-
为防止这些拧的很紧的螺丝滑丝,请向下用力,缓慢操作,如果螺钉无法卸下,请尝试使用不同的螺丝刀。
-
-


要重新组装设备,请按照逆序进行操作。
为了获得最佳性能,请在完成本指南后校准新安装的电池。
将你的电子垃圾带到R2或e-Stewards认证回收商。
维修没有按计划进行吗?尝试一些基本故障排除后的故障排除,或向我们的社区寻求帮助。
20等其他人完成本指南。


4指南评论
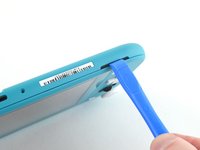
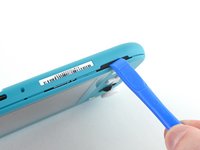
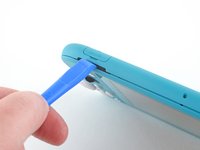
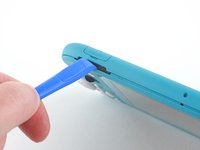
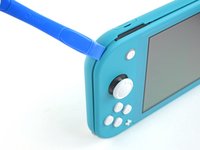
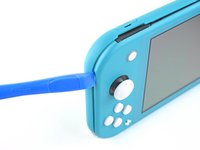
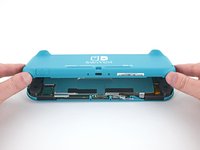
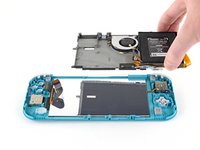
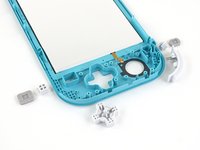
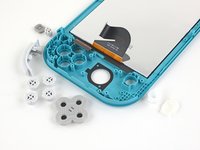
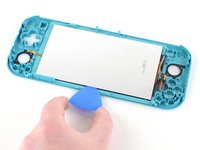
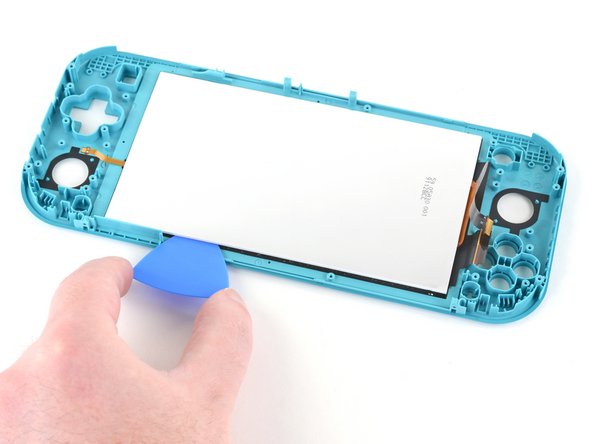
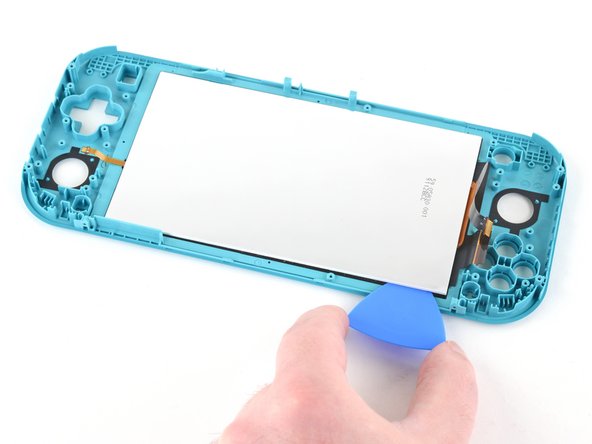
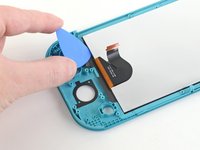
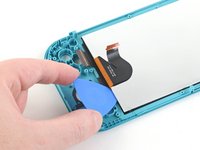
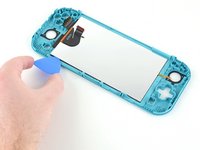
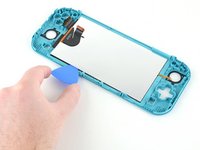
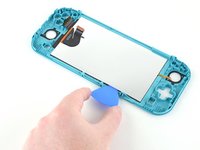
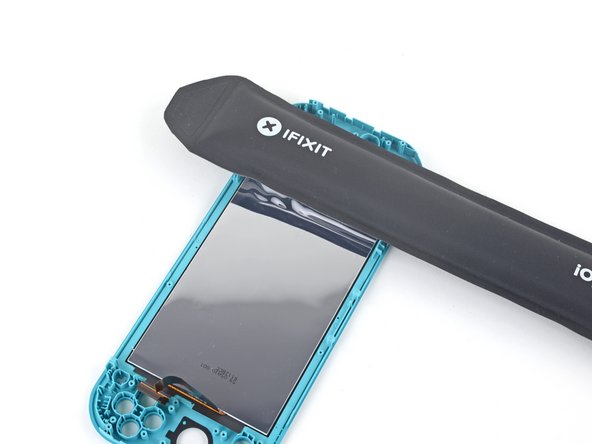
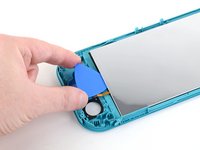
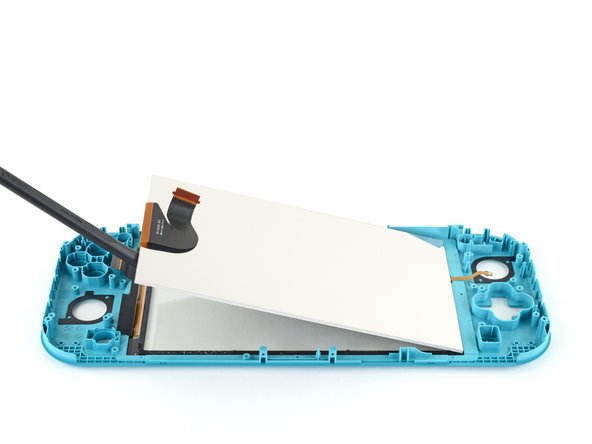
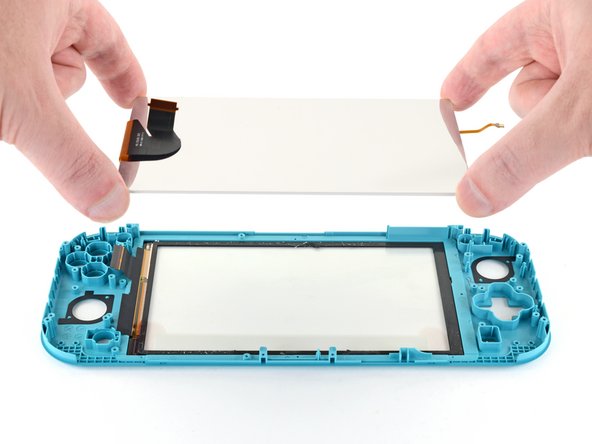
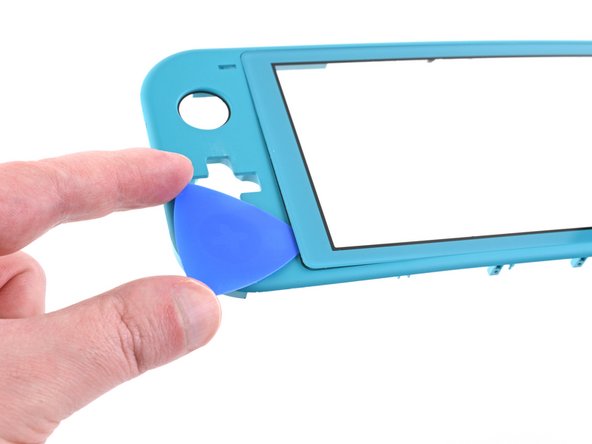
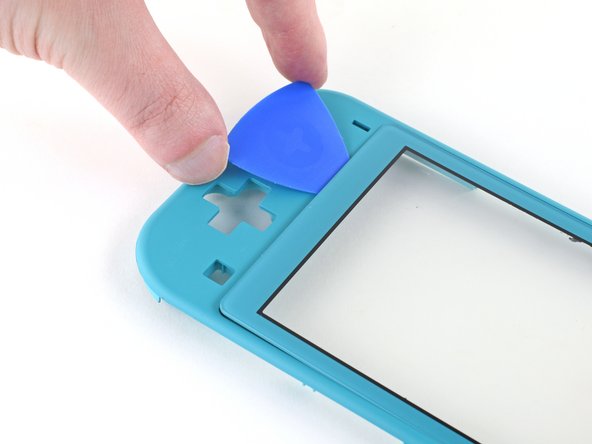
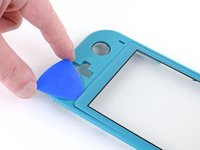
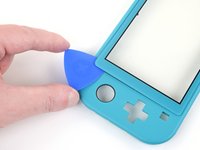
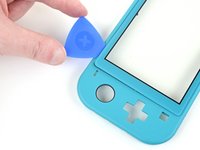
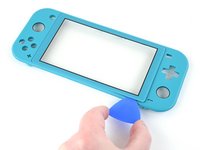
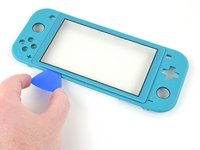
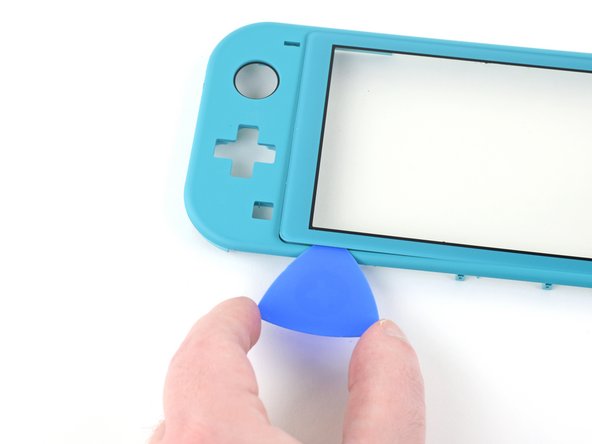
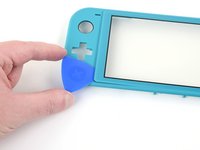
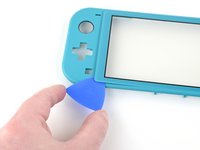
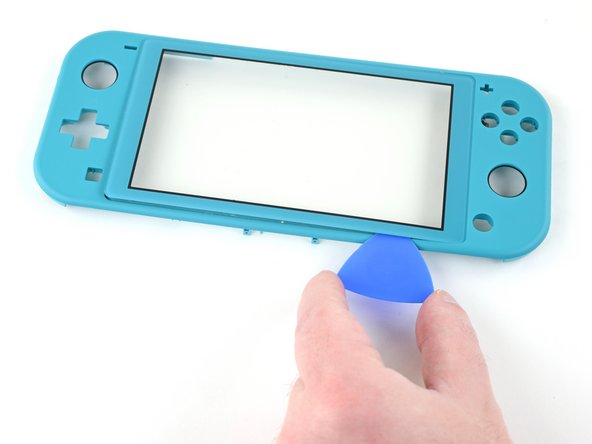
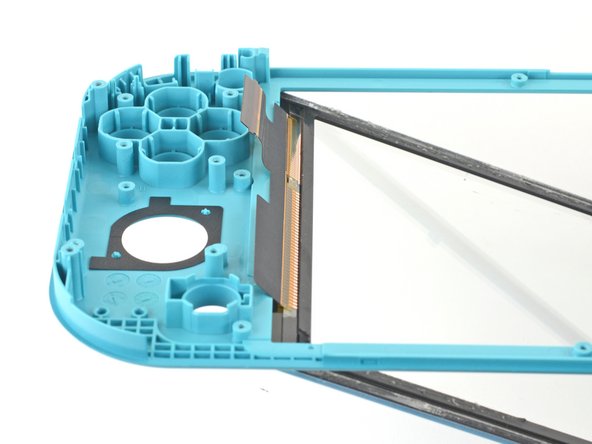
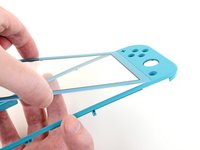
Great guide, but quick tip when removing the screen. There are two pieces of the screen sandwiched together and when I took mine apart, these two pieces came unstuck and ruined the screen itself. The digitizer was fine, but the LCD came apart. So make sure the opening pick gets under both of these parts rather than just the reflective back.
I bought this Switch Lite with a broken LCD to repair and sell, so the screen was already blown out, but I had the same issue. The LCD was still connected to the digitizer and it actually peeled the LCD apart. As I said earlier, the LCD was already broke so it wasn’t a big issue, but I would of been fairly angry if it hadn’t of been.
it looks like it might be possible to do steps 1 - 10, then step 28, then steps 66 onwards, and reverse to reassemble, the guide isn’t clear why it would be required to do a full tear down, is there something that would make this method not work or more likely to cause further damage, if I’m just switching out the digitizer, pun intended.. :) ?
Were I to guess, I would say that the full teardown guide is meant to apply to any, and all, scenarios, regardless of any unmentioned issues that a user may have.
Another possibility is that if a user has a damaged digitizer from a drop, or other type of impact(s); then by performing a full teardown, they may discover other elements in need of repair.