简介
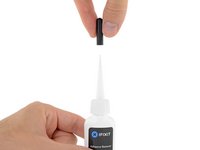
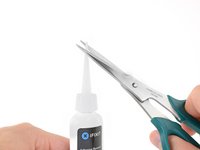
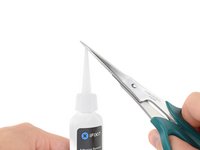
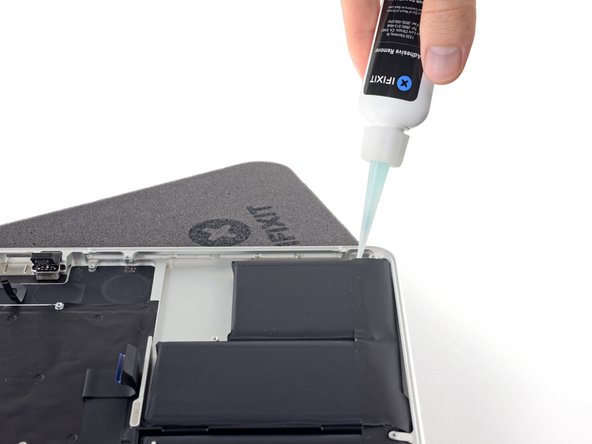
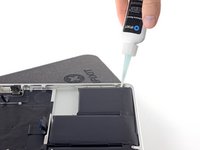
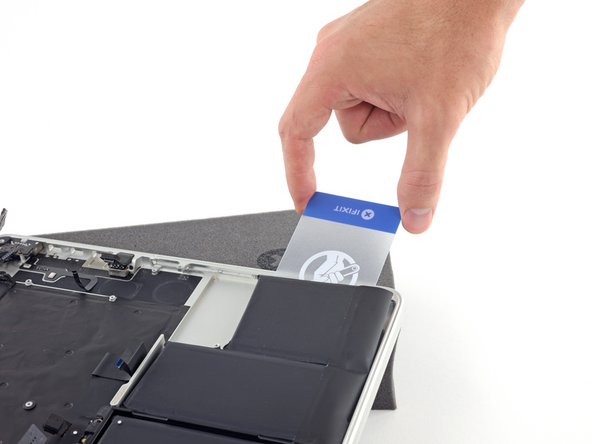
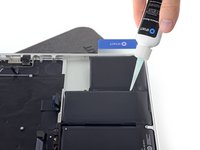
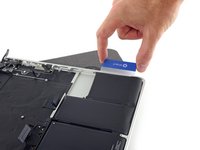
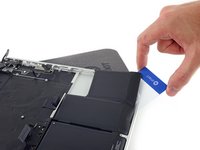
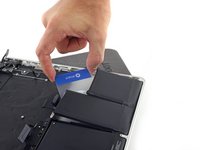
使用本指南从MacBook Pro中取出内置粘合电池, 最好使用iFixit电池更换套件完成。套件中的液体粘胶去除剂将溶解固定电池的粘胶,从而轻松拆卸电池。
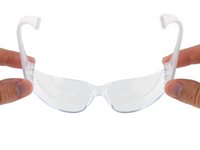
iFixit粘胶去除剂是高度易燃的。在通风良好的地方进行工作。 在此过程中,请不要吸烟或是在明火附近工作。
为了降低危险,在开始工作之前请先对MacBook Pro的电池放电。如果意外刺穿充电的锂离子电池可能会造成危险和无法控制的火灾。如果电池鼓包,请采取额外措施
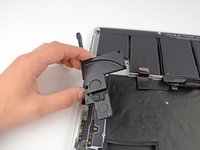
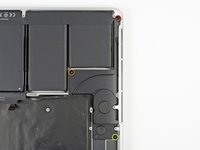
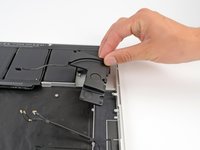
注意事项:用于溶解电池胶的溶剂与MacBook Pro的塑料扬声器外壳接触可能会损坏扬声器。 这份指南指导你在拆解电池之前卸下扬声器。
[ … ] 如果你正在使用旧式的iFixit胶水去除套装,即分开的瓶子和注射头(不再售卖),点击这里查看不同的教程。
你所需要的
-
-
-
-
在这个步骤中使用的工具:Tweezers$4.99
-
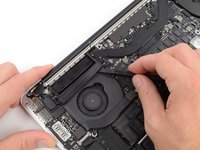
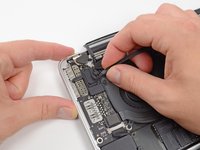
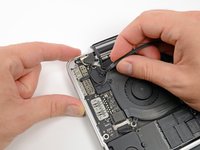
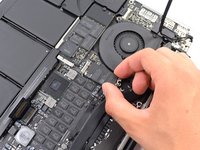
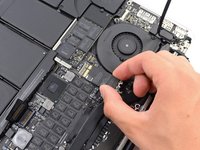
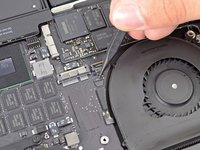
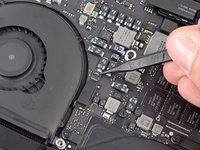
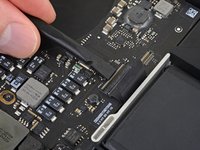
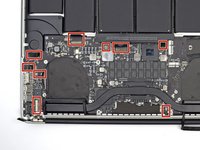
使用撬棒或镊子将三条 AirPort 天线电缆从 AirPort 板上的插座中垂直向上撬起。
-
-
-
-
-
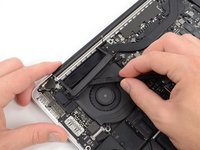
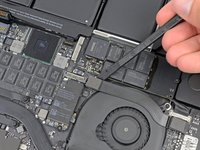
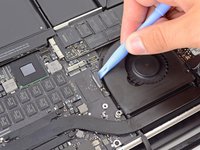
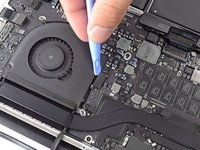
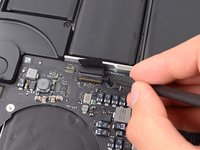
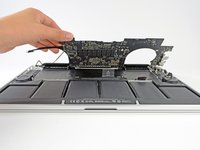
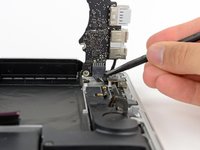
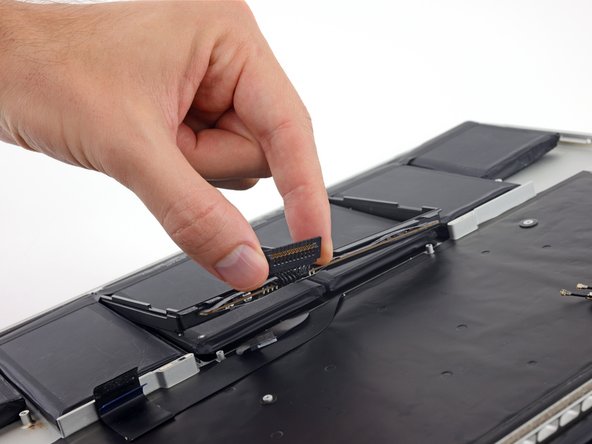
使用撬棒扁平的一端,将 I/O 板连接器从主板上的插座中直接撬出。
-
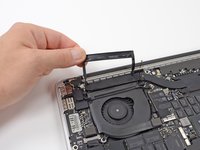
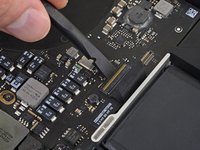
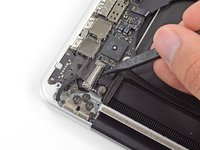
以类似的方式,从 I/O 板上的插槽中卸下 I/O 板排线。
-
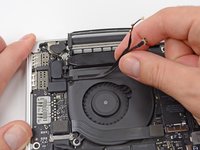
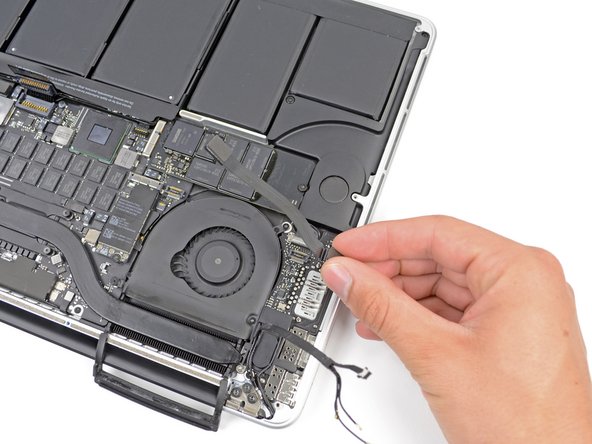
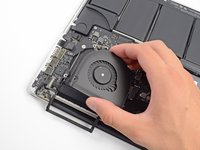
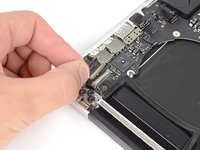
从 MacBook Pro 上拔下 I/O 板电缆。
-
-
-
-
-
-
-
-
-

 询问修复机器人
























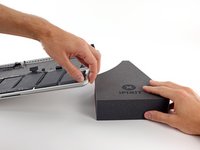
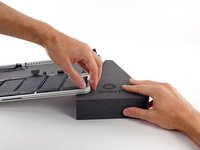









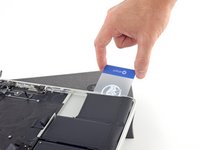


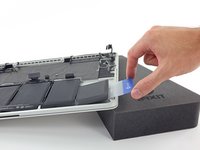
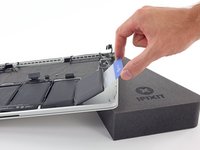


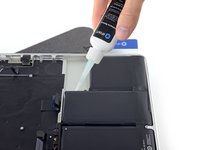




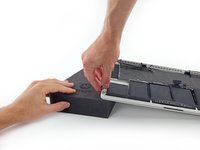
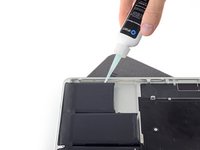
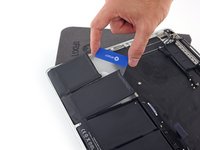
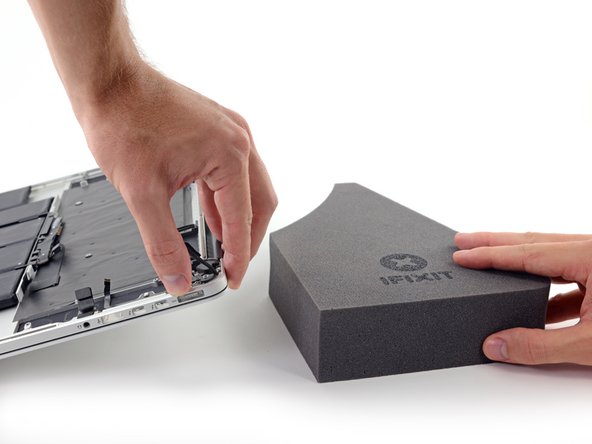

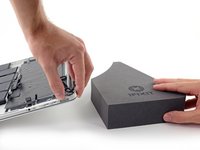
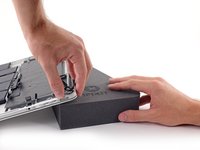

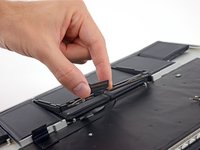

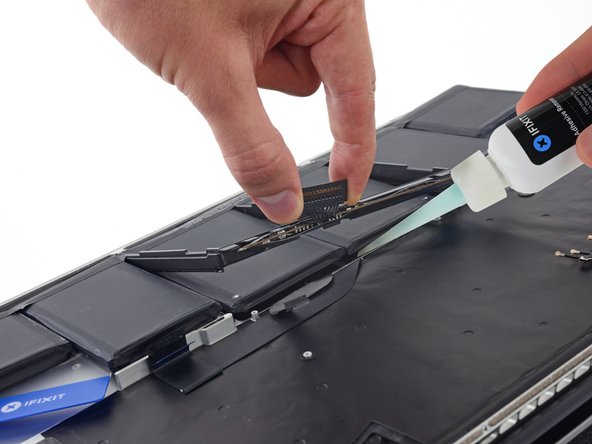

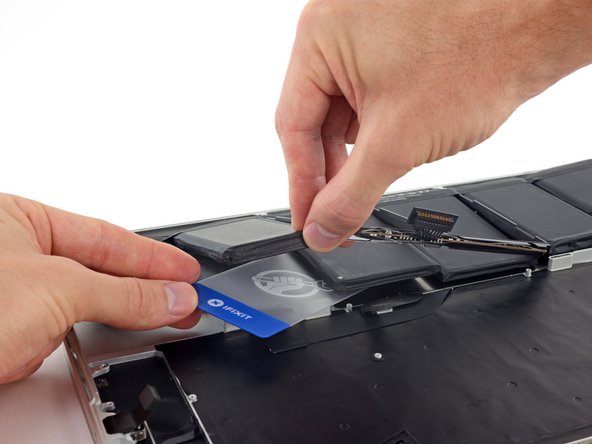
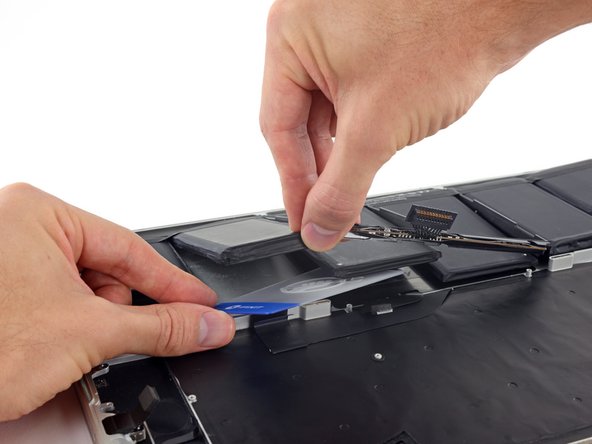
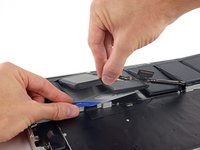


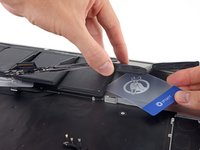
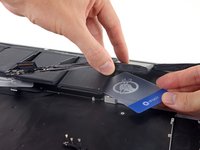
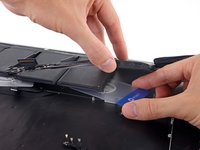

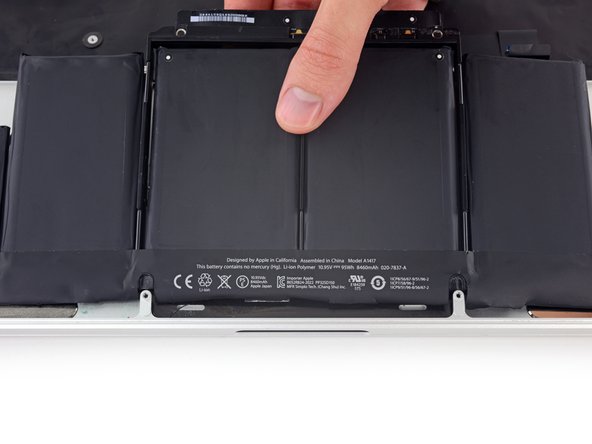


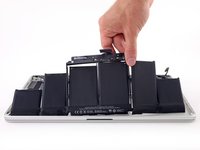
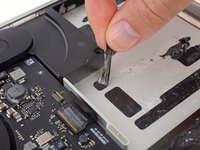
按照相反的顺序遵循以上步骤来重新组装你的设备
419等其他人完成本指南。



175指南评论
finally something more complicated than replacing the fan in a ps4. Great guide but I'm not going to attempt this even with lots of experience taking MacBook pro's apart to replace the disc drives with second hard drives.
Thanks for the guide! I used a light duty heat gun to soften the battery adhesive. Use great caution if you try this method, you can easily damage anything plastic so I used the MBP bottom to shield the keyboard bits. I heated one cell at a time until it was slightly uncomfortable to the touch, then waited a few moments until the heat softened the adhesive underneath, then carefully use a plastic card to slide under and pry free. It took about an hour to remove the battery and all remaining adhesive. For the remaining adhesive I used "GooGone", being very careful.
You can also set your battery on fire, which can have pretty catastrophic consequences. I'm glad it worked out for you, but I would urge everyone to avoid using a heat gun on or near any lithium-ion battery.
