简介
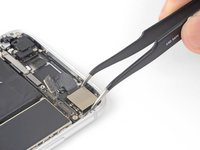
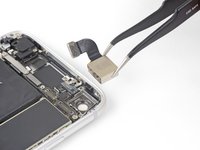
Follow this guide to remove and replace the rear camera for your iPhone 8.
你所需要的
-
-
Remove the two 3.5 mm pentalobe screws on the bottom edge of the iPhone.
-
-
-
Measure 3 mm from the tip and mark the opening pick with a permanent marker.
-
-
在这个步骤中使用的工具:Clampy - Anti-Clamp$24.95
-
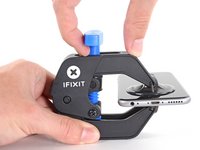
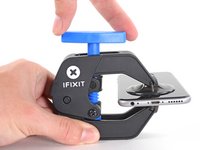
Pull the blue handle backwards to unlock the Anti-Clamp's arms.
-
Slide the arms over either the left or right edge of your iPhone.
-
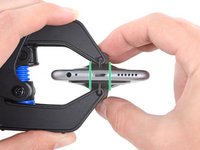
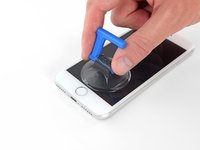
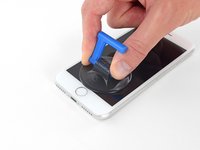
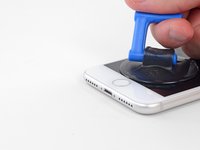
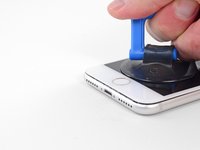
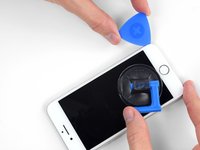
Position the suction cups near the bottom edge of the iPhone just above the home button—one on the front, and one on the back.
-
Squeeze the cups together to apply suction to the desired area.
-
-
-
Heat an iOpener and thread it through the arms of the Anti-Clamp.
-
Fold the iOpener so it lays on the bottom edge of the iPhone.
-
Wait one minute to give the adhesive a chance to release and present an opening gap.
-
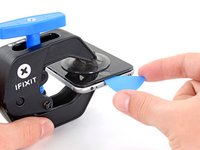
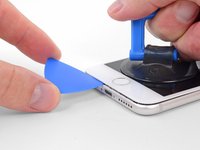
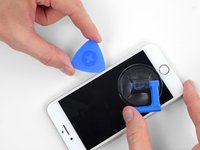
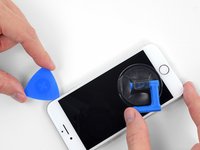
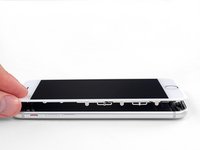
Insert an opening pick into the gap.
-
Skip the next three steps.
-
-
-
Heating the lower edge of the iPhone will help soften the adhesive securing the display, making it easier to open.
-
Use a hairdryer or prepare an iOpener and apply it to the lower edge of the phone for about 90 seconds in order to soften up the adhesive underneath.
-
-
-
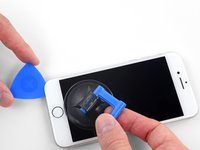
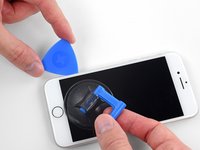
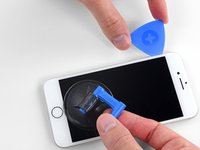
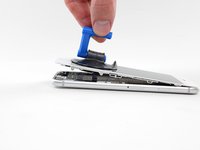
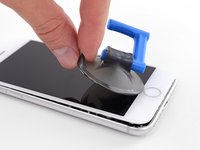
Apply a suction cup to the lower half of the front panel, just above the home button.
-
-
-
在这个步骤中使用的工具:Magnetic Project Mat$16.96
-
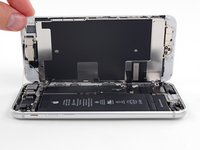
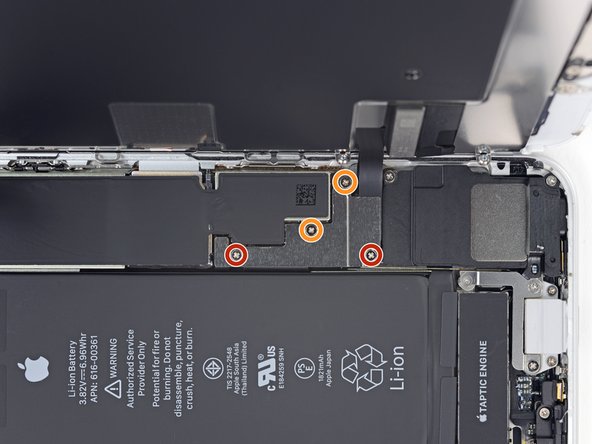
Remove four Phillips screws securing the lower display cable bracket to the logic board, of the following lengths:
-
Two 1.3 mm screws
-
Two 2.8 mm screws
-
Remove the bracket.
-
-
-
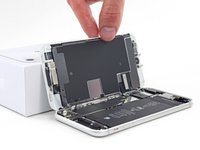
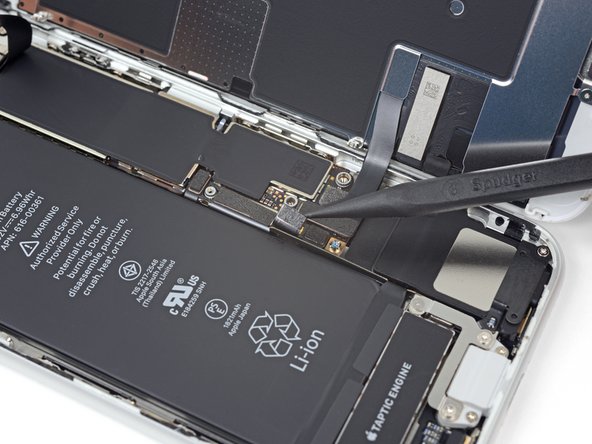
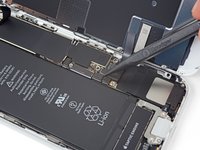
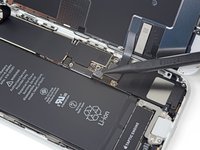
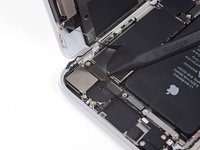
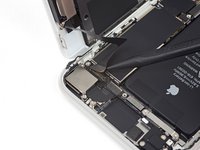
Use the point of a spudger to pry the lower display connector out of its socket.
-
-
-
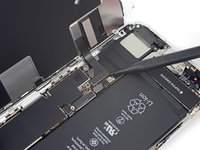
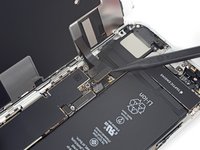
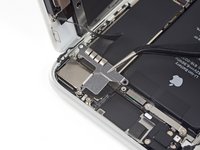
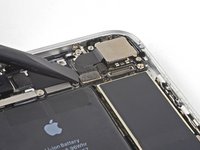
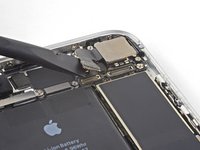
Use the flat end of a spudger to disconnect the camera cable connector by prying it straight up from its socket.
-
-
在这个步骤中使用的工具:Standoff Screwdriver for iPhones$5.49
-
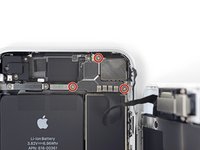
Remove the two screws securing the rear-facing camera bracket:
-
One 3.0 mm standoff screw
-
One 3.1 mm Phillips screw
-
To reassemble your device, follow these instructions in reverse order.
Take your e-waste to an R2 or e-Stewards certified recycler.
Repair didn’t go as planned? Check out our iPhone 8 Answers community for troubleshooting help.
39等其他人完成本指南。
9指南评论
Does the rear camera assembly include the camera glass?
Hi Jacob,
The rear camera assembly is only the module itself. It does not include the glass mounted on the rear case.
Is the iPhone still waterproof after the repair?
Thorn Deil - 回复
Many people say that it’s not…
Even if you replace the adhesives securing the display.
The same goes with the rubber protecting the hole where the cable enter, or the rubbers or what ever that It’s protecting the buttons to keep the water away …
With time this protective things gets old and fail to do it’s job, it’s normal.
But I Guess that it’s better than not replacing the adhesives at all…
David Novo - 回复
Does this camera module also works for the iPhone 7? Or should I only stick to the iPhone 7 one? That could be a nice upgrade if I already need to change it


