-
在这个步骤中使用的工具:Clampy - Anti-Clamp$24.95
-
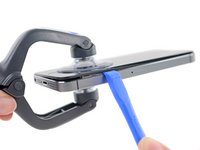
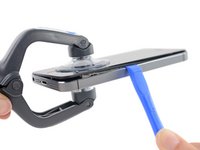
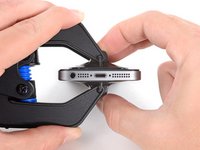
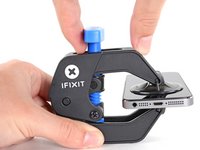
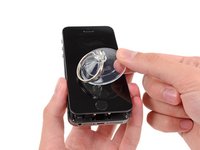
向后拉蓝色手柄以解锁反向钳臂。
-
将支撑臂滑过 iPhone 的左边缘或右边缘。
-
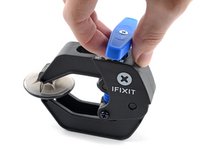
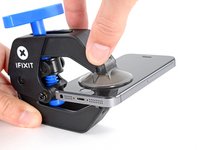
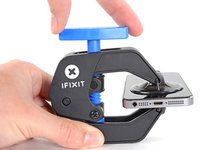
挤压吸盘,将吸力作用于所需部位。
-
-
-
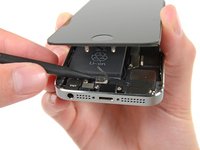
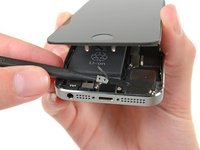
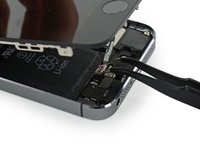
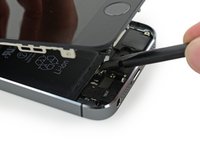
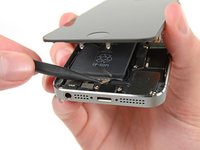
一只手固定好iPhone机身,另一只手轻轻地把机身从前面板底端的home键上分离。
-
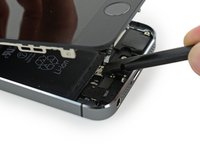
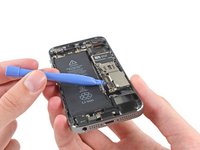
当你左手使用吸盘拉动的时候,右手用塑料撬棒在后机壳边缘处,轻轻地撬动,使屏幕和机身分离。
-
-
在这个步骤中使用的工具:Tweezers$4.99
-
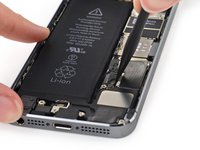
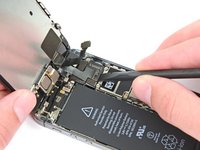
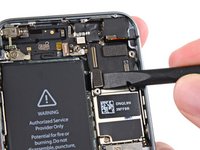
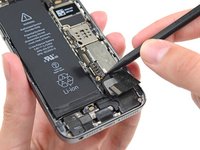
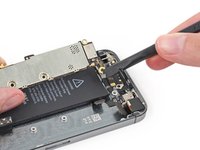
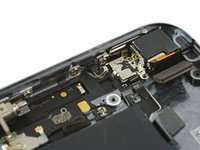
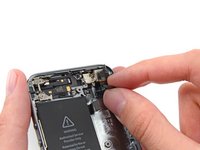
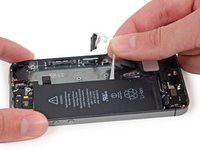
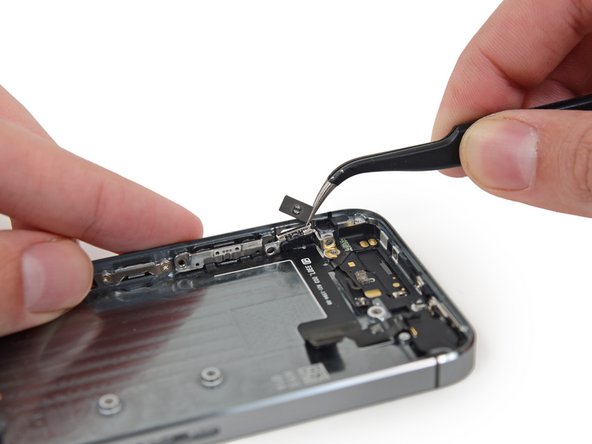
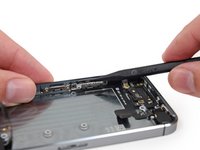
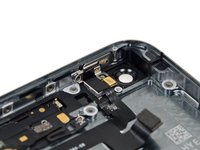
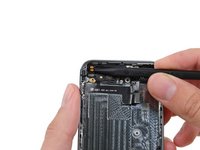
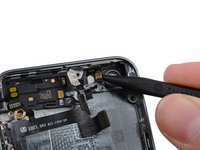
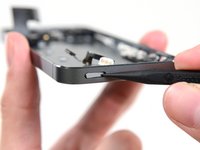
稍微打开屏幕,可以看到盖住home键电线的挡板铁片就可以了。
-
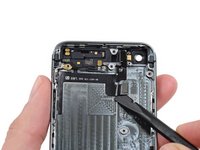
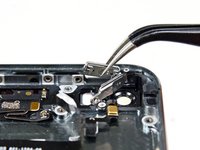
只有手机原装的Home键组件才能使用Touch ID功能。如果你扯断这根电线,装上新的home键只能恢复home键功能,而将失去Touch ID功能。
-
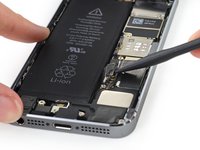
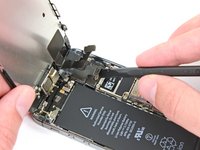
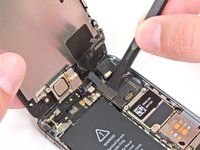
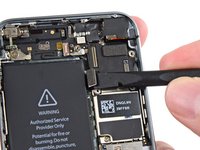
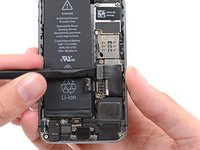
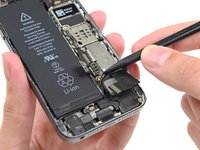
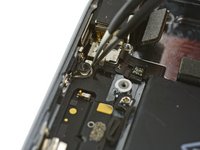
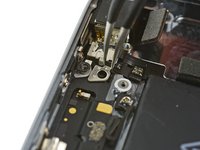
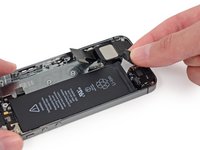
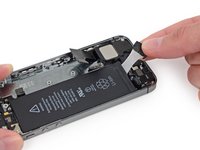
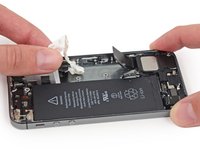
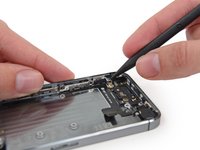
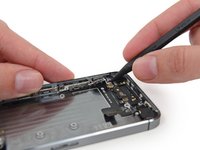
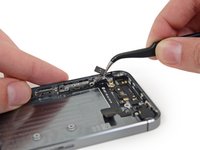
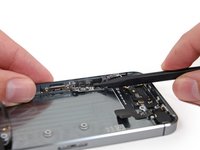
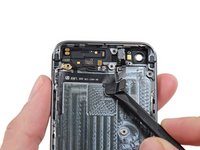
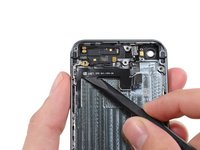
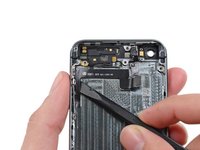
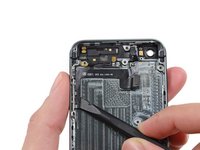
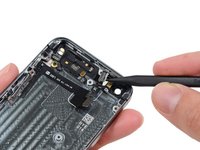
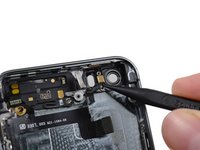
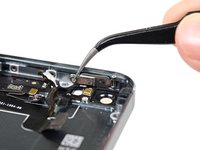
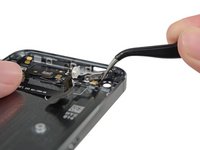
使用手机撬棒推动松下铁片,再用镊子取下来。
-
-
-
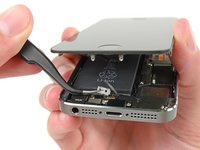
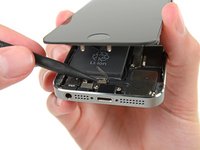
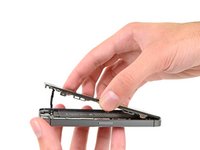
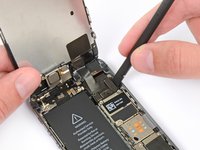
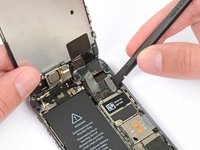
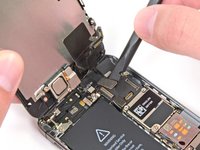
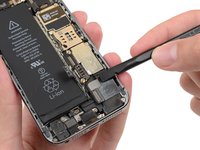
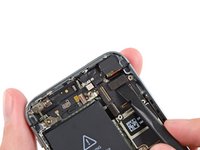
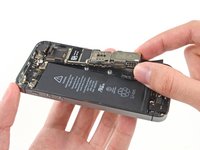
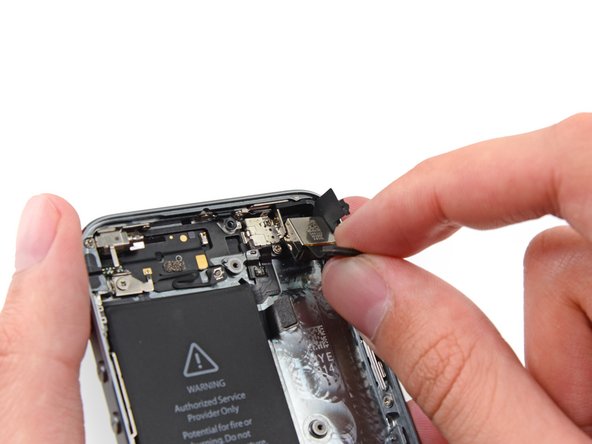
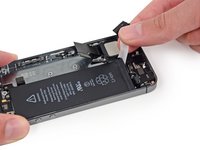
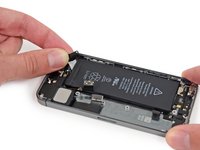
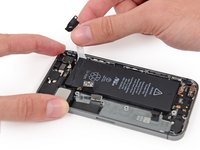
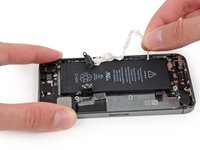
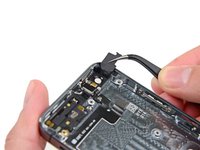
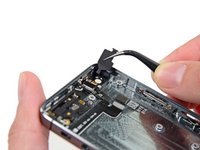
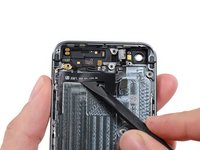
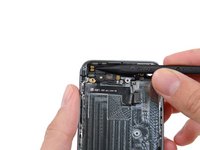
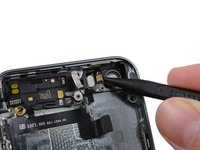
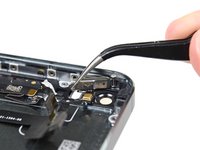
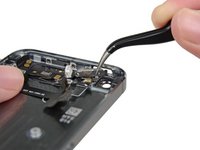
一旦连接器被撬开了后,把home键底端从机身上拉起,把手机顶端当做一个转动支点。
-
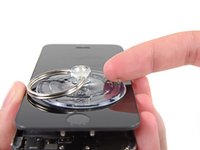
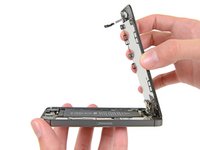
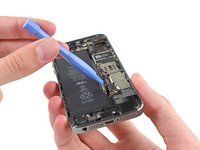
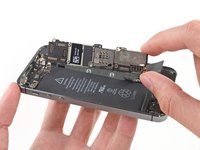
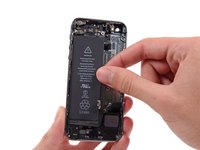
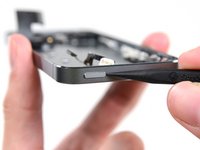
把显示屏立起来,保持跟机身成90度角。在你维修手机的过程中一直保持这个状态。
-
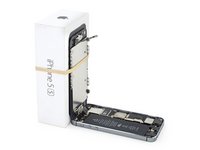
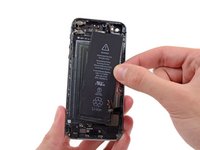
用橡皮筋把显示屏如图三所示固定住。这会避免在维修过程中显示屏电缆的损坏。
-
-


请倒序重组你的设备。
84等其他人完成本指南。


7指南评论
Parts list calls for:
iPhone 5s Logic Board Grounding Bracket and Contact Clip
not sure why.
Instructions at link for these parts says they are "visible in steps 53 through 56 of the Upper Component Cable Replacement guide". Not quite right.
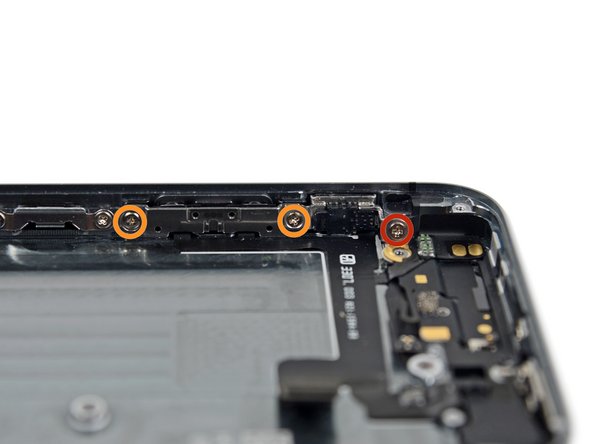
- Steps 56 & 57 show removal of the Logic Board Grounding Bracket, but instructions call it the “logic board antenna bracket”. Screw that goes through the logic board into this is marked in red on step 30.
- “Small metal contact beneath logic board” referred to in Step 30 goes under the Logic Board Grounding Bracket. See also Step 34.
- Step 59 shows removal of the Contact Clip.
Great guide. Be careful that the silence button is workable before reassembling everything. It is easy to think the switch is in place when it really isn’t. Also, be careful when adhering the new cable to the housing as accurate alignment is essential for the cable to not have a significant kink in it when trying to align it with the logic board. I found that following the markings on the back housing were pretty close when adhering the cable and deciding where to put it. I got sick of messing with battery adhesives and tried to use none and the battery is totally stable once the phone is reassembled and doesn’t rattle around at all.
Quick question: Is this cable compatible with iPhone 5 SE A1723?
mithm_2009 - 回复
Brilliant. My only comments are that it doesn’t mention that the new replacement ribbon cable has adhesive strips that need to be used, so be very careful in the positioning of it before sticking it down. Also, the power button part of the new cable needs to be stuck unto the retaining bracket with glue which you need to have at hand. I used UHU as it is fairly inert and can be easily repositioned. Finally, I suggest you will probably need a magnifier of some kind (stand or glasses) to help in this repair as it is a lengthy process, and best taken slowly.
Great guide! The steps were clear and detailed enough for me to replace upper component ribbon without messing anything else up (which, unfortunately, sometimes does happen) :) The only small thing that I would perhaps mention is that the rubber camera bumper also comes attached to the replacement ribbon, so you don’t have to worry about the old one when you’re removing it. Same with the small strip of adhesive that is holding the contact clip - I recommend removing it since the replacement ribbon also has the same adhesive strip already attached to it.