While iFixit's adhesive remover is generally safe to use on electronics, it contains a slight amount of acetone, which may discolor black plastic components. Protect these components with masking tape.
Cut a strip of painter's tape or masking tape to the width of the iPad.
Press the bottom edge of the tape strip onto the rear case below the upper components.
Run your finger along the bottom edge of tape strip to ensure a good seal.
Press the top edge of the tape strip over the upper components.
Pull off the black rubber stopper from your bottle of adhesive remover.
Twist to loosen or remove the bottle cap before you cut the applicator tip.
This unseals the bottle and allows the pressure to equalize before you cut the applicator tip. If you skip this step, the adhesive remover may spray out unexpectedly when the tip is cut.
Use scissors to cut off the sealed tip of the applicator.
Cutting close to the narrow tip will give you better control so you can apply the adhesive remover in small amounts.
Twist and close the bottle cap securely before you proceed further.
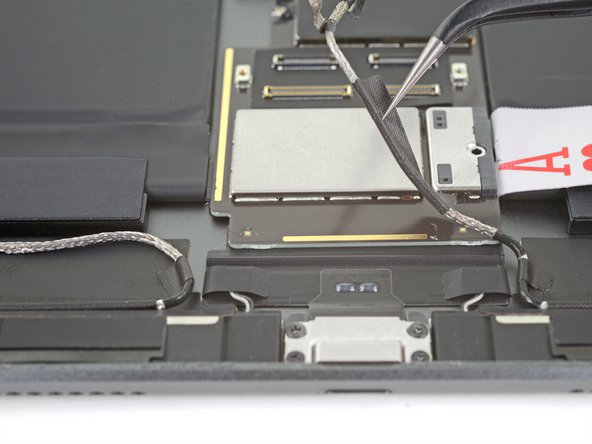
The red boxes show the locations of the adhesive strips that secure the battery to the rear case.
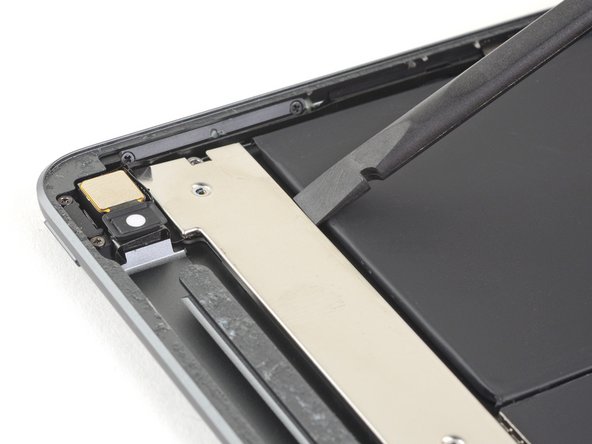
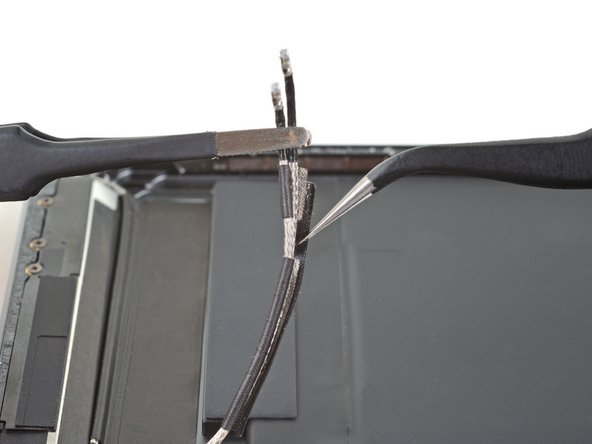
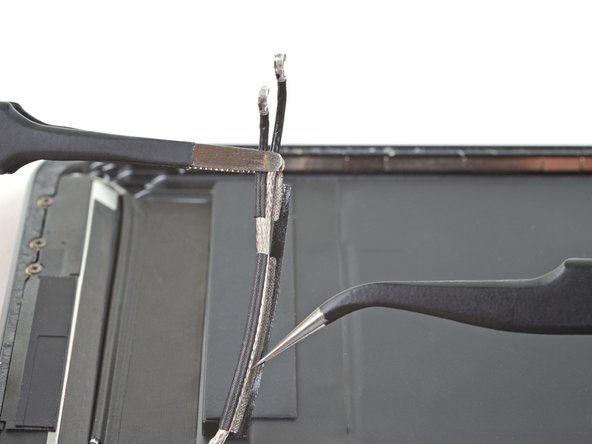
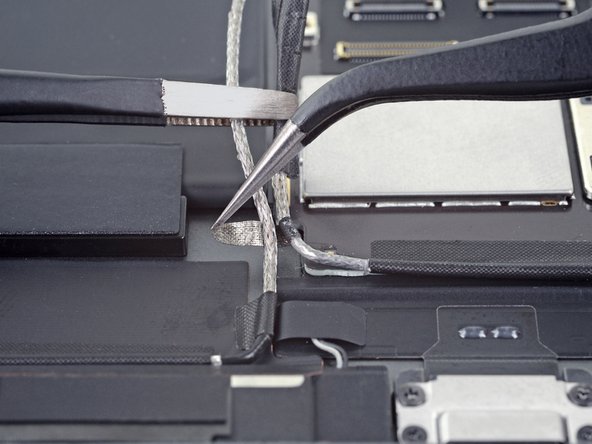
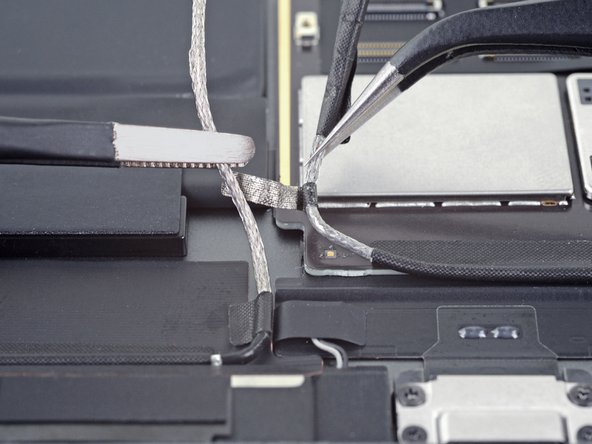
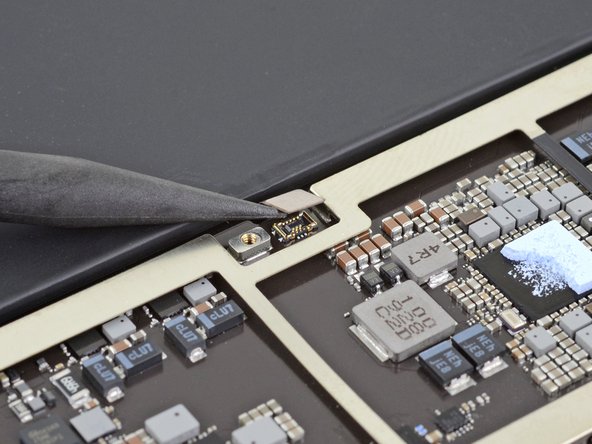
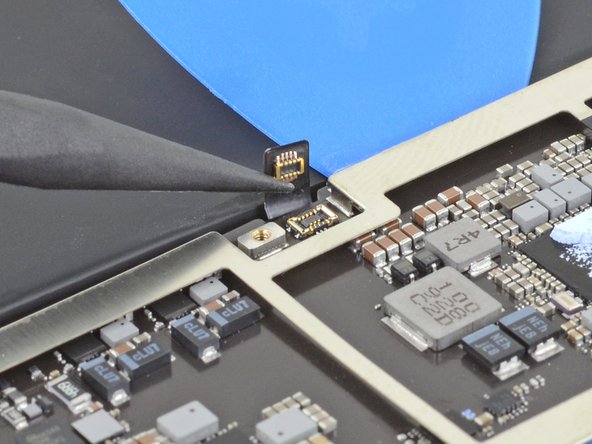
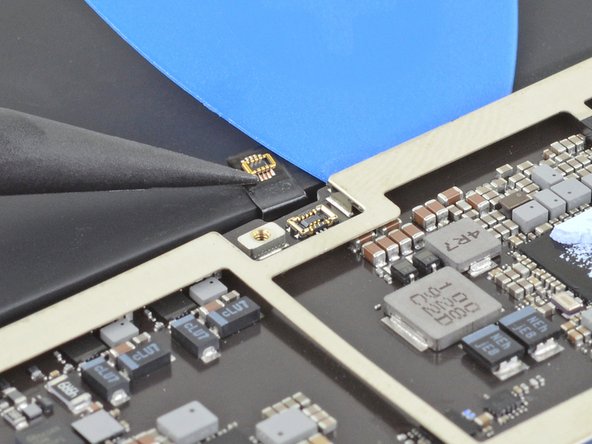
The orange box shows the location of the Smart Connector cable that runs underneath the left battery cell. Be careful not to damage this cable when you pry up the battery.
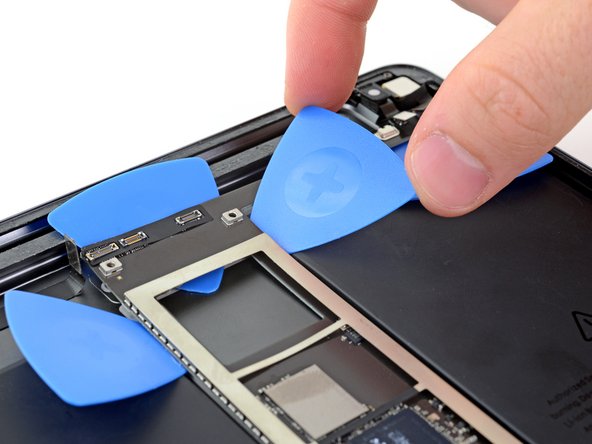
As you pry the battery, take care not to puncture or bend the battery with your tool—a punctured or bent battery may leak dangerous chemicals or cause a thermal event.
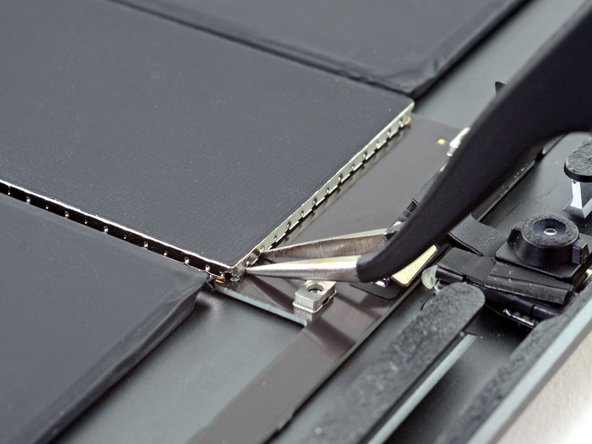
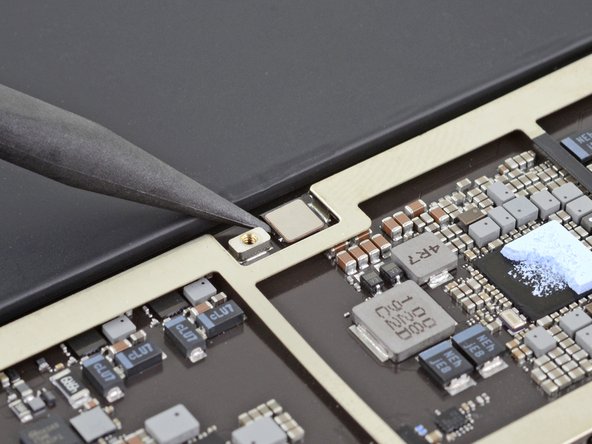
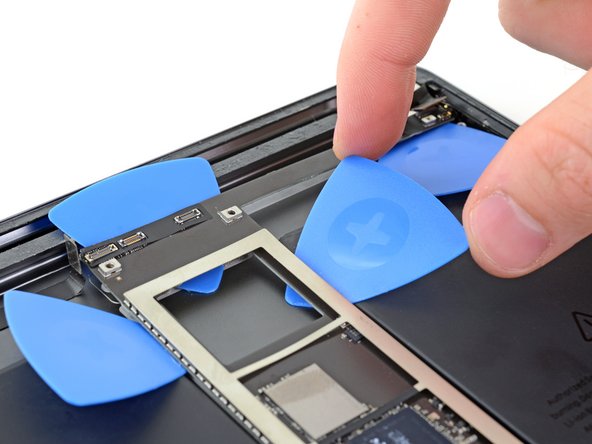
Insert a plastic card under the top of the left battery cell.
Slide the plastic card as far as you can under the battery to cut the adhesive.
If the adhesive becomes difficult to cut through, apply a few more drops of adhesive remover to the crevice, wait a minute, and try again.