简介
许多更换配件没有定制切割粘合剂,但附带预切割粘合剂卡片,这个具有切割成双面粘合剂的各种有用形状。本指南介绍了一些最常见的设备维修的预切粘合卡片操作。
请遵循手机特定的维修指南和配件以获取更换说明。本指南仅适用于某些更换套装中包含的预切粘合卡片的。
你所需要的
-
-
-
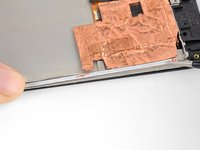
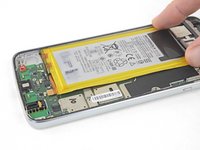
在使用任何粘合剂之前,请确保你的更换配件是合适的,并且所有接口都可以连接而不会对其电缆施加太大的压力。之后,请打开设备电源并验证一切是否正常。如果一切正常,请关闭设备电源并继续。
-
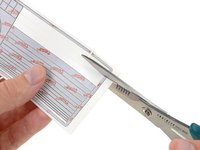
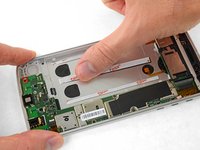
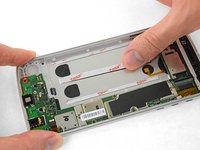
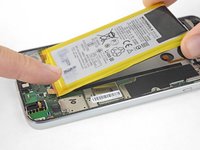
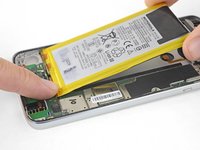
关闭设备后,请使用正确的粘合剂形状进行维修。
-
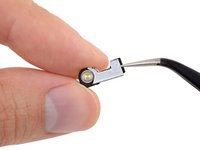
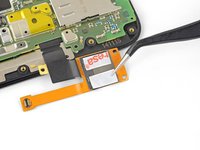
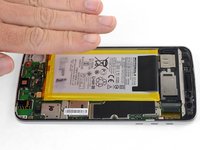
避免在带状电缆或NFC或无线充电线圈等精致表面上涂抹粘合剂。
-
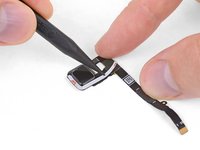
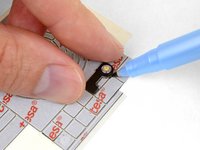
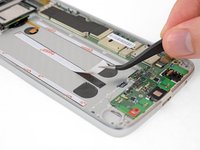
在使用胶条时,请务必首先涂抹一端,然后用手指或撬棒的扁平端再铺平其余的条带,挤出任何气泡。
-
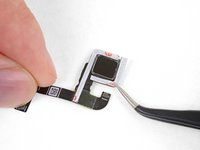
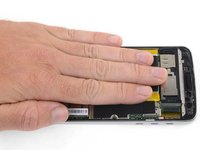
使用一把镊子剥离粘合剂的背衬。
-


131等其他人完成本指南。


8指南评论
Ciao, per chiudere la cover posteriore, che larghezza di nastro adesivo consigli
First, the ifixit kit was excellent. The linked instruction were very thorough and easy to follow. I was a bit nervous about attempting the battery replacement on my Moto G6…“with it’s nonreplaceable battery”, but I pulled if off without a hitch thanks to the kit and directions from ifixit. Now my phone is charging and working better than it has in a long time. Highly recommend these guys.
Das sind gute Tipps, hoffe das ich auch als Laie dies hin bekomme. Werde es mal ausprobieren mit den Klebefolien. Wird bestimmt sehr kniffelig.
Lg Emma
emma kuehn - 回复
Sehr hilfreich zu den Tipps mit Folien. Es ist für dicke Finger etwas schwer handzuhaben aber dennoch machbar.
Grüße
Sinan
The guide is generally good, but it lacks the note in the end that you need do more actions to be able to put together the phone:
1) Carefully peel off the fingerprint sensor from back cover, make sure sticky bits still there
2) Connect fingerprint sensor to the frame of the phone
3) Place the sensor in its place (you'll see a tab there)
4) Re-place the back of the phone - it should click in on all sides and the fingerprint sensor will adhere back to its place
Also, beware VERY LOW QUALITY LCD replacements on Amazon. Terrible, horrible quality.