此翻译由机器生成,尚未经过人工审核。 会说这种语言吗? 查看评论。
简介
使用本指南更换 Moto G6 的屏幕,包括与显示屏粘在一起的中框。
开始之前,请下载 Rescue and Smart Assistant 应用程序,以备份你的设备并诊断问题是源于软件还是硬件。
请确保你的替换件包含显示屏和中框——本指南不涉及将显示屏从中框上分离的操作。
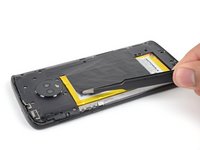
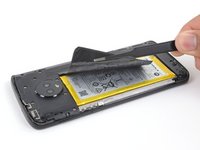
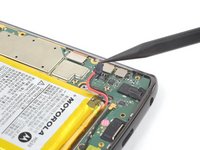
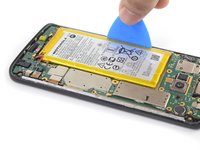
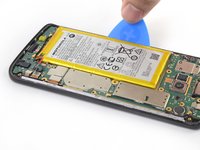
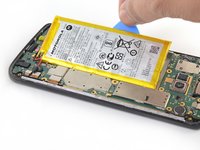
此过程涉及拆卸电池,电池在拆卸过程中可能会损坏。我们强烈建议你不要重复使用旧电池,因为这样做可能会造成安全隐患。请更换一块新电池。
你所需要的
-
-
-
-
如果可能,请在拆卸前将电量耗尽。如果电池带电,在维修过程中若电池过热或受损,发生危险热事件的风险会增加。
-
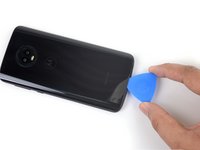
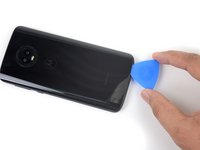
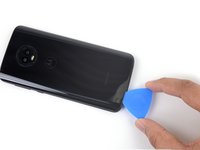
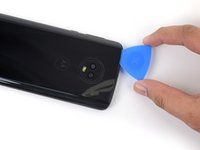
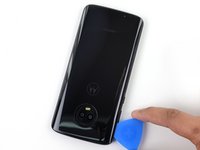
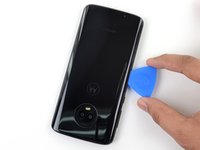
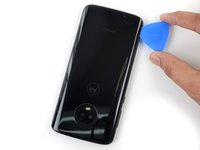
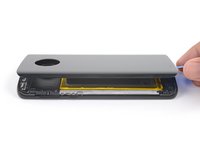
准备一个 iOpener,并沿手机后盖底边加热约两分钟,或者加热到摸起来稍微烫手的程度。这有助于软化固定后盖的粘合剂。
-
-
-
-
-
-
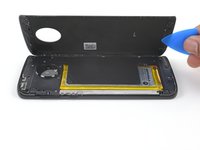
使用 Phillips 螺丝刀拧下固定塑料盖板的 17 颗螺丝:
-
11 颗 3 mm 长的灰色螺丝
-
5 颗 2.5 mm 长的黑色螺丝
-
1 颗 3.5 mm 长的银色螺丝
-
-
-
-


 询问修复机器人




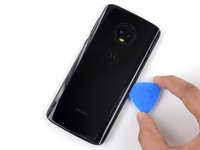
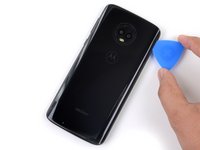


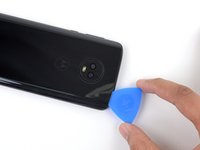
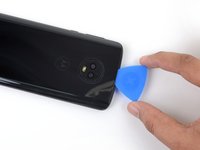








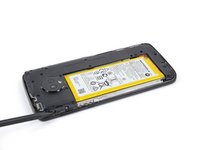
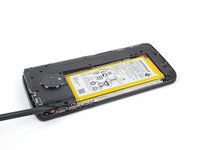
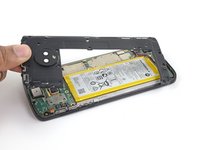


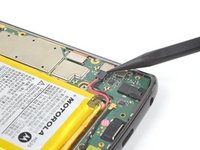



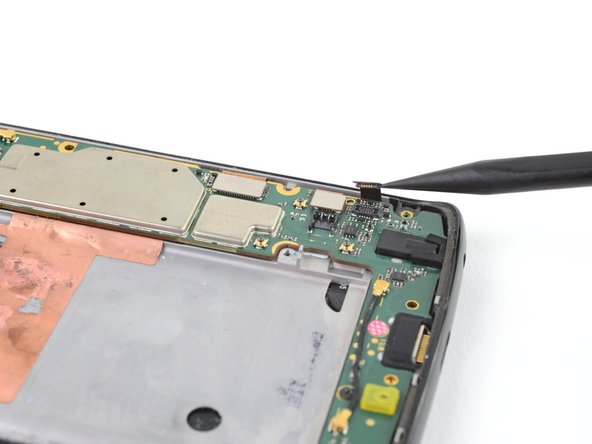


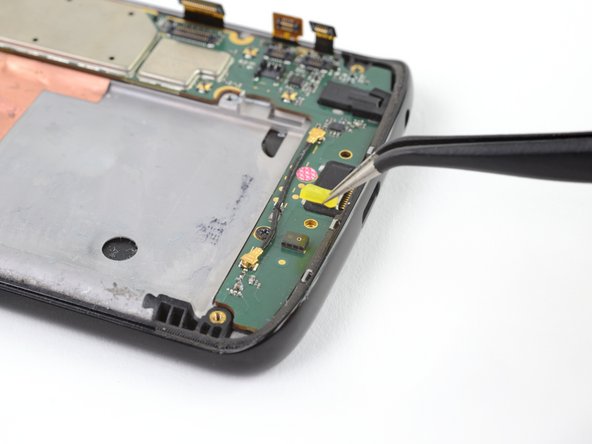



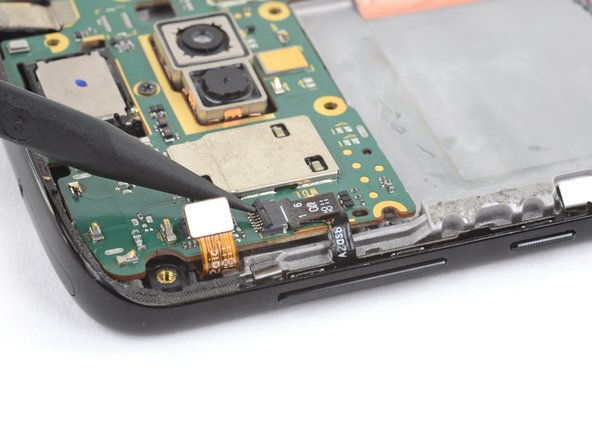
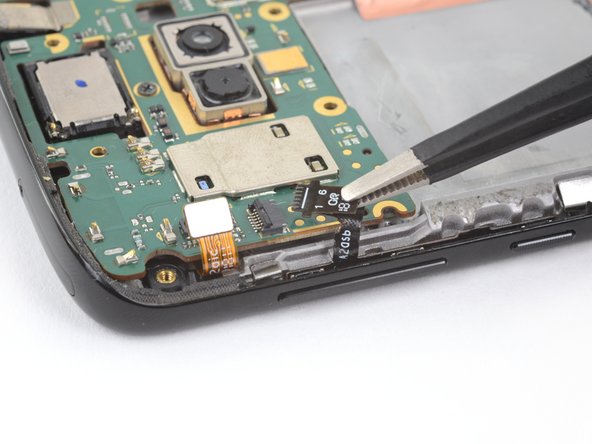
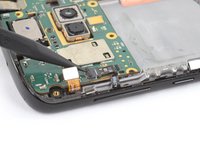
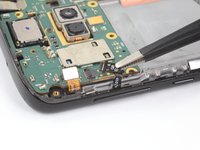


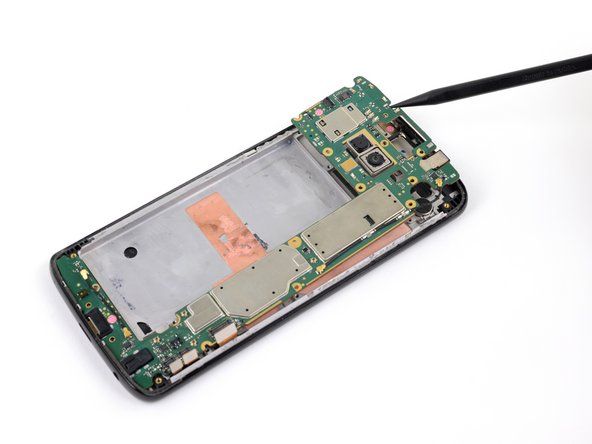
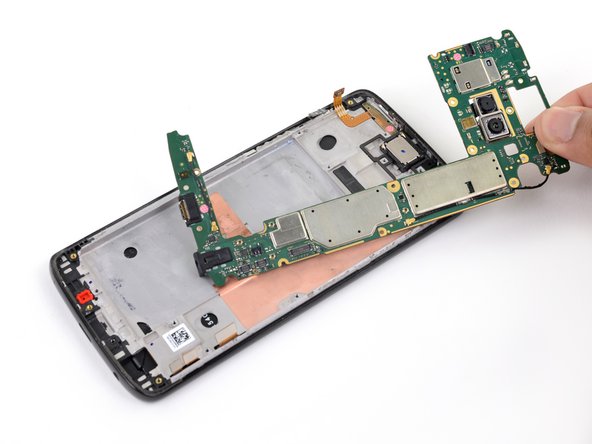
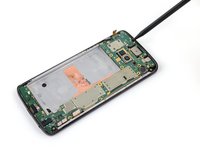
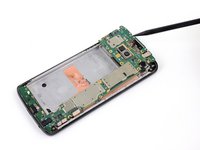
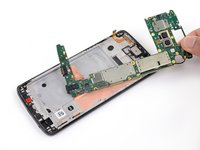

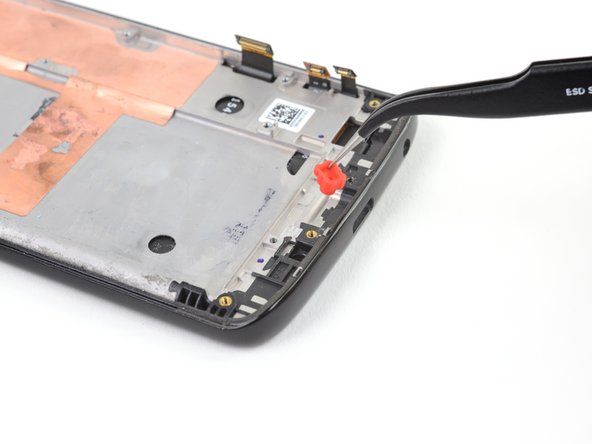


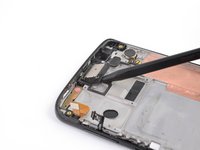
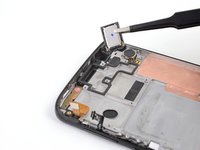

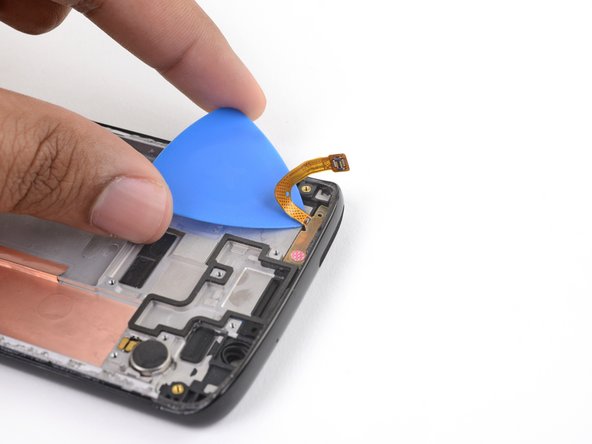
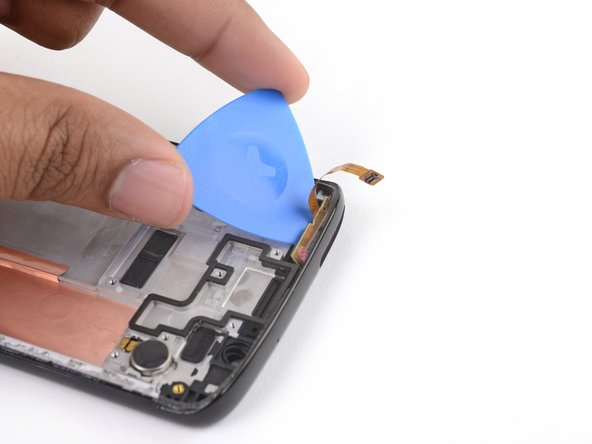
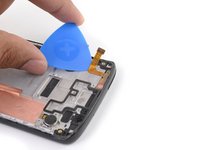
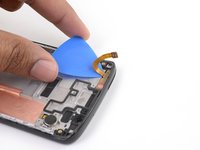
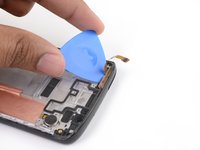


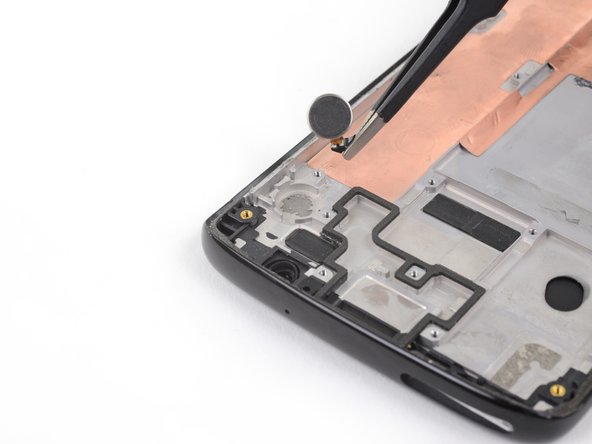
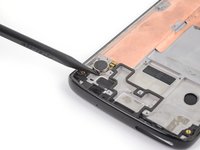
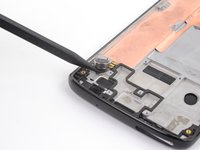
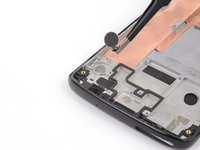


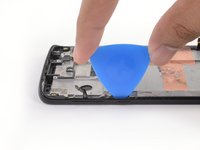
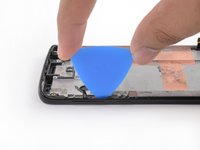
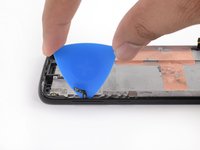


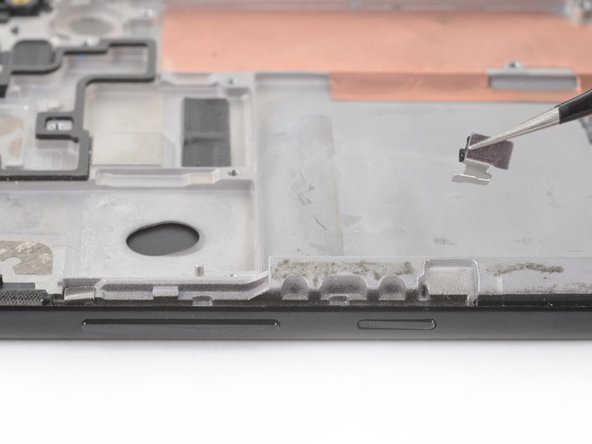
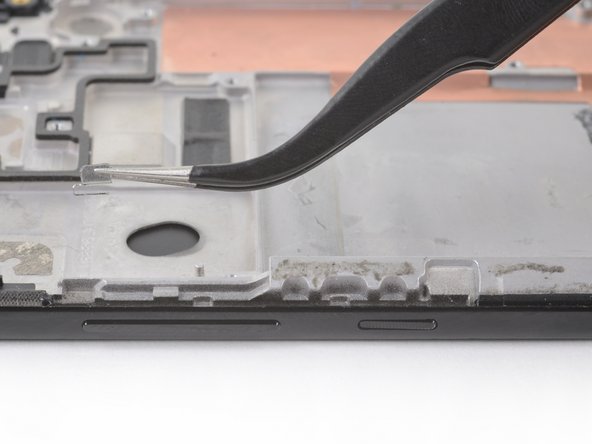
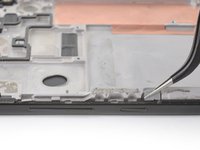
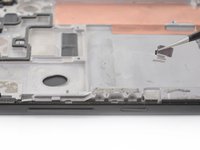
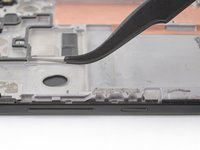


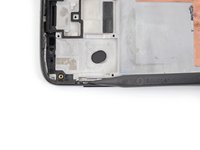
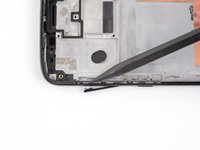
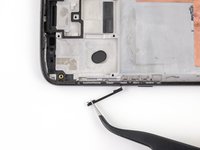


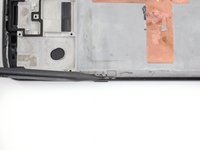
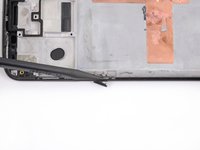
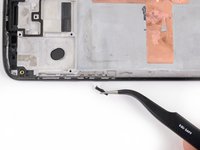

要组装你的设备,请按照上述步骤的相反顺序进行操作。
请将你的电子废弃物送到经 R2 或 e-Stewards 认证的回收商处处理。
为了获得最佳性能,请在完成本指南后,校准你新安装的电池。
维修没有按计划进行?请尝试一些基础故障排除,或向我们的 Motorola Moto G6 Answers 社区寻求帮助。
29等其他人完成本指南。

9指南评论
Nice instructions. I suggest adding that around step 24 or 25 removal of the rubber gasket/boot around the selfie camera be included. I didn’t see this anywhere in the instructions but found the part rolling around my table shortly after these steps. Also, as a general suggestion, and ice cube tray make organizing all the screws and little parts pretty easy.
William Gode - 回复 分享
Thanks for identifying the selfie gasket.
Brian Provus - 回复 分享
This can be done more quickly and easier by removing the front glass too. Then unplugging the 3 cables from the motherboard, and feeding your new screen cables through the front into the back.
