简介
本维修指南由iFixit工作人员编写但未经Google认证。点击此处了解更多关于维修指南的信息。
本指南旨在帮助您更换Google Pixel 6 不工作或破损的屏幕。
您订购的新屏幕上会有提前安装好指纹识别器。如果没有,您需要将指纹识别器从旧设备上取下,并安装到新屏幕上。如果您要更换指纹识别器,您需要重新校正识别器 令其正常工作。如果你使用的是售后屏幕和指纹传感器,你可能会遇到指纹重新校准工具的问题。
如果外边框变形,请将边框一并更换。这样能够保证新屏幕的正确安装,并避免屏幕因为边框变形导致的压力不均而受损。
如果您的电池鼓包,请做好适当的预防措施。在拆卸设备之前,将电池放电至25%以下。这能够降低在维修过程中电池破损带来的风险与伤害。
注意:Pixel 6 包含 1 类激光器。拆卸可能会导致暴露于不可见的红外激光发射下。
注: 本指南仅帮助你更换带有塑料边框的屏幕。但有些替换组件并没有附带边框,需要您遵循不同的更换步骤。请确保您在开始维修之前准备好正确的零部件。
如果维修后保持防水性能取决于您在重新组装时不更换并重新应用粘合密封件的情况,但您的设备将正常工作,但很可能会失去其防水 IP(防水防尘保护)等级。
在开始维修之前,请准备好屏幕的替换用粘胶。
你所需要的
-
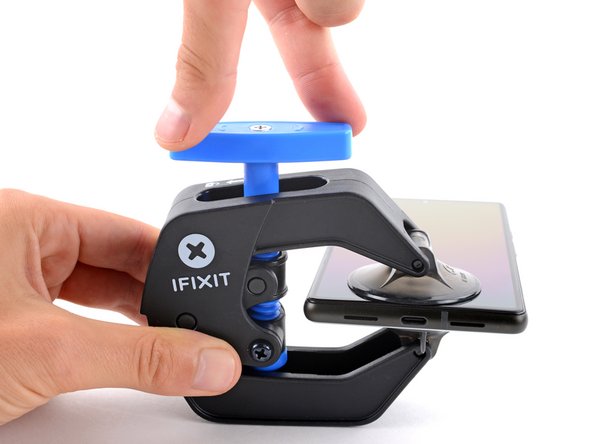
在这个步骤中使用的工具:Clampy - Anti-Clamp$24.95
-
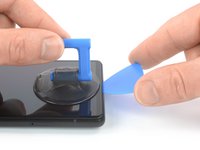
向后拉蓝色手柄以解锁防夹臂。
-
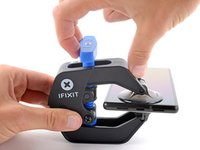
将支撑臂滑过手机的左边缘或右边缘。
-
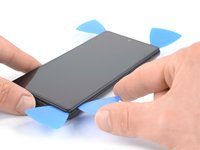
将吸盘放置在手机底部边缘附近 - 一个位于正面,一个位于背面。
-
将吸盘挤压在一起以施加吸力。
-
-
-
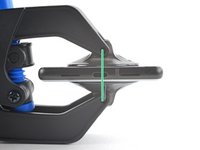
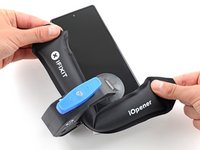
加热 iOpener 并将其穿过反向钳臂。
-
折叠 iOpener,使其位于手机的底部边缘。
-
等待一分钟,让粘合剂有机会软化并出现开口间隙。
-
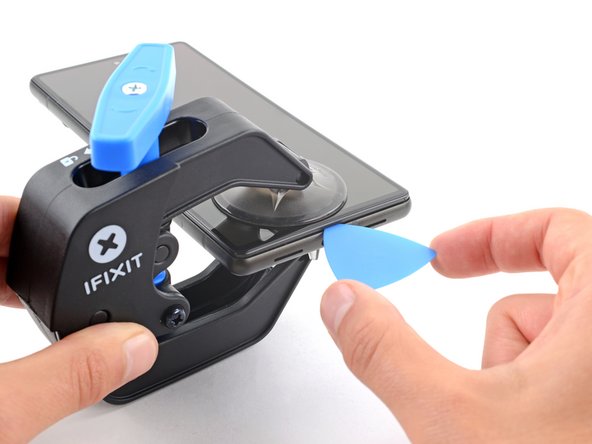
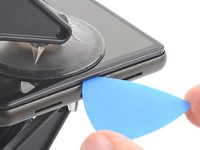
当反向钳创造出足够大的间隙时,在网框下方插入撬片。
-
跳过接下来的两个步骤。
-
-
-
-
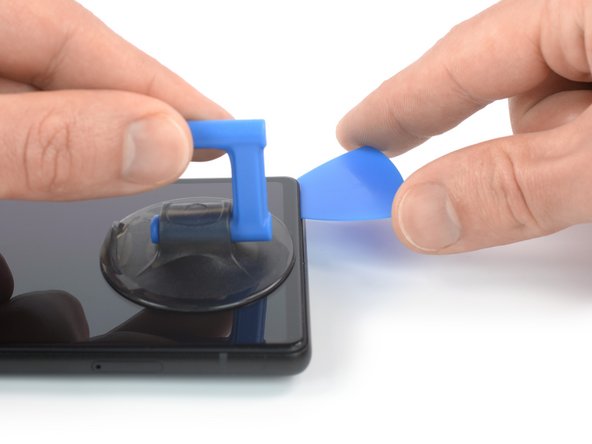
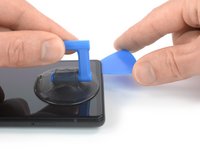
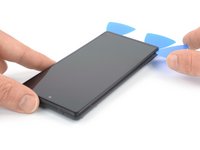
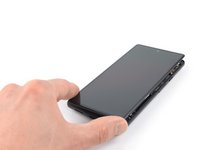
屏幕摸起来有些温暖时,用吸盘吸住屏幕底部。
-
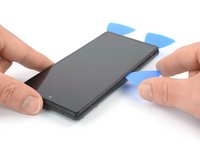
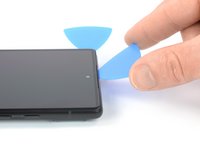
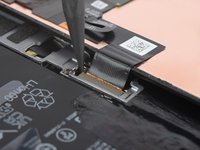
将屏幕和塑料边框一起轻轻抬起,使其与手机之间形成一条缝隙。
-
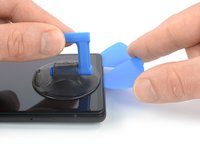
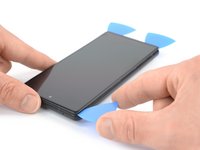
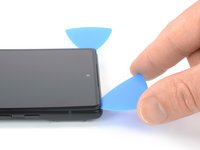
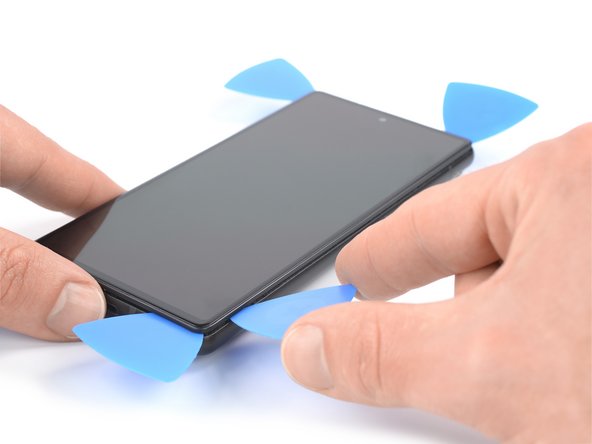
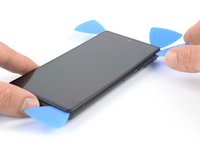
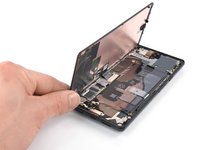
将三角撬片插入到屏幕边框和手机之间的缝隙中。
-
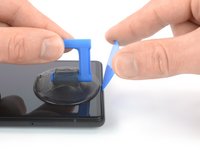
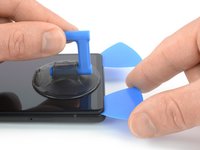
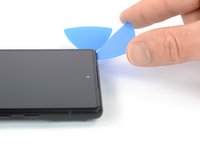
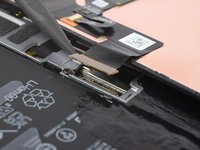
沿机身底部划开右下角的粘胶。
-
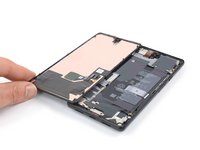
将三角撬片留在原处,防止粘胶重新粘合。
-


183等其他人完成本指南。


81指南评论
Ordered the official Google Pixel 6 display part from iFixit and followed this guide, which worked well. However, it's probably worth adding that you may need to manually calibrate the display once it's installed if the phone is throwing up fingerprint reader errors (which is what happened to me). You can do that via this tool from Google: https://pixelrepair.withgoogle.com/udfps
The best advice when performing this procedure is.
The guide worked great, thanks! :D
Warning to others though: Careful what you buy! The genuine display was out of stock so I bought from a different source which didn't come with a fingerprint reader or display adhesive. My fault for not paying attention when buying, but fair warning to everyone else to double check. I hadn't even considered the reader being glued to the screen but not included on replacement parts. The adhesive is an easy purchase, but not sure how hard the fingerprint reader will be. I might be back to unlocking with a pin like some kind of caveman!
Nvm, found the guide for the fingerprint reader replacement. Hopefully I can just move this one over.
I'd second this warning as well - from what I eventually found online, when you try to calibrate the fingerprint reader with an aftermarket screen, you'll get a profile error that doesn't allow you to proceed. This is because the screen profile isn't loaded on Google's Servers, not the fingerprint reader. So essentially if you get an aftermarket screen, Google won't allow you to calibrate the fingerprint reader :(