跳转到主内容
DualShock 4 CHU-ZCT2U Joystick Covers Replacement

DualShock 4 CHU-ZCT2U Joystick Covers Replacement

Sam Omiotek

Sam Omiotek 另一个贡献者

最后更新于 March 2, 2025

10 - 30 分钟
中等
特色指南

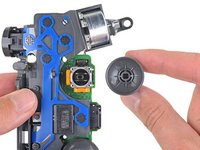
Follow this guide to replace the joystick covers on a Sony Dualshock 4 CHU-ZCT2U PlayStation controller.

你所需要的

配件

工具

查看更多...

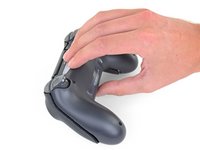
  1. DualShock 4 CHU-ZCT2U Joystick Covers Replacement, Remove the rear panel screws: 步骤 1 中的图像 1,2 DualShock 4 CHU-ZCT2U Joystick Covers Replacement, Remove the rear panel screws: 步骤 1 中的图像 2,2
    • Use a Phillips screwdriver to remove the four 6.4 mm-long screws from the rear panel.

    A driver size recommendation would be nice. I tried several and found that a size 2.5 Phillips worked nicely

    Justin Vander Ziel - 回复

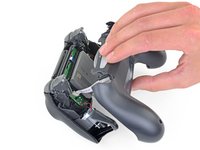
  2. DualShock 4 CHU-ZCT2U Joystick Covers Replacement, Separate the rear panel: 步骤 2 中的图像 1,2 DualShock 4 CHU-ZCT2U Joystick Covers Replacement, Separate the rear panel: 步骤 2 中的图像 2,2
    • Four fragile plastic clips hold the panels together. You can see their locations more clearly in this guide.

    • The clips help hold the seams together. If you break these clips, the controller will still work.

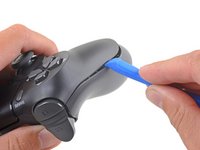
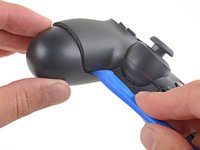
    • Insert an opening tool into the crease where the front and rear panel meet, starting from the outside edge of either handle.

    • Gently pry the rear panel off of the front panel until they become partially separated.

    easy, but quite brute way of opening the rear panel without the opening tool: https://www.youtube.com/watch?v=wYybiBBL...

    watch the opening from the back part only, then return here.

    christianviali - 回复

    That worked but a couple clips broke in the process. Beware for people trying this method.

    Bryan Remely -

    There are 4 tab clips total, 2 at the top corners (very easy to break) and 2 at the bottom near the ports. The screws will keep it together even if they do break but be careful if you don’t want to break them.

    Fungi -

    I've written a guide to help others find the clips and unlatch them.

    Important Step For Opening the DualShock 4 CUH-ZCT2U

    Richard - 回复

    Hi Richard,

    Thanks for writing this up! I'm going to link your guide into the step.

    Arthur Shi -

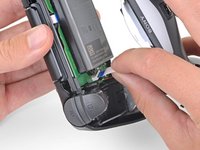
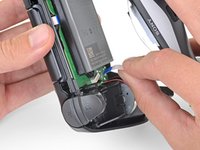
  3. DualShock 4 CHU-ZCT2U Joystick Covers Replacement, Release the plastic clips: 步骤 3 中的图像 1,3 DualShock 4 CHU-ZCT2U Joystick Covers Replacement, Release the plastic clips: 步骤 3 中的图像 2,3 DualShock 4 CHU-ZCT2U Joystick Covers Replacement, Release the plastic clips: 步骤 3 中的图像 3,3
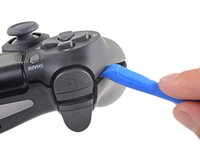
    • Use the opening tool to separate the panels by releasing the plastic clips around the perimeter of the controller.

    I've written a guide to help others find and unlatch these clips

    Important Step For Opening the DualShock 4 CUH-ZCT2U

    Richard - 回复

  4. DualShock 4 CHU-ZCT2U Joystick Covers Replacement, Remove the rear panel: 步骤 4 中的图像 1,2 DualShock 4 CHU-ZCT2U Joystick Covers Replacement, Remove the rear panel: 步骤 4 中的图像 2,2
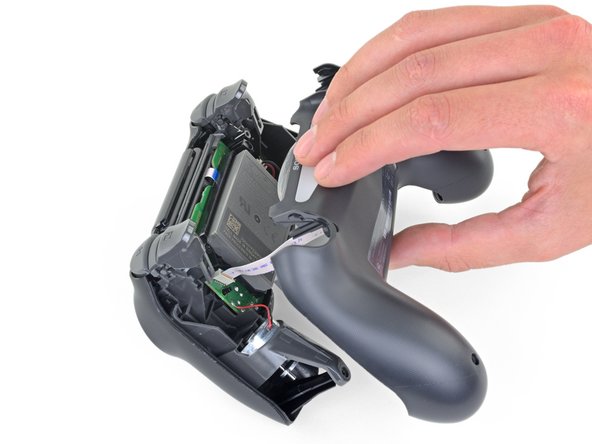
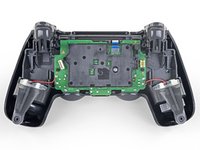
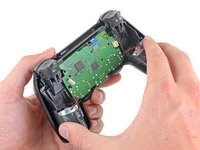
    • Lift the rear panel directly away from the controller.

    • Do not completely remove the rear panel. It is still attached to the controller by a ribbon cable.

  5. DualShock 4 CHU-ZCT2U Joystick Covers Replacement: 步骤 5 中的图像 1,2 DualShock 4 CHU-ZCT2U Joystick Covers Replacement: 步骤 5 中的图像 2,2
    在这个步骤中使用的工具:
    Tweezers
    $4.99
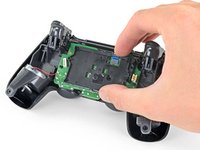
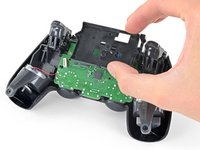
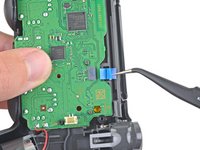
    • Use your fingers to gently pull the ribbon cable straight out of its connector on the motherboard.

    • Since this cable's pull tab is too small to grab with fingers or tweezers, grab the cable itself. Otherwise utilize pull tabs whenever possible.

    • During reassembly, grab the ribbon cable by the blue tab and gently press the cable straight into the connector. Push the blue tab rather than the ribbon cable itself.

    I'm struggling getting the ribbon to connect back in. Why might that be?

    David Clair II - 回复

  6. DualShock 4 CHU-ZCT2U Joystick Covers Replacement, Remove the battery: 步骤 6 中的图像 1,2 DualShock 4 CHU-ZCT2U Joystick Covers Replacement, Remove the battery: 步骤 6 中的图像 2,2
    在这个步骤中使用的工具:
    Tweezers
    $4.99
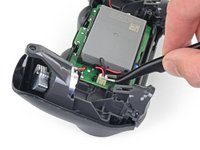
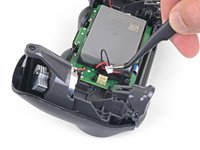
    • Use a pair of tweezers to pull the battery's power connector straight up from the motherboard.

  7. DualShock 4 CHU-ZCT2U Joystick Covers Replacement: 步骤 7 中的图像 1,2 DualShock 4 CHU-ZCT2U Joystick Covers Replacement: 步骤 7 中的图像 2,2
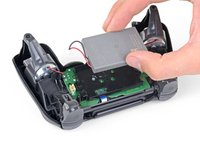
    • Remove the battery.

  8. DualShock 4 CHU-ZCT2U Joystick Covers Replacement, Remove the motherboard: 步骤 8 中的图像 1,2 DualShock 4 CHU-ZCT2U Joystick Covers Replacement, Remove the motherboard: 步骤 8 中的图像 2,2
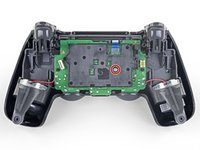
    • Use a Phillips screwdriver to remove the 6.4 mm-long screw securing the battery bracket.

  9. DualShock 4 CHU-ZCT2U Joystick Covers Replacement: 步骤 9 中的图像 1,2 DualShock 4 CHU-ZCT2U Joystick Covers Replacement: 步骤 9 中的图像 2,2
    • Remove the battery bracket.

  10. DualShock 4 CHU-ZCT2U Joystick Covers Replacement: 步骤 10 中的图像 1,2 DualShock 4 CHU-ZCT2U Joystick Covers Replacement: 步骤 10 中的图像 2,2
    在这个步骤中使用的工具:
    Tweezers
    $4.99
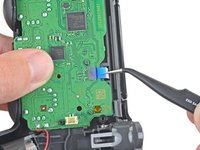
    • Use a pair of tweezers to disconnect the touch panel ribbon cable.

    • Pull the ribbon cable directly away from its connector on the motherboard by the blue pull tab, not by the cable itself.

    My tweezers stabbed the cable,yikes!

    jat xe mo - 回复

    i cant plug the cable back in :)

    Antoniomastro10 - 回复

    Can you plug the cable back in?

    LeBron James - 回复

  11. DualShock 4 CHU-ZCT2U Joystick Covers Replacement: 步骤 11 中的图像 1,2 DualShock 4 CHU-ZCT2U Joystick Covers Replacement: 步骤 11 中的图像 2,2
    • Separate the motherboard and midframe assembly from the front panel.

    If you’re having trouble separating those part, this might be because of the blue pull tab. Make sure the pull tab is pushed through the hole to free the motherboard and the midframe assembly from the front panel.

    Philippe Morin - 回复

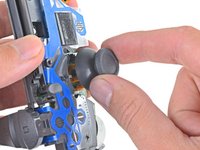
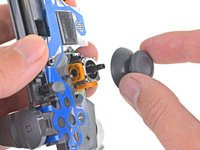
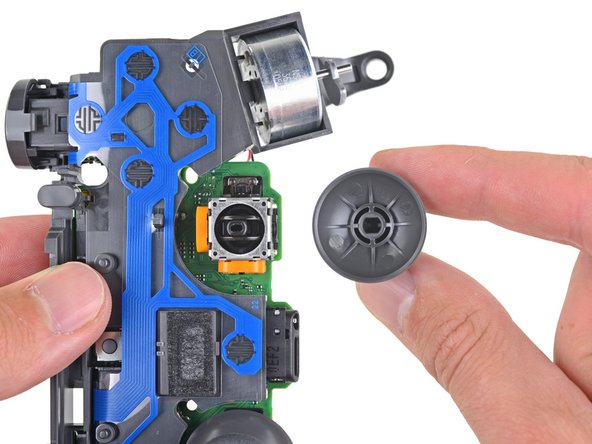
  12. DualShock 4 CHU-ZCT2U Joystick Covers Replacement, Remove the joystick covers: 步骤 12 中的图像 1,2 DualShock 4 CHU-ZCT2U Joystick Covers Replacement, Remove the joystick covers: 步骤 12 中的图像 2,2
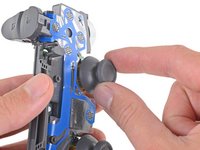
    • Pull the right joystick cover straight off the joystick module to remove it.

  13. DualShock 4 CHU-ZCT2U Joystick Covers Replacement: 步骤 13 中的图像 1,2 DualShock 4 CHU-ZCT2U Joystick Covers Replacement: 步骤 13 中的图像 2,2
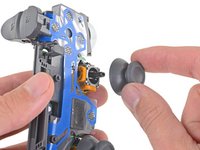
    • Pull the left joystick cover straight off the joystick module to remove it.

  14. DualShock 4 CHU-ZCT2U Joystick Covers Replacement, Reassembly tip: 步骤 14 中的图像 1,2 DualShock 4 CHU-ZCT2U Joystick Covers Replacement, Reassembly tip: 步骤 14 中的图像 2,2
    • During reassembly, ensure the new joystick covers properly align with the shafts on the joystick modules before pressing them into place.

结论

To reassemble your device, follow the above steps in reverse order.

Repair didn’t go as planned? Check out our Answers community for troubleshooting help.

34等其他人完成本指南。

Sam Omiotek

于02/25/19注册

85,710 声望

创作了290篇指南

1指南评论

Are you able to replace the actual joystick with a diffrent one or are we only able to switch out covers?

Grant seward - 回复

添加评论

浏览统计数据:

过去 24 小时: 19

过去 7 天: 135

过去 30 天: 674

总计 23,802