简介
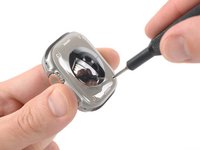
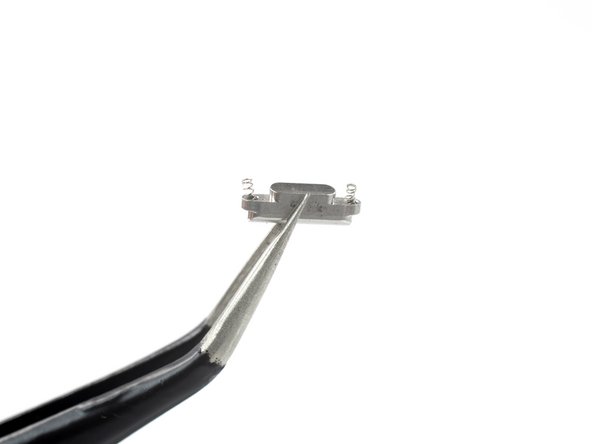
使用本指南移除或更换 Apple Watch Ultra 中损坏的传感器组件。
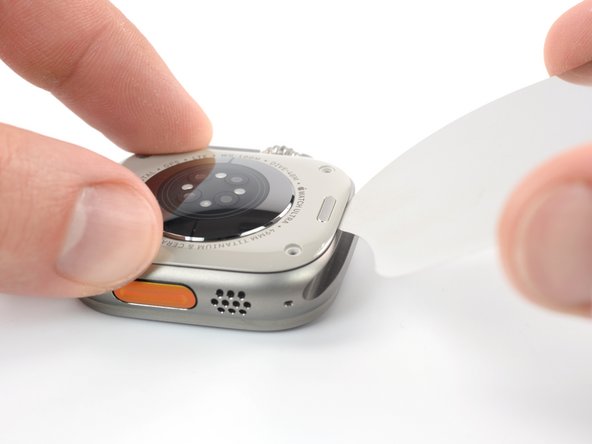
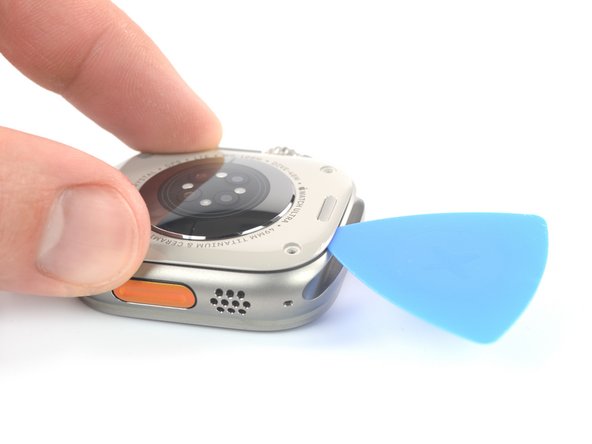
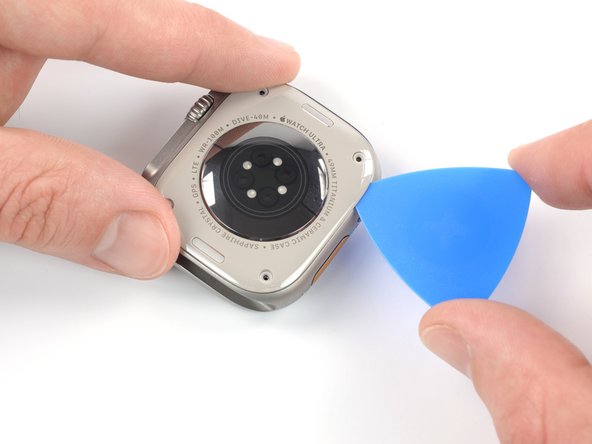
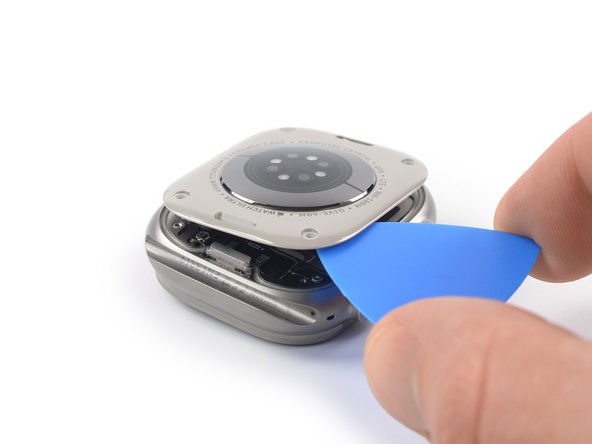
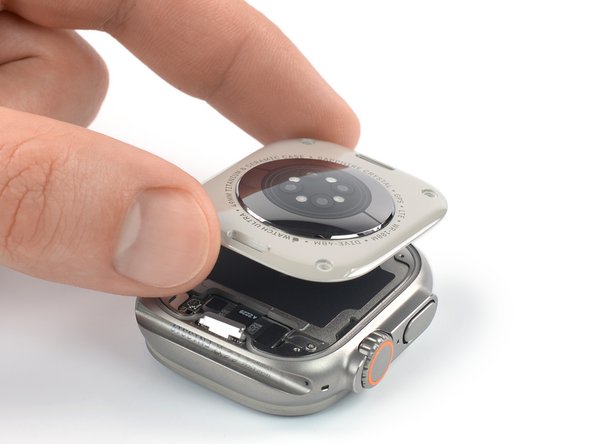
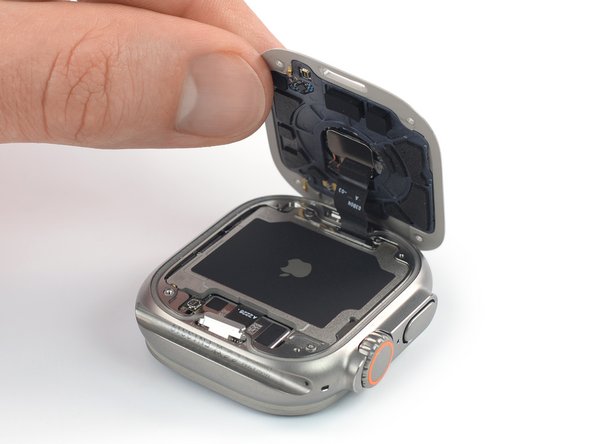
重新组装设备时,你需要更换胶水来重新连接屏幕。你的设备将正常运行,但很可能会失去其 IP6X(入侵保护)等级。
你所需要的


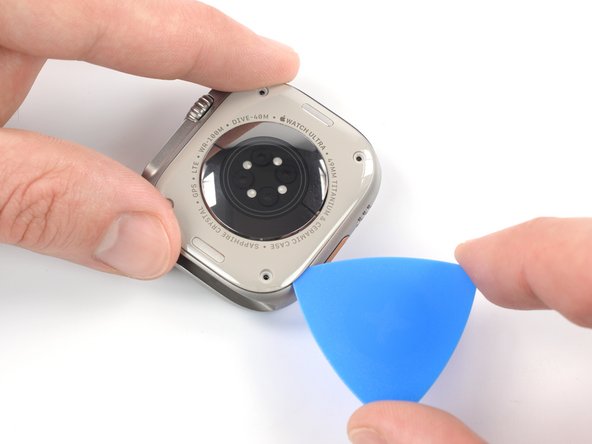


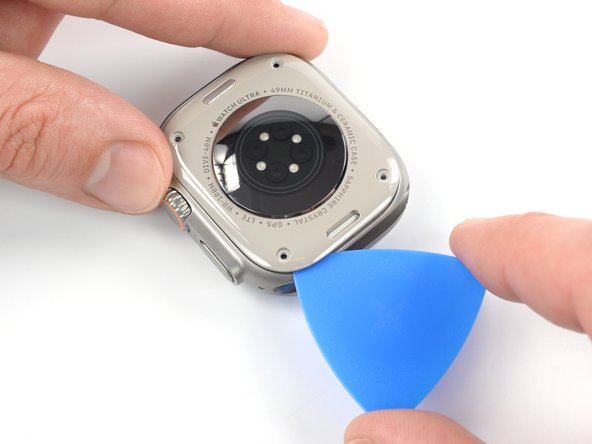


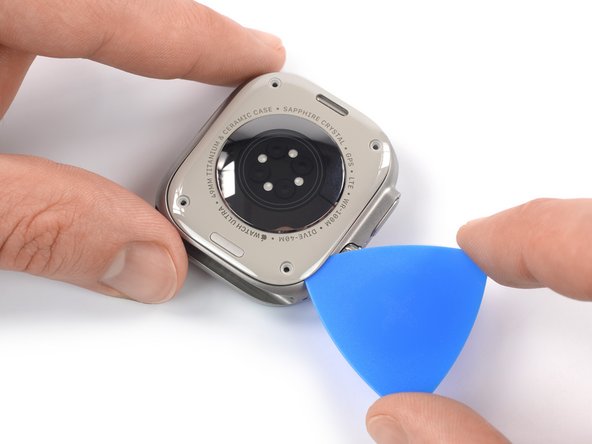
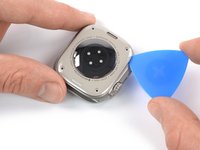


若要重新组装你的设备,请按倒序执行这些说明。
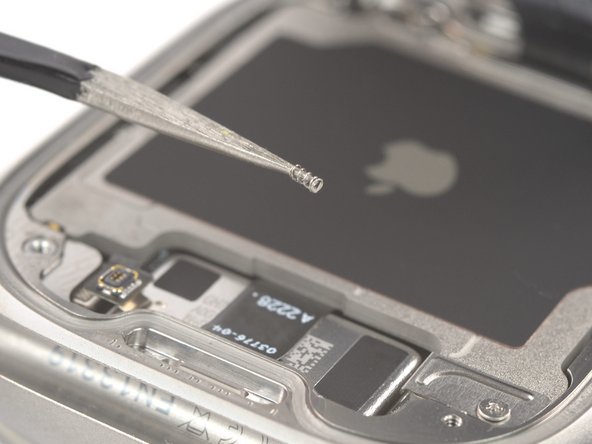
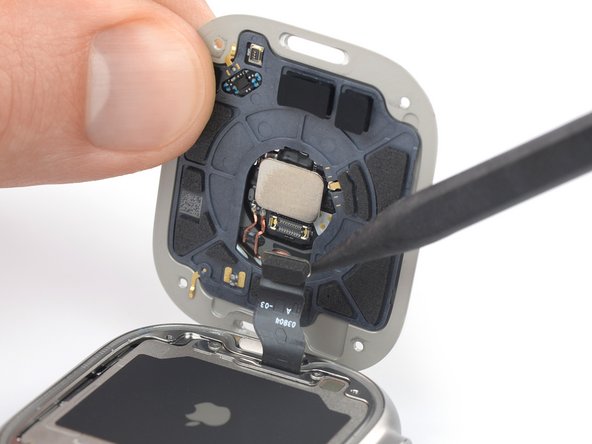
若要重新组装你的设备,请按倒序执行这些说明。在棉签上蘸少许高浓度酒精(>90%) 或使用清洁垫去除外壳边缘和屏幕上残留的胶水,然后再安装新的胶水。
请将你的电子垃圾送到R2或e- steward认证的回收商。


7指南评论
Where can you purchase another sensor? My sensor is cracked after 3 months from purchase, did not drop it and Apple not willing to replace. I'm not willing to spend another $500 for it. Thoughts?
I have the same problem. cracked after a few months from purchase. ceramic and sensors material is weak compared to the front (titanium material). Its weak point in ultra watch need to be fixed by Apple
The back casing is a huge Achillies heal of the Ultra watch. When the crack first occurred (two months after purchase, and occurred simply while removing the watch over a bathroom counter), it was so minor that I noticed no loss of functionality. After six more months, the heart rate monitor stopped working. Then the battery life plummeted. Now at 10 months since purchase, I'm deciding between $500 Apple service, NYC-based repair services, or do it yourself repair.