注:你正在为你刚才查阅的指南编辑前提条件。你所做的任何更改将影响包括此步骤的3本指南。
正翻译步骤 2
步骤 2


-
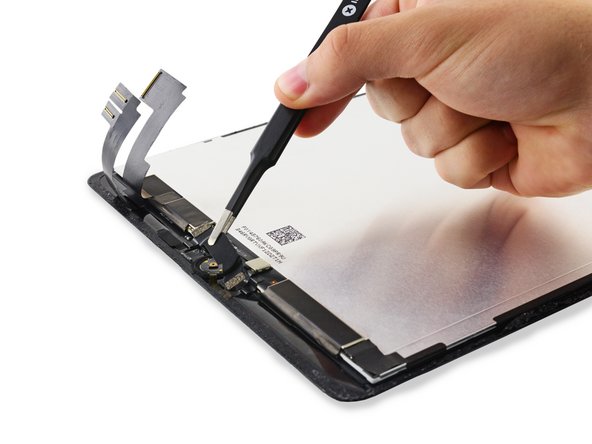
Remove the Home Button bracket and peel up the tape connected to it.
-
Scrape off as much of the old adhesive residue from the bracket as you can, then clean it with acetone or high-concentration (90% or greater) isopropyl alcohol.
-
Secure the bracket with hot-melt glue, superglue, or high-strength double-sided tape. Make sure the bracket is aligned correctly before allowing your adhesive to cure, or the home button will not click when pressed.
您的所有投稿皆享有基于开源创作共享许可协议(CC BY-NC-SA)的著作权利。