简介
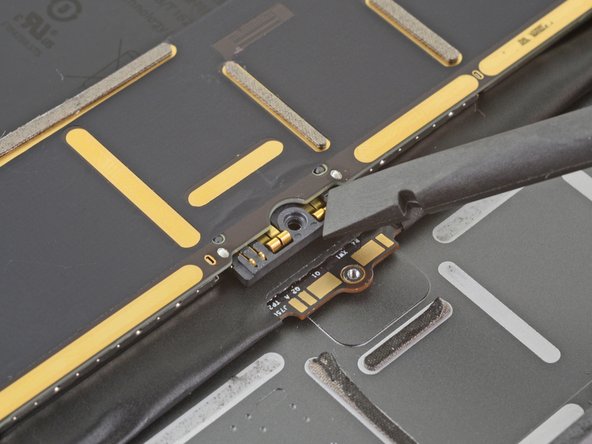
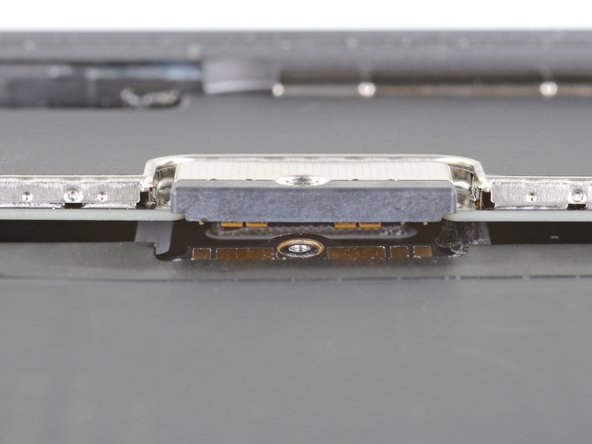
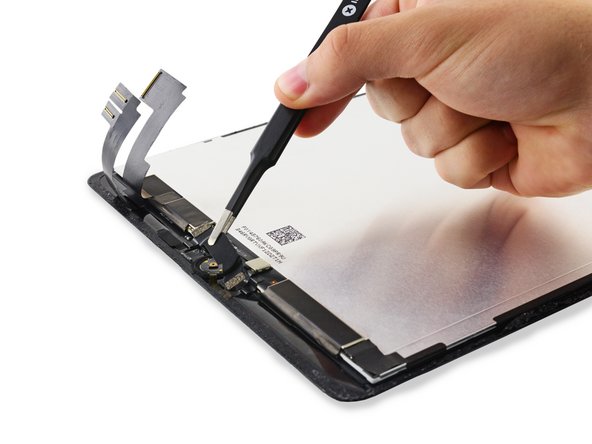
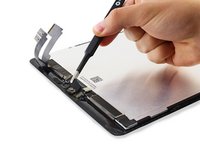
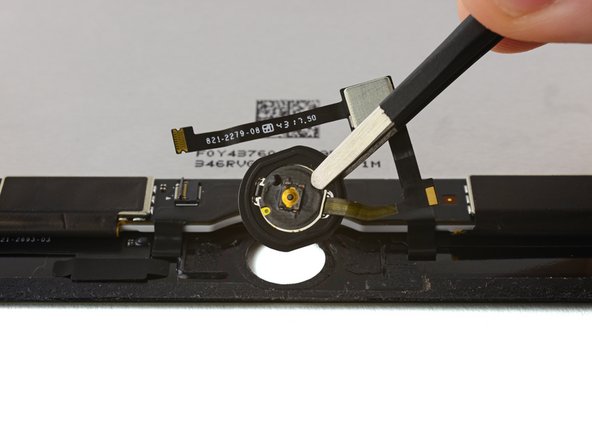
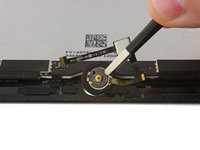
按照本指南中的步骤更换 iPad Air 2 Wi-Fi 中的 Home 键组件,包括垫圈和线缆。 请注意,Home 键与其各自的逻辑板配对,因此在更换Home键组件后,触控 ID 将不再起作用。
警告:本指南中的电池隔离方法已经过时,可能会对逻辑板的电池引脚造成不可逆转的损坏,从而有效地破坏它。 如果你选择以这种方式隔离电池,请注意所有警告并极其小心地工作。 如果你选择在不隔离电池的情况下完成指南,除非在完全必要的情况下(例如拆除螺丝时),请避免使用金属工具,以防止电池短路和损坏敏感电路元件。
你所需要的
-
-
在锅或平底锅里装满足够的水来完全淹没iOpener。
-
把水加热到沸腾。关火。
-
将iOpener放入热水中2-3分钟。确保iOpener完全浸入水中。
-
用钳子从热水中提取加热的iOpener。
-
用毛巾彻底擦干iOpener。
-
你的iOpener已准备好使用!如果你需要重新加热iOpener,请将水加热到沸点,关火,并将iOpener放入水中2-3分钟。
-
-
-
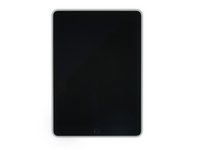
如果您的显示屏玻璃已经碎裂,防止显示屏玻璃在您维修时进一步伤害您,请使用胶带来固定已经碎裂的屏幕。
-
给iPad 的正面整面贴上胶带。
-
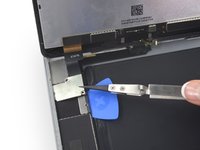
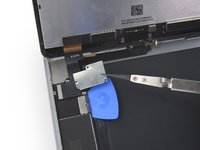
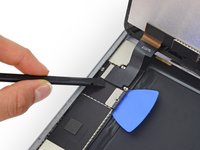
尽量根据下面的指南进行操作。但,一旦玻璃破碎,请停下拆解并使用金属撬刀撬出玻璃,避免更多的碎裂。
-
-
-
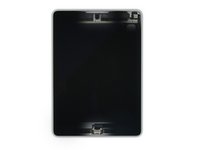
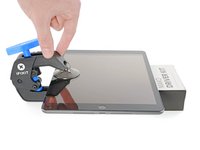
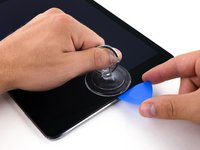
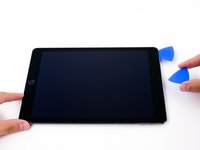
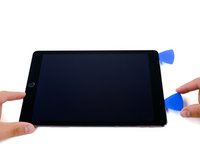
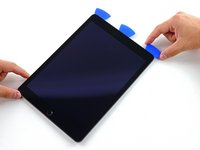
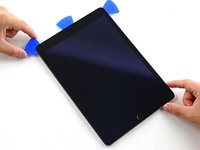
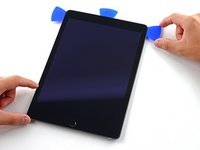
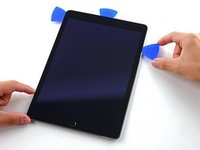
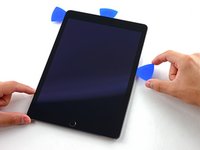
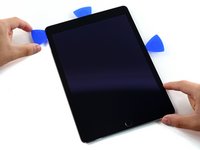
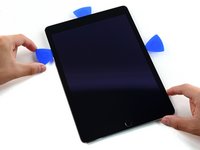
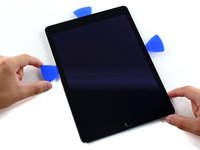
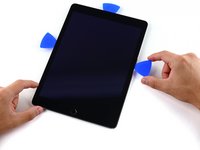
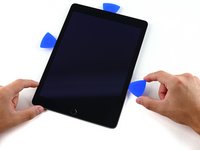
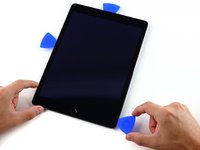
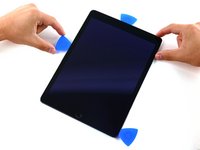
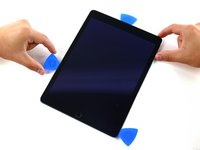
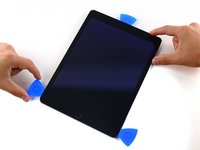
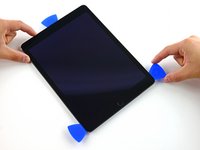
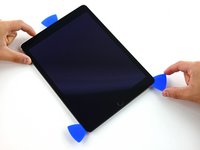
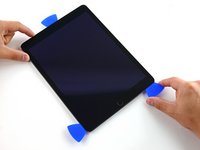
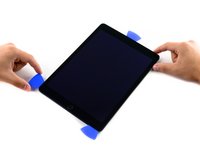
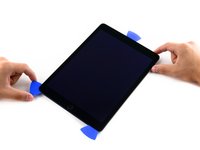
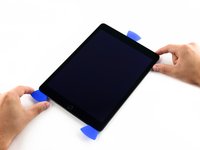
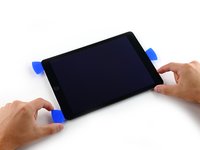
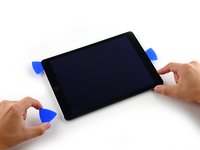
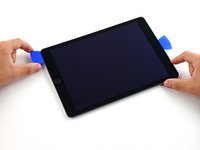
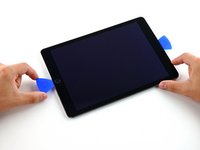
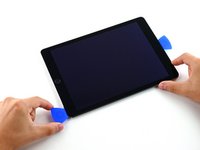
将 iPad 抬高到足以让 反向钳的铰链位于屏幕上方和下方的位置。
-
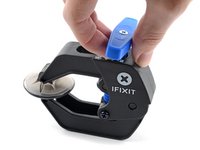
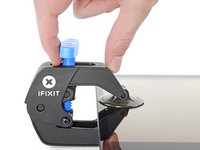
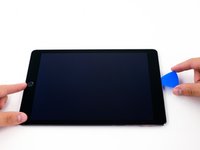
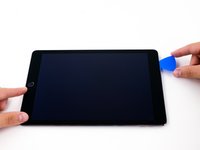
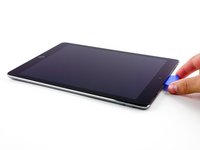
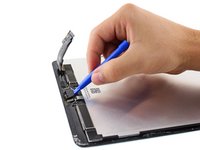
将蓝色手柄拉向铰链以解除开启模式。
-
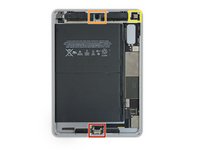
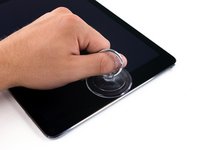
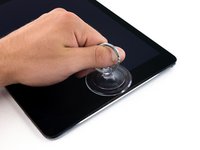
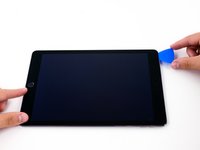
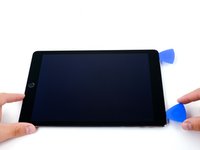
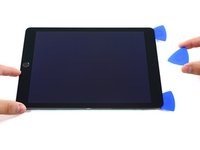
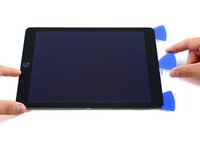
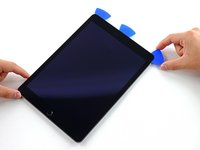
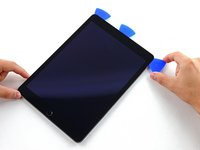
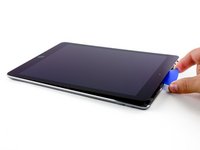
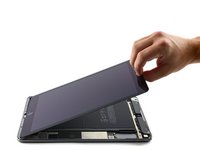
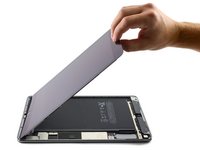
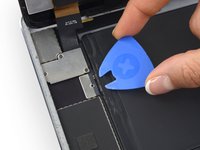
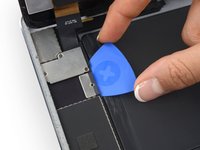
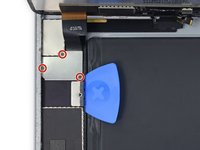
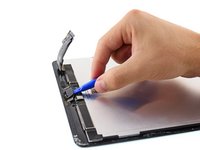
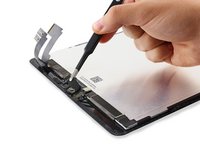
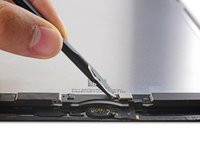
将吸盘放在屏幕上主页按钮的正上方——一个在前面,一个在后面。
-
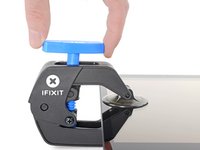
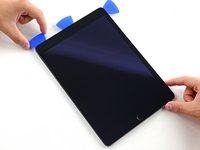
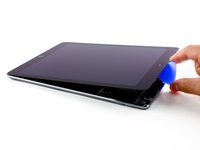
向下推吸盘以将吸力施加到所需区域。
-
-


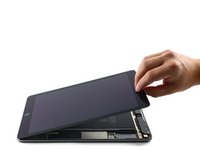


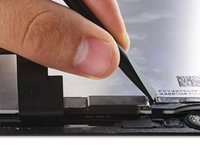
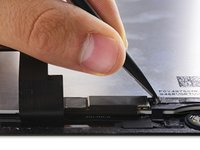


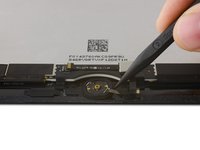
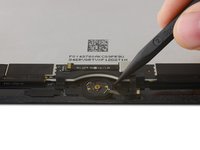
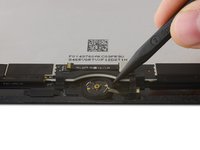


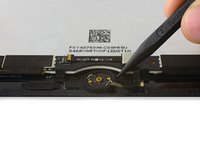


按照本指南相反的步骤来重新组装你的设备。
按照本指南相反的步骤来重新组装你的设备。
41等其他人完成本指南。


11条评论
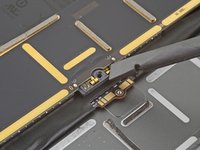
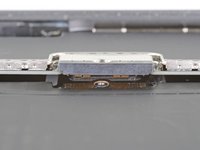
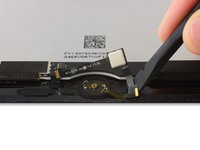
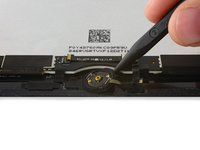
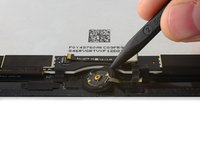
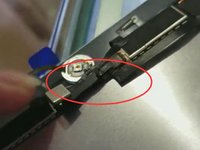
There is a small black plastic ring between the back of the glass and the home button gasket that no one seems to be mentioning. Do you see it? It does not appear on any of the photos. What's up with that?
Its the washer, better to transfer to new screen if the screen does not come with the washer. Without the washer the home button will work fine, just feel weird. Good luck
As I understand it, the touch ID chip on the home button ribbon cable is paired to the logic board at the factory. Unless you put the same home button assembly back, you will lose the touch ID when a replacement home button assembly is installed. The home button will work but without touch ID