-
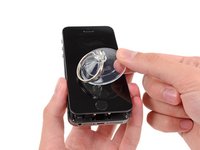
在这个步骤中使用的工具:Clampy - Anti-Clamp$24.95
-
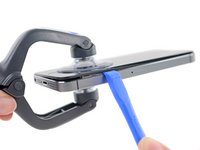
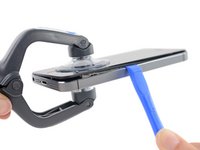
向后拉蓝色手柄以解锁反向钳臂。
-
将支撑臂滑过 iPhone 的左边缘或右边缘。
-
挤压吸盘,将吸力作用于所需部位。
-
-
-
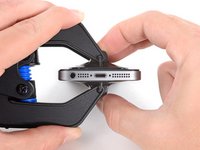
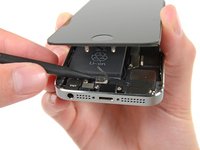
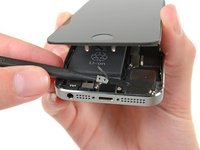
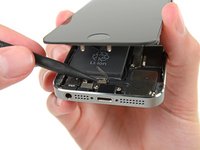
一只手固定好iPhone机身,另一只手轻轻地把机身从前面板底端的home键上分离。
-
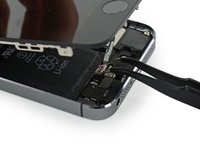
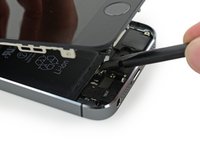
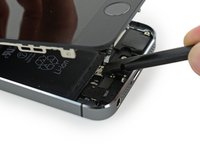
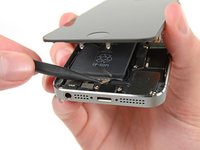
当你左手使用吸盘拉动的时候,右手用塑料撬棒在后机壳边缘处,轻轻地撬动,使屏幕和机身分离。
-
-
在这个步骤中使用的工具:Tweezers$4.99
-
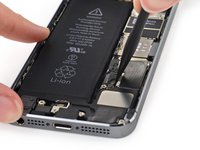
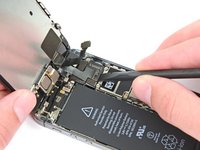
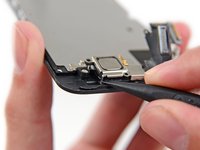
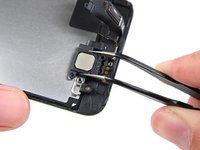
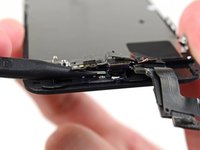
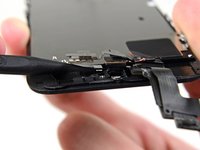
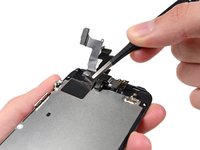
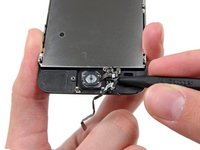
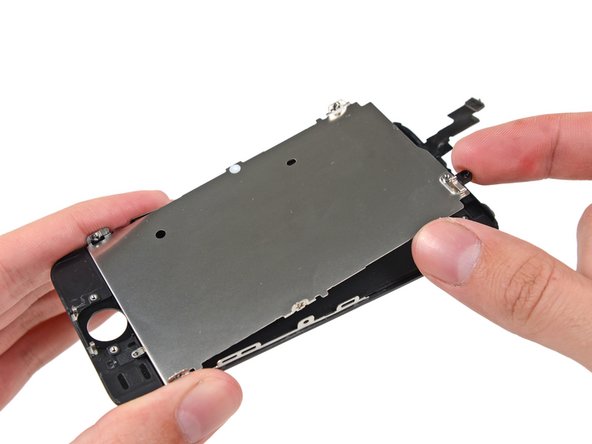
稍微打开屏幕,可以看到盖住home键电线的挡板铁片就可以了。
-
只有手机原装的Home键组件才能使用Touch ID功能。如果你扯断这根电线,装上新的home键只能恢复home键功能,而将失去Touch ID功能。
-
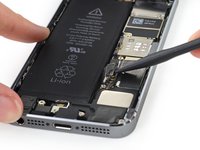
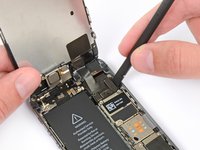
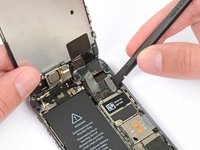
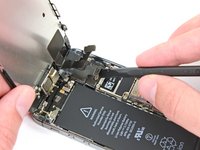
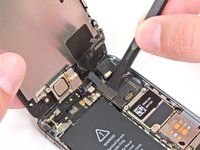
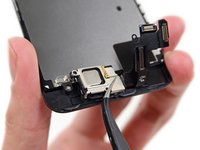
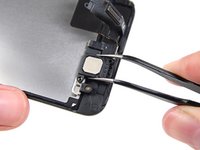
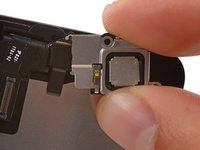
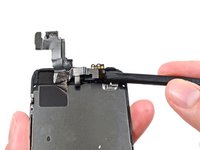
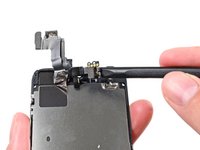
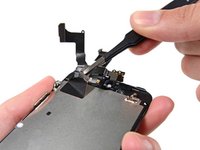
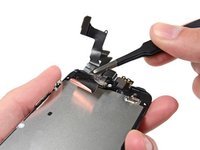
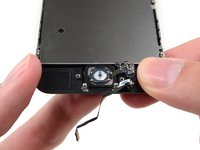
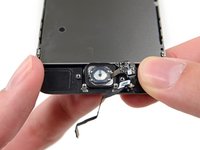
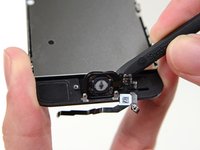
使用手机撬棒推动松下铁片,再用镊子取下来。
-
-
-
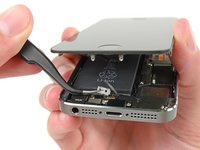
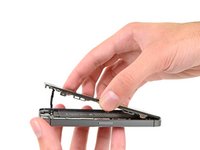
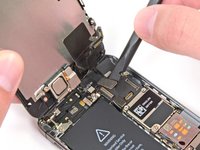
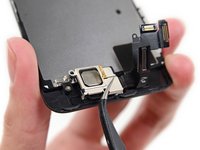
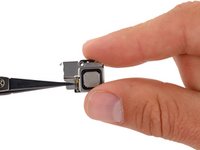
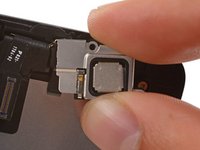
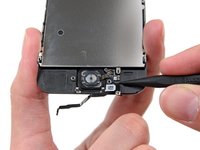
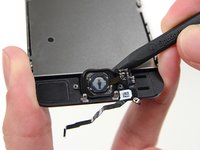
一旦连接器被撬开了后,把home键底端从机身上拉起,把手机顶端当做一个转动支点。
-
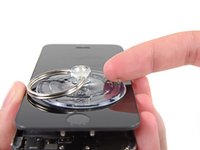
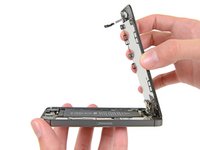
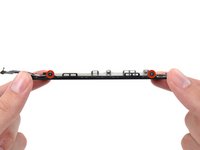
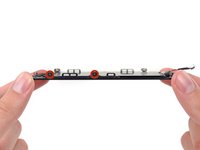
把显示屏立起来,保持跟机身成90度角。在你维修手机的过程中一直保持这个状态。
-
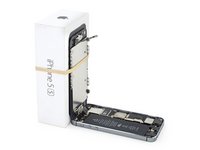
用橡皮筋把显示屏如图三所示固定住。这会避免在维修过程中显示屏电缆的损坏。
-
-


要重新组装你的设备,请以相反的顺序执行上述步骤。
122等其他人完成本指南。


7指南评论
Have issues after a couple days. I replaced the screen according to instructions and started up well. Screen started having issues and within a few minutes screen showed likes and faded to black.
This will be the screen that you have purchased, or due to a faulty repair…Not due to the guide.
Hi, thanks in advance for your support! I managed to detach the digitizer from the LCD after a small drop, thus I bought a replacement screen from ifixit… unfortunately resulting in a very bad quality aftermarket piece. Dimmed luminosity, changes in temperature(color), and affected by polarized glass, which I wear. I already reclaimed this to Ifixit and I`m waiting for support, but I thought to pick up my broken original display and glue back the digitizer, is that possible, or is this shown in any guide here around??
Thanks again!
STEPS 9-12 need a re-working - Re-assembly instructions should be put just under the disassembly instructions so that when you scroll back up the page, you’re re-assembling in step order ;)