简介
在大约 500 次的充电循环后,iPhone 的电池容量将会下降至 80% 左右,这一过程对于大多数的用户来说大约为18 - 24 个月。在这之后,你的 iPhone 也许需要更频繁的充电,且iOS可能会提示你手机的性能受到了影响(换句话说,你的手机运行变慢了)。使用本指南来更换新的电池,使你的手机像刚买时一样流畅。
如果你的电池产生了鼓包现象,请参阅此指南: 请谨慎操作.
注意: 维修后,你的iPhone甚至可能会[https://www.ifixit.com/News/32343/apple-is-locking-batteries-to-iphones-now |显示警告],有关电池的“真实性”,甚至使用要求使用苹果原装零件。如果你的iPhone正常运行,则可以放心地忽略该警告。
为了在完成本指南所述步骤后让你的手机达到最佳性能,需要校准你的新电池:完全充电至100%,并保持充电至少两个小时。然后使用至电量耗尽。最后,再完全充电至100%。
你所需要的
-
-
将重叠的透明包装胶带条黏在 iPhone 的后玻璃上,直到覆盖整个手机后部。
-
如果在接下来的几个步骤中无法让吸盘粘在手机上,请将强力胶带(折叠到把手中,然后用它提起后玻璃。
-
-
-
将蓝色手柄拉向铰链以解除开启模式。
-
将反向钳手臂滑过 iPhone 的左边缘或右边缘。
-
将吸盘放在屏幕上主页按钮的正上方——一个在前面,一个在后面。
-
向下推吸盘以将吸力施加到所需区域。
-
-
-
加热 iOpener 并将其穿过反向钳臂。
-
折叠 iOpener,使其位于 iPhone 底部边缘。
-
等待一分钟,让胶水软化并出现一个缝隙。
-
将三角撬片插入屏幕和塑料边框下方的间隙,而不是屏幕本身。
-
跳过接下来的三个步骤。
-
-
-
使用吹风机或准备一个iOpener,并将其放到手机的下缘约90秒,以软化下面的粘合剂。
I used a regulated heating gun, 180 degree celsius, 60 percent airstream, moving constantly around the edges for two minutes - works great for me.
einhanseat - 回复
-
-
-
-
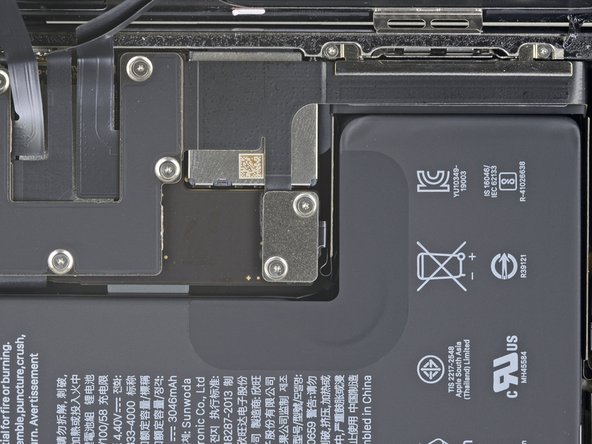
卸下固定电池盖的两颗 1.3 毫米长的 Y000 螺钉。
German translation says "3 screws” but there are only 2.
-
-
-
移除屏幕
-
-
-
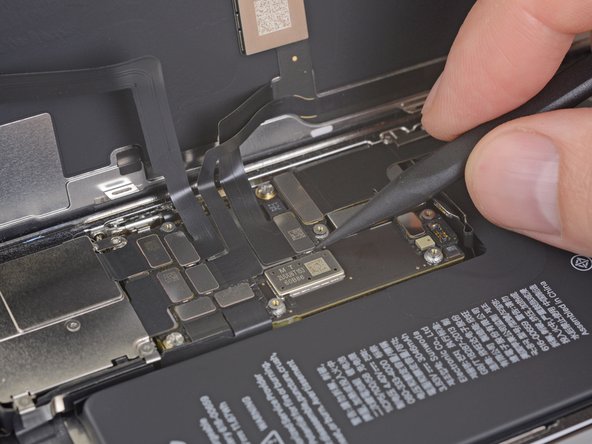
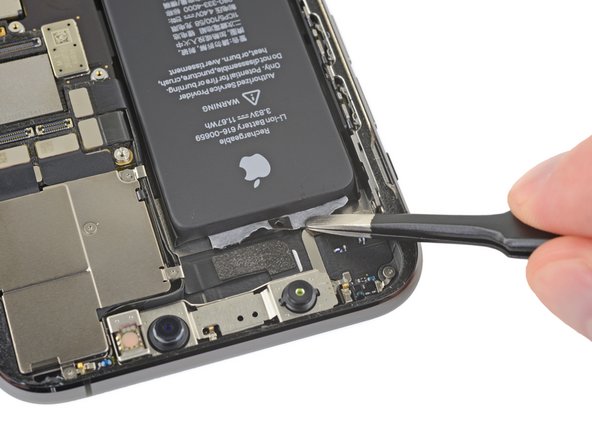
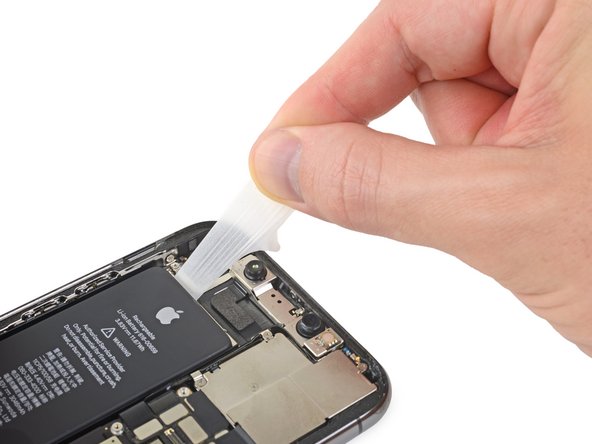
使用 Y000 螺丝刀卸下固定 Lightning 柔性电缆支架的三颗1.3毫米螺丝。
-
-
-
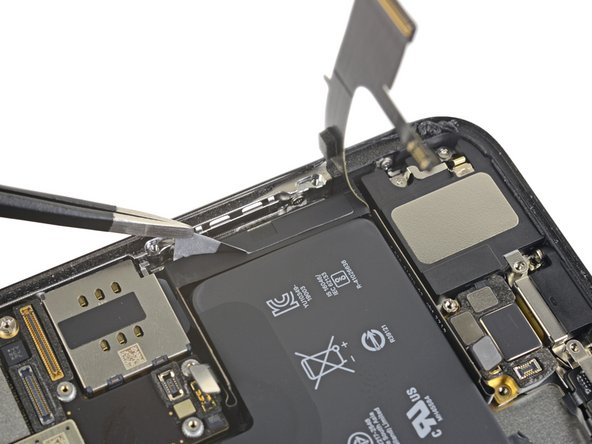
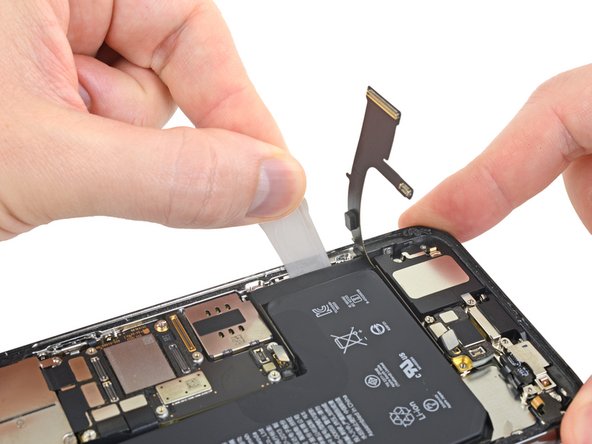
在以下步骤中,你将拉动每个小拉条以缓慢拉开电池下方的粘合剂。
-
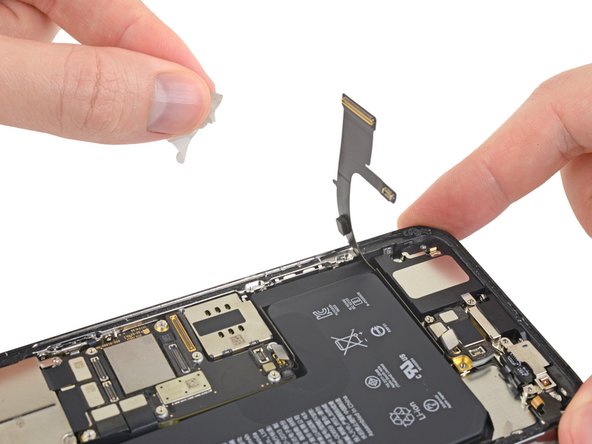
粘合剂在拉伸时会折断。如果小拉条折断,请不要惊慌!继续阅读一些其它有关去除折断条带的步骤。
-
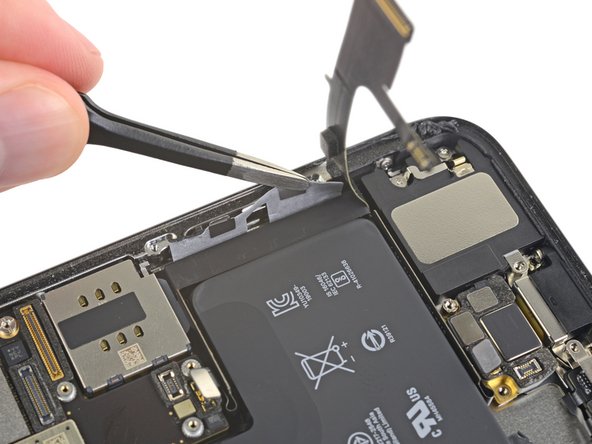
不要按下电池。紧握iPhone侧面。
-
拉动时,使条带保持平整且无皱纹。
-
缓慢拉动,使条带有时间拉伸和分离。拉伸大约需要30秒钟才能去除每个条带。
-
以低角度拉动,使条带不会紧贴电池的底部边缘。
-
-
-
同时抓住两个拉环,然后慢慢拉以将粘合剂从电池向iPhone顶部拉开。
-
请遵循与之前的试纸条相同的步骤:不要向下压电池,保持试纸条平整且无皱纹,并以低角度拉扯。
-
如果胶条断裂,请尝试用手指或钝镊子将其取回,然后继续拉动,但请勿在电池下方撬动。
-
-
-
如果仍然无法卸下电池,请在破裂的胶条区域的电池边缘下方滴几滴高浓度(超过90%)的异丙醇。
-
等待约一分钟,使酒精溶液减弱粘合剂。
-
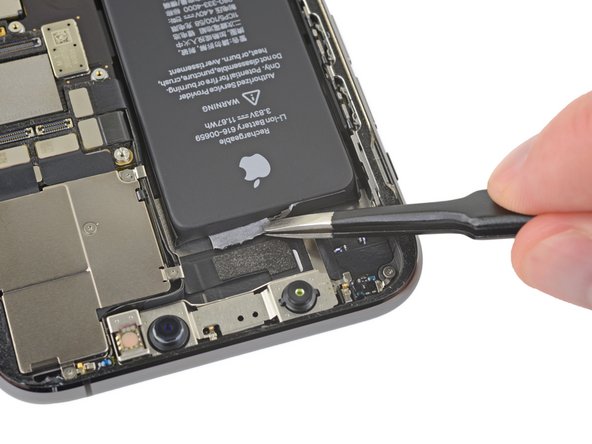
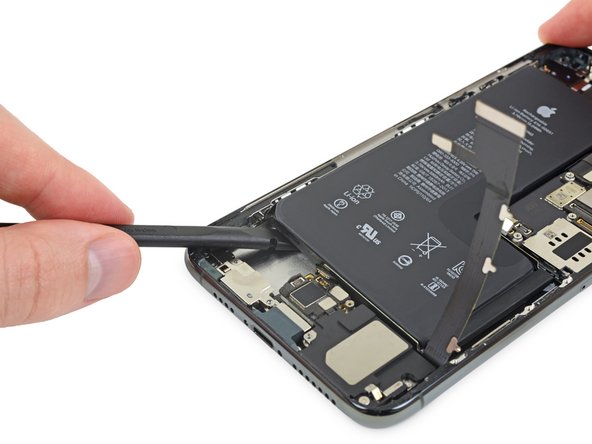
用撬棒的平端轻轻提起电池。
-
-
-
取出电池。
-
如果手机中残留有酒精溶液,请在安装新电池之前先将其擦拭干净或风干。
Danke für die super Beschreibung. Folgende Hinweise:
Ich habe eine Dichtung für den Display erneuert. Das hat bei mir insgesamt 3 Anläufe gebraucht. also hier sollte man sich mehrere Dichtungen besorgen, damit man auch 2-3 x probieren kann. -


将你新更换的部件与原先的部件对比—— 你可能需要在安装开始前转移剩余的部件或去除新部件上的包装。
想要重新组装设备,仅需按照上述步骤相反的顺序执行
将你更换下来的废旧部件妥善处理:R2 or e-Stewards 认证的回收商。
在维修过程中遇到问题?访问我们的iPhone 11 Pro 论坛 以获取帮助。
将你新更换的部件与原先的部件对比—— 你可能需要在安装开始前转移剩余的部件或去除新部件上的包装。
想要重新组装设备,仅需按照上述步骤相反的顺序执行
将你更换下来的废旧部件妥善处理:R2 or e-Stewards 认证的回收商。
在维修过程中遇到问题?访问我们的iPhone 11 Pro 论坛 以获取帮助。
64等其他人完成本指南。


7条评论
Schwierig, aber effektiv. Man braucht volle KONZENTRATION
Is there any way to remove the “Important Battery Message” notification that’s constantly on the home screen for settings?
Great guide, thank you! This was my 4th battery replacement in an iPhone. One more saved from the trash heap.
Beware: my ifixit replacement battery had 0% charge. When I tested my repair by attempting to power on the phone, nothing happened. I feared I broke something in the process and nearly re-did all the steps! As I was preparing to have to buy a new phone, I thankfully decided to plug it in, and it powered on!
I fixed it!,
This was an impressive experience from start to finish and I got my wish...I earned an "enhanced understanding" about what goes on beneath the hood of this amazing little product I use for so many things throughout the day. When I read that I should expect to spend 2 hours on this project I laughed and thought "30 minutes max". It took 2 hours...but it was an utterly fascinating 2 hours! Lastly...I was unaware that screws could be made that small. I have repaired a lot of things in my days...these were the tiniest threaded fasteners I have ever seen. Wow!
Thanks iFixit!