此翻译由机器生成,尚未经过人工审核。 会说这种语言吗? 查看评论。
你所需要的
-
-
-
在锅或平底锅里装满足够的水来完全淹没iOpener。
-
把水加热到沸腾。关火。
-
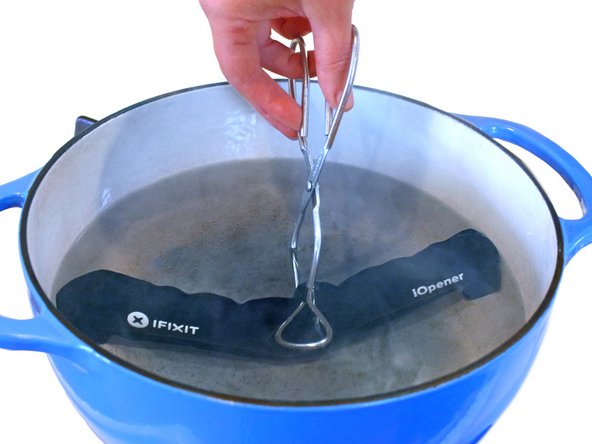
将iOpener放入热水中2-3分钟。确保iOpener完全浸入水中。
-
用钳子从热水中提取加热的iOpener。
-
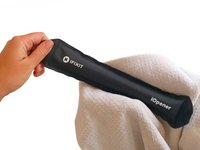
用毛巾彻底擦干iOpener。
-
你的iOpener已准备好使用!如果你需要重新加热iOpener,请将水加热到沸点,关火,并将iOpener放入水中2-3分钟。
-
-
-
-
-
-
移除下列将LCD屏蔽板与后壳固定的螺丝。
-
2颗2.6 mm Phillips #00 螺丝
-
13颗 1.7 mm Phillips #00 螺丝
-
在有些设备上,额外的一颗1.7 mm Phillips #00螺丝。
-
-
-
-
-
-
-
-
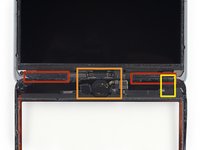
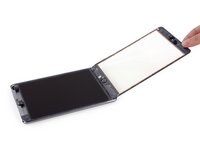
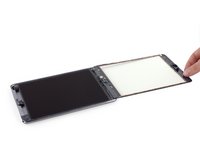
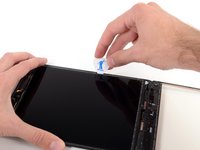
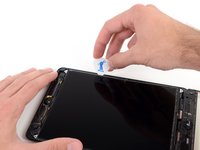
剥离玻璃内侧的大块透明塑料衬垫。
-
剥离围绕前面板组件周边的覆盖粘合剂的蓝色塑料背衬。
-
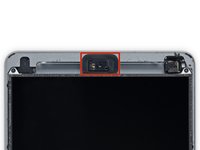
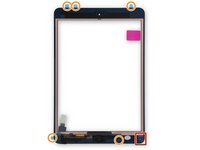
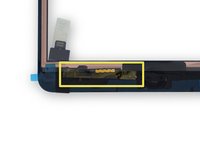
请勿从勾勒出的区域拆除任何铜质覆盖物,例如黄色 Kapton 胶带或黑色电工胶带。
-
在将玻璃面板安装到设备上之前,请确保其上没有指纹和污垢。
-
-
-
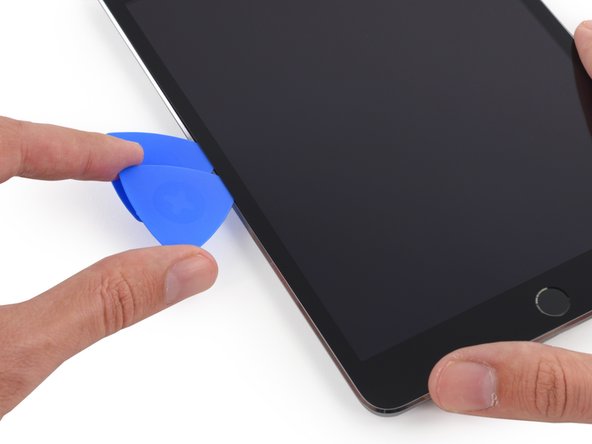
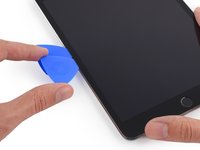
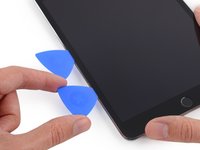
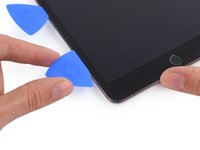
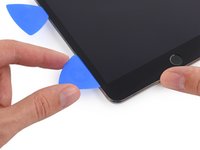
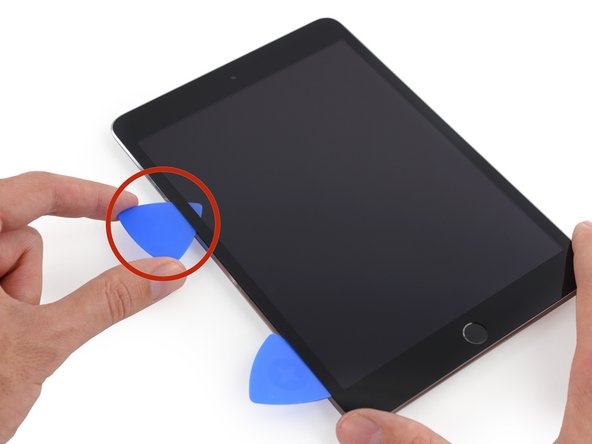
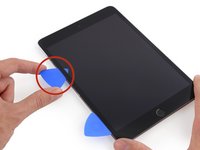
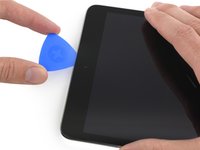
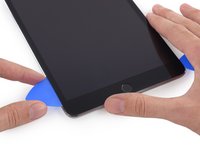
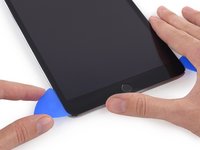
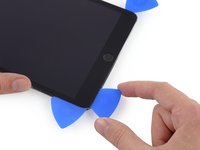
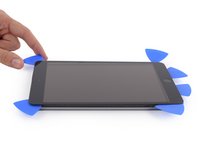
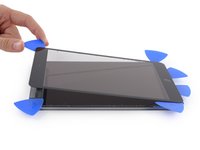
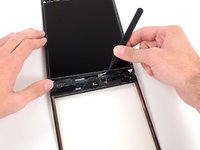
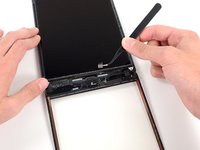
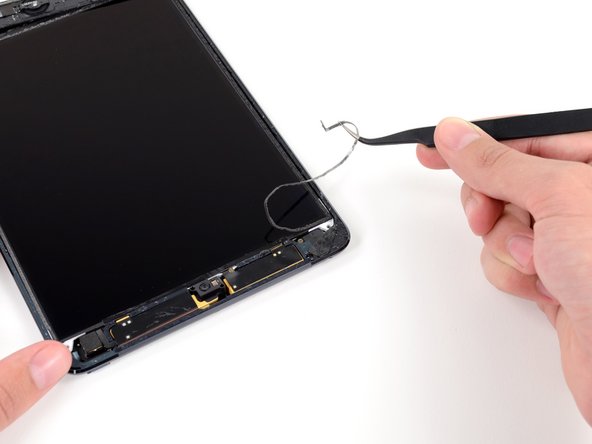
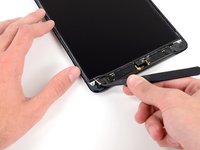
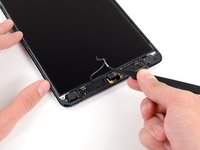
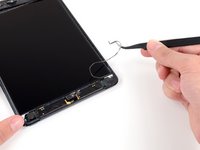
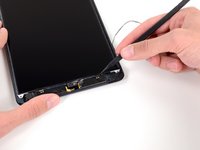
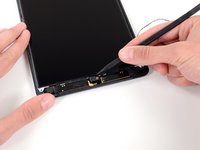
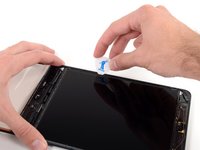
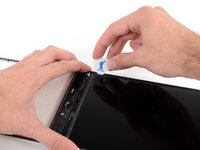
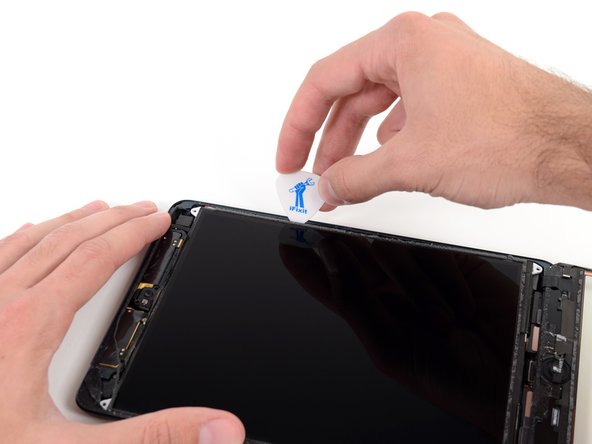
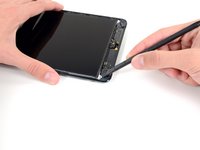
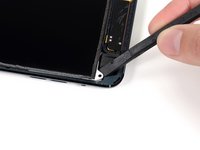
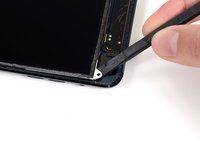
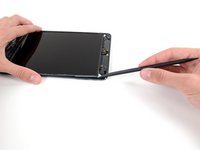
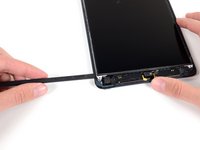
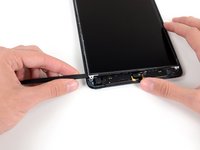
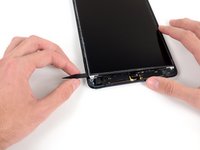
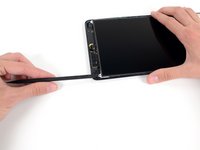
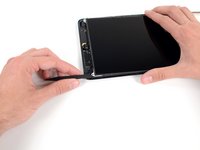
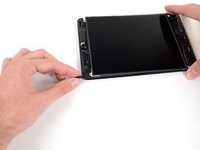
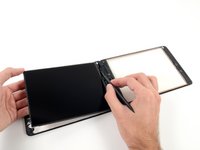
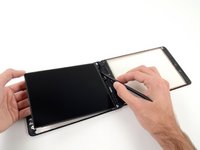
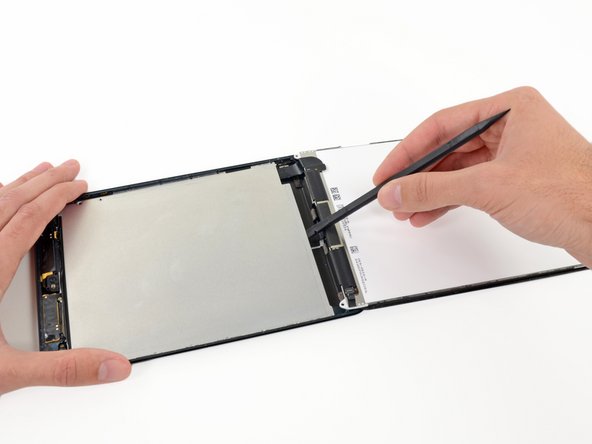
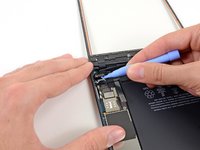
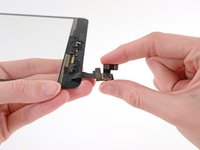
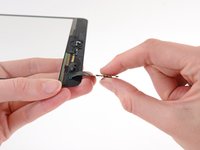
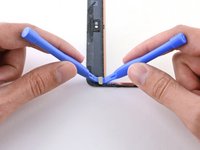
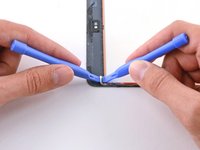
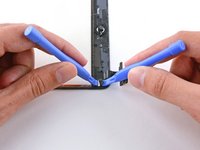
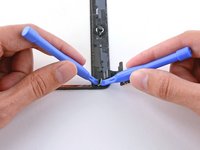
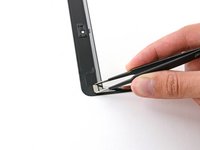
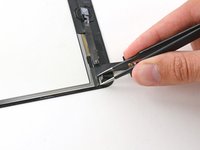
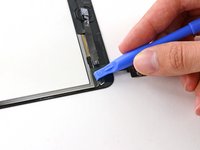
将塑料打开工具的边缘放在靠近磁铁侧,位于前面板组件的左上方。
-
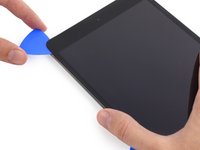
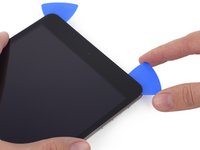
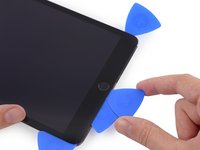
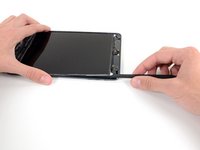
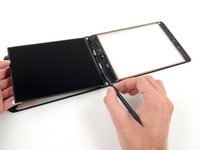
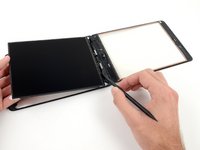
使用右边的塑料打开工具小心地楔住磁体下面。
-
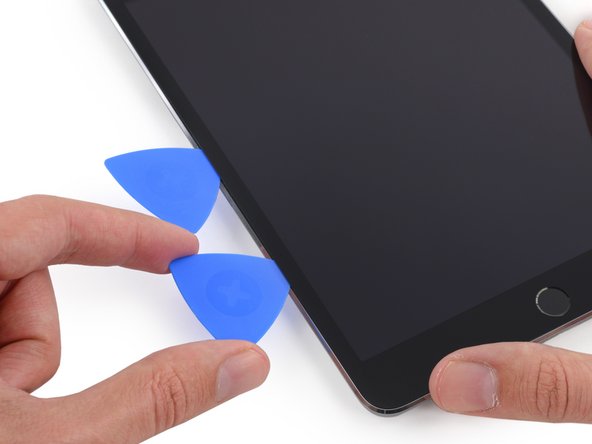
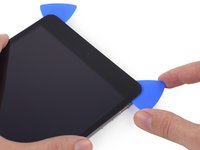
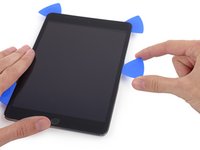
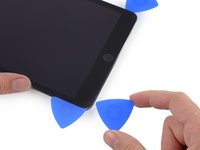
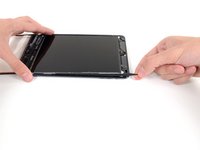
将左侧塑料打开工具楔入磁铁下方,同时向右侧工具方向撬动。
-


 询问修复机器人




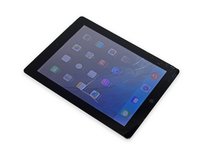


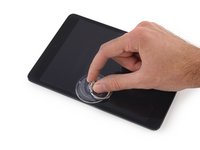
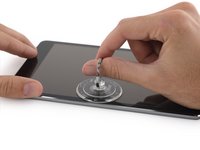
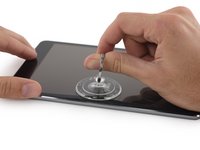

























































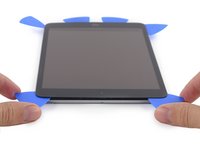
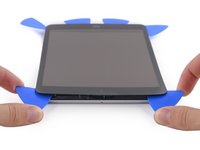






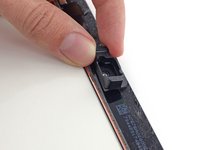
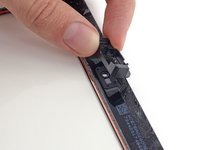
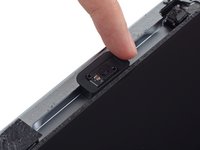


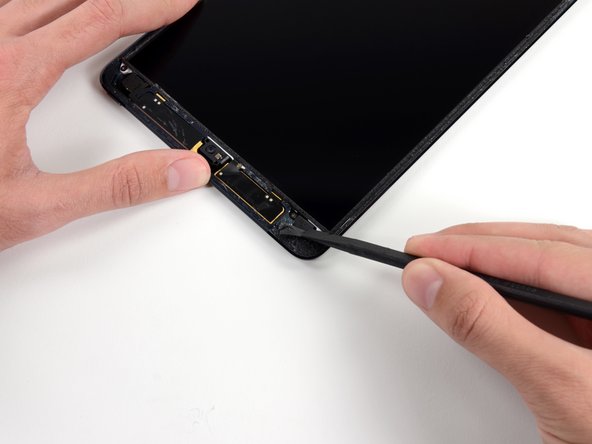






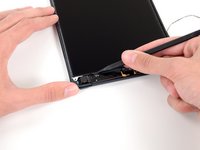


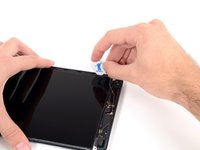
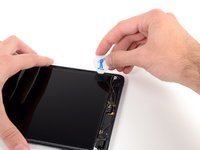


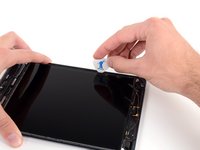
















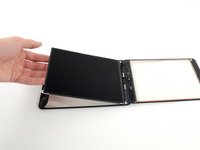
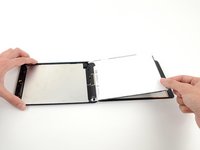




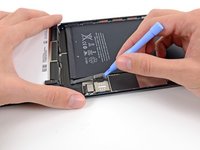

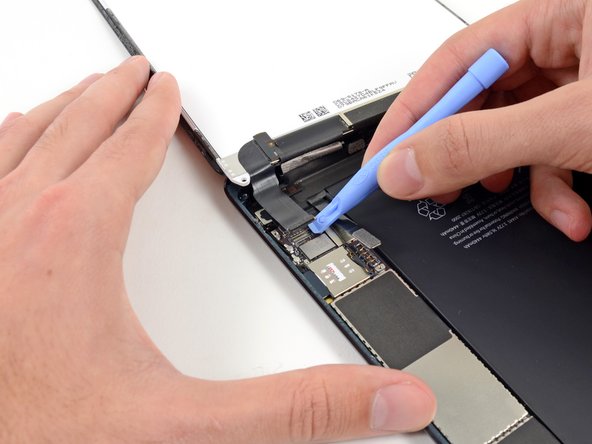


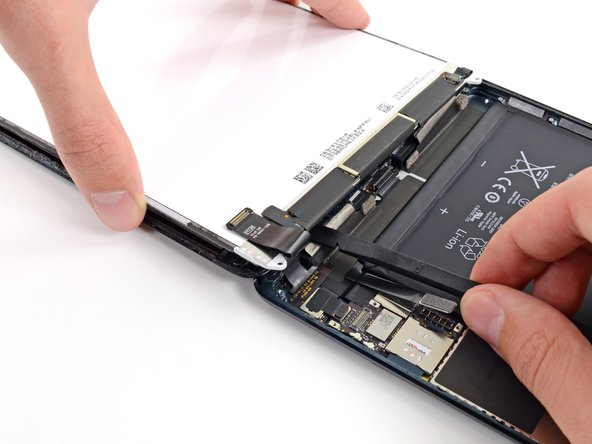
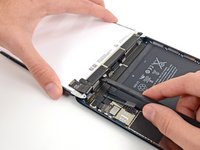
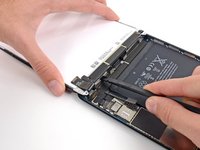
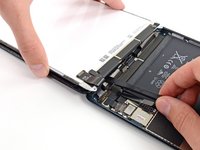


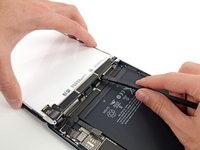
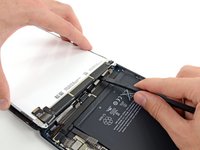
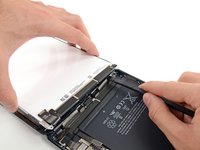


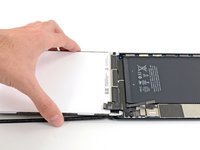
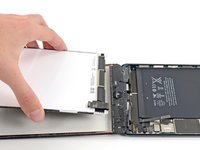


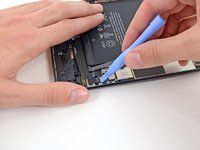
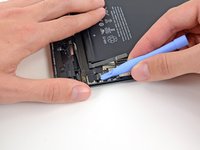


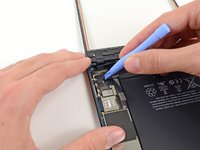


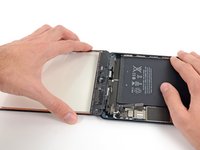
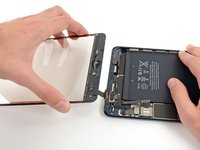


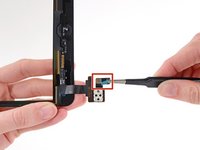








要重新组装您的设备,请按照本指南的相反顺序进行操作。
88等其他人完成本指南。



12指南评论
I broke my LCD while doing this repair - be extremely careful when prying off broken digitizer, I got the pick a little too far in and lifted, putting pressure on the LCD. I didnt know the LCD was broken until powering on the device. Total bummer. Replacing LCD now. The stickers are garbage. Use an adhesive instead, dont even waste your time with the stickers.
i love this website but with the ipad mini, it would really be beneficial to have a reassembly guide because of the level of difficulty. There is a lot left up to chance. LIke the yellow tape that comes around the ribbon cable. Do we remove it or not? Some say do...the guide doesnt mention it at all because it just covers removal, not reassembly. Plus there are a few metal contacts that come covered that are not covered in the replacement digitizer.
A reverse order would be great as noted above. Otherwise, i have it together and powered on and it works. I have books sitting on i pad hoping adhesive will adhere. I may use the iOpener on it to warm up adhesive and let it cool again. Thank you..
Shawn Bailey - 回复 分享
