跳转到主内容
加入维修社区 - 创建账户
此翻译由机器生成,尚未经过人工审核。 会说这种语言吗? 查看评论

Rug Doctor 水泵更换

你所需要的

    1. Rug Doctor 水泵更换, 故障诊断: 步骤 1 中的图像 1,1
      • 在开始之前,请先确定泵是否需要更换。向储水箱中加入一些水,将 Rug Doctor 打开至 地毯模式,然后按压喷水按钮。

      • 对于单泵型号(Mighty Pro、X3),如果 Rug Doctor 完全无法喷水,则需要更换泵。

      • 如果喷水不稳定,请先检查喷嘴是否堵塞。

      • 对于 Wide Track 型号,如果 Rug Doctor 完全无法喷水,则两个泵都需要更换。

      • 如果 Wide Track 型号的喷嘴喷出水花但喷水不充分,请先检查喷嘴是否堵塞。

      • 如果喷嘴通畅,则可能是其中一个泵出现故障,无法向喷嘴提供足够的压力。如果可能,请更换两个泵。

      • 如果需要确定两个泵中哪一个需要更换,请将 Rug Doctor 打开至 家具清洁模式。不要断开附件的快速接头。如果水像在地毯模式下一样喷出水花,则 更换前泵

      • 如果在附件模式下喷嘴没有喷出水花,则 更换后泵

      询问修复机器人

      添加评论

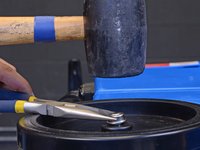
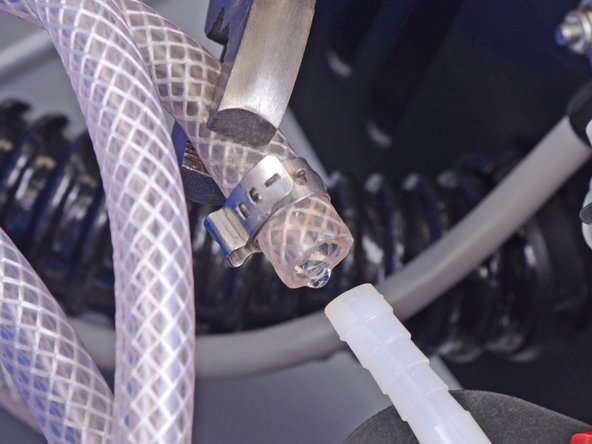
    2. Rug Doctor 水泵更换, 泵: 步骤 2 中的图像 1,3 Rug Doctor 水泵更换, 泵: 步骤 2 中的图像 2,3 Rug Doctor 水泵更换, 泵: 步骤 2 中的图像 3,3
      • 在开始拆卸之前,请确保 Rug Doctor 已断开电源,且所有水箱中均无液体残留。

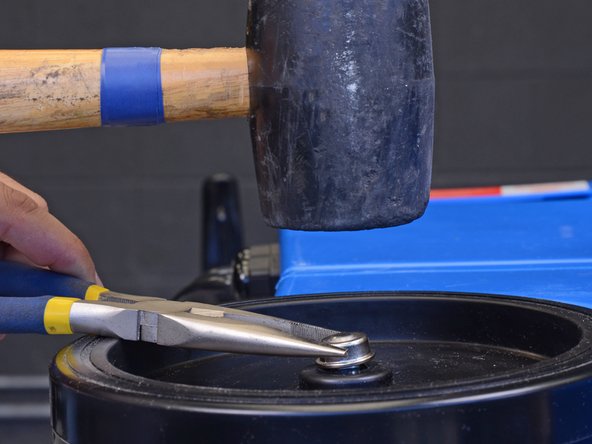
      • 使用钳子夹住并晃动轴毂盖,将其松开。

      • 将轴盖拉下。

      • 如果遇到困难,可用工具撬动盖子下方,使其与轴分离。

      添加评论

    3. Rug Doctor 水泵更换: 步骤 3 中的图像 1,3 Rug Doctor 水泵更换: 步骤 3 中的图像 2,3 Rug Doctor 水泵更换: 步骤 3 中的图像 3,3
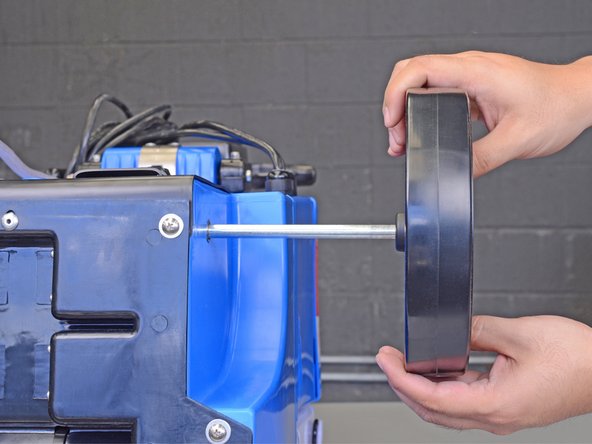
      • 将轮子从轴上拉下来。

      • 将另一个带有连接轴的轮子从机身中拉出。

      • 重新安装提示—重新安装轮子和轴时:

      • 将轴和轮子滑回 Rug Doctor 上。

      • 将一个替换用轴轮毂盖对准露出的轴端中心。

      • 用木槌将轮毂盖敲到位。它在轴上应该感觉紧固,不会松动。

      询问修复机器人

      添加评论

    4. Rug Doctor 水泵更换: 步骤 4 中的图像 1,1
      • 从 Rug Doctor 背面拆下透明软管。

      询问修复机器人

      添加评论

    5. Rug Doctor 水泵更换: 步骤 5 中的图像 1,1
      • 拧下固定底盘的 8 颗 15.1 mm 长的 Phillips 机螺钉。

      询问修复机器人

      添加评论

    6. Rug Doctor 水泵更换: 步骤 6 中的图像 1,1
      • 拧下固定后盖板的五颗 15.1 毫米长 Phillips 机螺钉。

      • 在重新组装时,拧得过紧可能会导致塑料盖板开裂。

      询问修复机器人

      添加评论

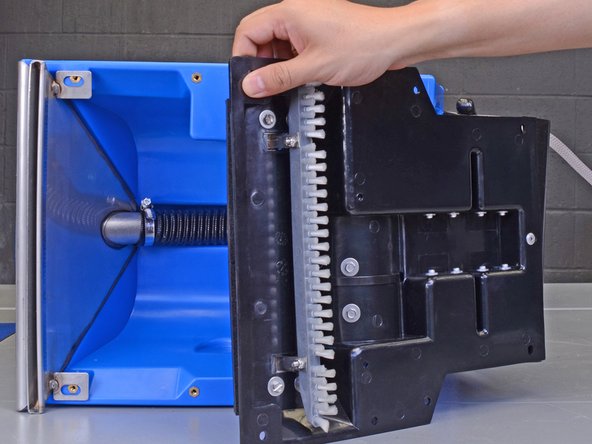
    7. Rug Doctor 水泵更换: 步骤 7 中的图像 1,2 Rug Doctor 水泵更换: 步骤 7 中的图像 2,2
      • 从刷头端开始,小心地将底盘从机身上拉开,以便触及泵体。

      • 这会使前部金属叶片松动。在操作过程中,临时拧上一颗螺丝将其固定可能会有所帮助。

      询问修复机器人

      添加评论

    8. Rug Doctor 水泵更换: 步骤 8 中的图像 1,2 Rug Doctor 水泵更换: 步骤 8 中的图像 2,2
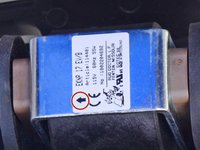
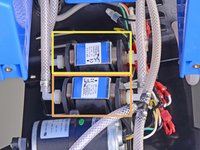
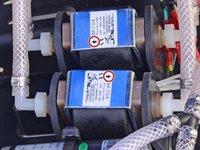
      • 请仔细观察泵标签上箭头所指的泵送方向。更换泵必须按与原装泵相同的方向进行安装

      • 如果你正在维修 Wide Track 型号,请确认你要更换的是哪一个(或哪些)泵,以及它们的安装方向:

      • 前泵

      • 后泵

      添加评论

    9. Rug Doctor 水泵更换: 步骤 9 中的图像 1,3 Rug Doctor 水泵更换: 步骤 9 中的图像 2,3 Rug Doctor 水泵更换: 步骤 9 中的图像 3,3
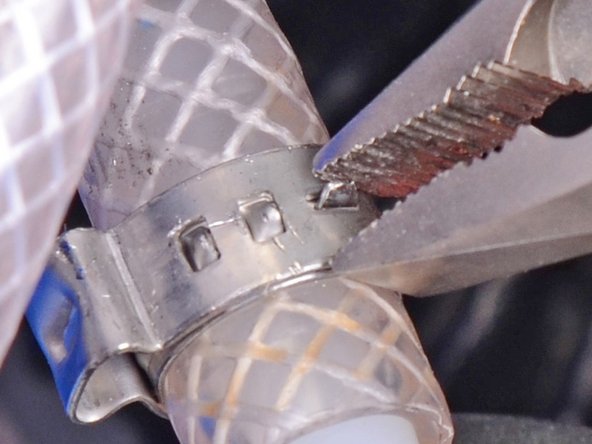
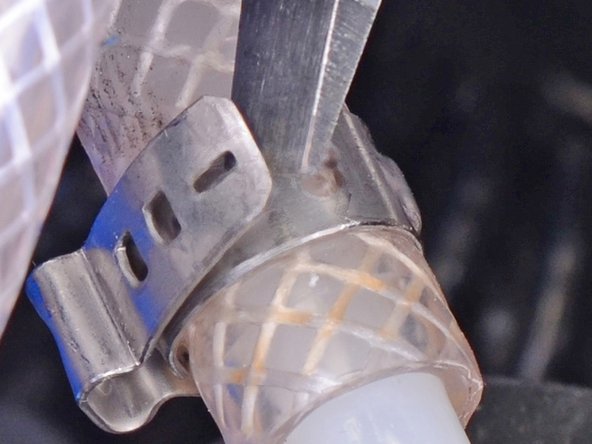
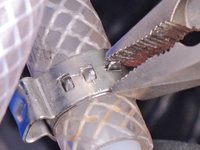
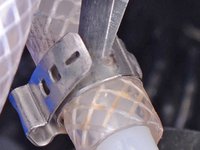
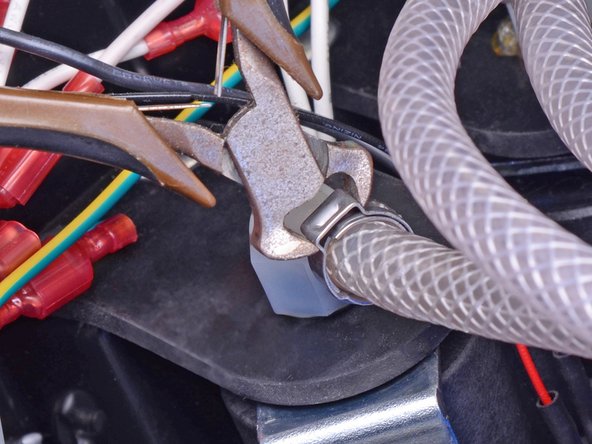
      • 拆下泵两端用于固定软管的卡箍。

      • 你可以使用卡箍拆卸工具切开卡箍。

      • 或者,用钳子解开卡箍上的小固定拉片。

      • 撬开卡箍使其松动。

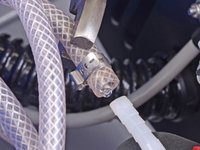
      • 用手指或钳子将软管从泵的喷嘴上拔下。

      • 拔下软管时会有液体流出。

      • 这需要用很大的力。如果遇到困难,可以用吹风机或热风枪加热软管末端,然后再试一次。

      询问修复机器人

      添加评论

    10. Rug Doctor 水泵更换: 步骤 10 中的图像 1,2 Rug Doctor 水泵更换: 步骤 10 中的图像 2,2
      • 重新组装提示——安装卡箍式软管夹:

      • 将软管夹滑到软管上,末端留出 1/2 英寸(约 1.3 厘米)的软管。

      • 使用软管夹钳或直口剪钳挤压并固定卡箍的耳部。

      添加评论

    11. Rug Doctor 水泵更换: 步骤 11 中的图像 1,3 Rug Doctor 水泵更换: 步骤 11 中的图像 2,3 Rug Doctor 水泵更换: 步骤 11 中的图像 3,3
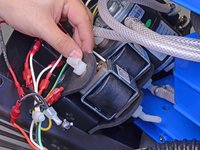
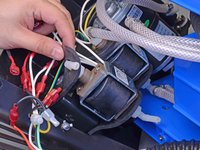
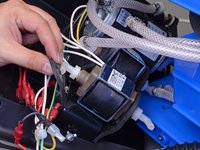
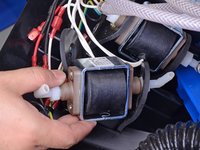
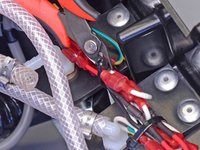
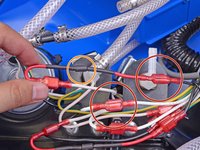
      • 剪断固定线束的束线带。

      • 仔细追踪从你正在更换的泵中引出的两根导线。

      • 泵的导线应连接到一根黑色导线和一根白色导线上。

      • 红线上可能串联有一个二极管。

      • 通过拉开线端子来断开泵的连接。这可能需要相当大的力。请拉动端子,不要拉导线。

      • 如果存在串联的二极管,请将其断开并拆下。请勿将其与更换件一起使用。

      添加评论

    12. Rug Doctor 水泵更换: 步骤 12 中的图像 1,1
      • 重新组装提示——在为更换的泵进行布线时,请将随附的易熔连杆连接到较长、较粗的黑色电线上。

      • 不要使用旧泵上的在线二极管。

      • 将泵的电线重新连接到 Rug Doctor 的黑色和白色电线上。

      • 易熔连杆应连接到 Rug Doctor 的黑色电线上。

      添加评论

    13. Rug Doctor 水泵更换: 步骤 13 中的图像 1,3 Rug Doctor 水泵更换: 步骤 13 中的图像 2,3 Rug Doctor 水泵更换: 步骤 13 中的图像 3,3
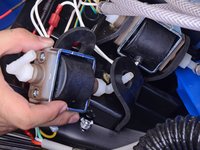
      • 将橡胶支架从泵上拉开,并将其滑过泵喷嘴。

      询问修复机器人

      添加评论

    14. Rug Doctor 水泵更换: 步骤 14 中的图像 1,2 Rug Doctor 水泵更换: 步骤 14 中的图像 2,2
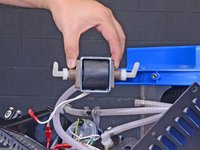
      • 将水泵从橡胶支架中滑出。

      询问修复机器人

      添加评论

    15. Rug Doctor 水泵更换: 步骤 15 中的图像 1,2 Rug Doctor 水泵更换: 步骤 15 中的图像 2,2
      • 拆下水泵。

      • 安装替换泵时:

      • 取下喷嘴上的橙色盖帽。

      • 确保水泵的安装方向正确。

      • 检查喷嘴是否朝向机器后方。

      • 替换泵在橡胶座中的紧密程度可能不及原装部件,这是正常现象。

      添加评论

结论

要重新组装设备,请按相反顺序执行这些说明,并注意重新组装的相关提示。

取消:我没有完成这个指南。

34等其他人完成本指南。

Arthur Shi

于01/03/18注册

346,092 声望

创作了921篇指南

团队

iFixit iFixit 的会员

Staff

123 名成员

创作了68,890篇指南

19指南评论

Fantastic. info!!! Thanks for this. Took me while to find it. Some helpful tips. But the biggest was the fact I had two pumps. I wasn’t 100% sure and I was positive I spotted two with just the back cover off. But needed to be sure before ordering. Thanks !

Robert - 回复 分享
I would like to view how to open the housing & replace the pump on the Rug Doctor model DC 1.

Ben Lavadia - 回复 分享

My X3 model rug doctor continuously sprays Until it runs out of water doesn't matter if the red button is pressed or not when you turn on the machine, it starts sprain. Any thoughts?

Mike - 回复 分享

Hi Mike,

Does it full-on spray, or just leak? It could be that the red button is broken. Look through this guide. You may be able to disconnect the spray button wires through the black cutout. If the Rug Doctor still sprays with the button disconnected, then the problem is elsewhere.

Arthur Shi - 回复 分享

We replaced our pump but still does spray. We have the doctor deep carpet cleaner model with single pump.

Do you know which way for sure the pump nozzles should be facing on our model? Maybe they’re in wrong though we are hundred percent sure it’s in how old one came out.

Jerri Estep - 回复 分享

添加评论

浏览统计数据:

过去 24 小时: 5

过去 7 天: 42

过去 30 天: 240

总计 43,228