简介
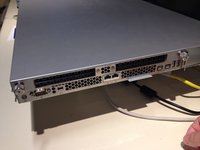
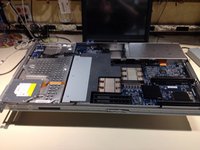
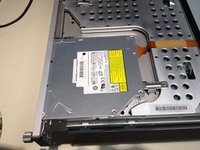
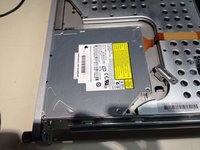
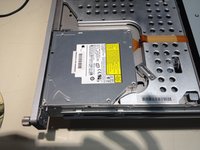
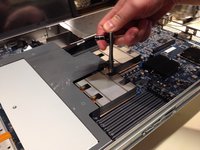
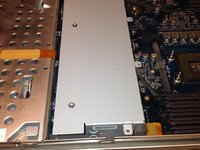
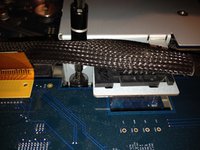
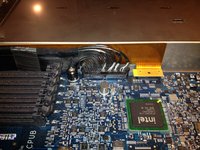
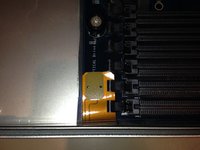
Disassemble Apple xServe 2009 to replace motherboard and fans
你所需要的
-
-
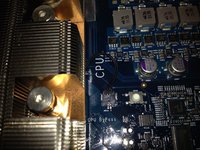
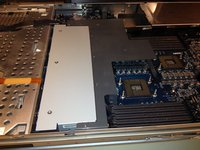
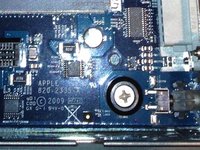
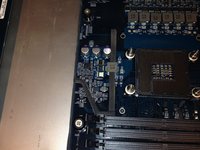
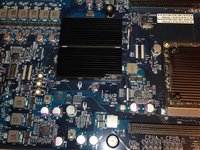
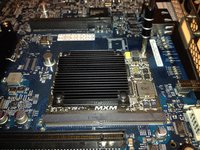
Notable specs:
-
Dual Xeon Nehalem CPU @ 2.26 GHz
-
No SSD
-
No Hardware RAID
-
-


结论
To reassemble your device, follow these instructions in reverse order.
18等其他人完成本指南。