简介
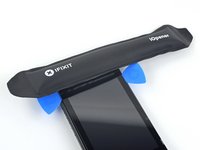
请按照本指南更换 Nintendo Switch 游戏控制台上损坏或有故障的数字转换器。
注意:如果屏幕停止工作,你可能只需要更换LCD面板,而不是数字转换器。
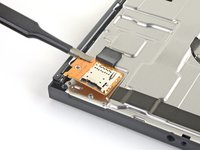
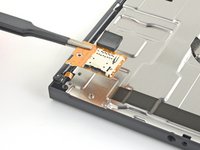
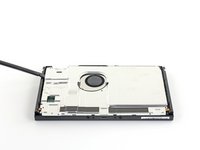
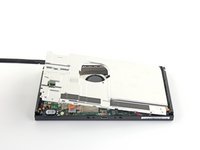
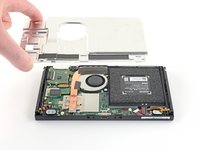
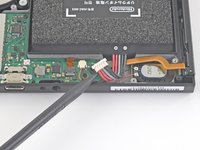
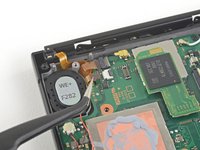
注意:此过程涉及卸下屏蔽板和散热器。在重新安装屏蔽板和散热器之前,将需要清除两个组件以及CPU上的导热膏,然后重新涂抹导热膏。
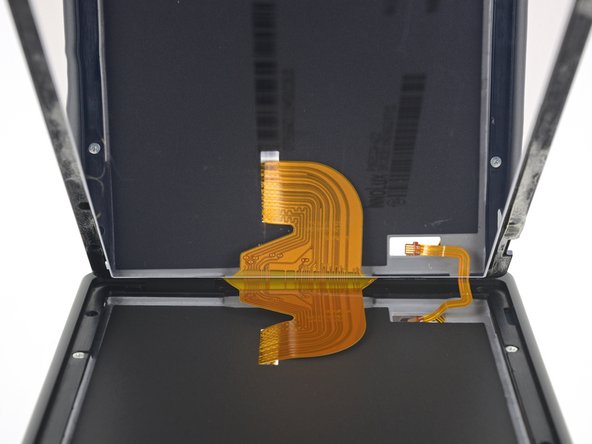
你可以在不卸下散热器和游戏卡读取器的情况下完成此维修,但这会使断开和重新连接LCD面板带状电缆变得更加困难。执行此维修时,请记住这一点。
你所需要的


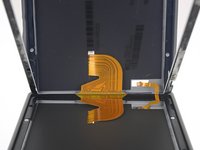
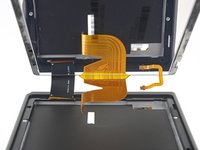
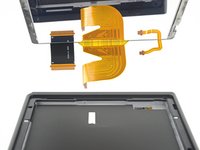


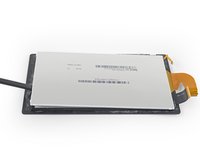


将新的替换零件与原始零件进行比较。在安装之前,你可能需要转移剩余的组件或从新零件上取下胶粘剂背衬。
要重新组装设备,请按照逆序进行操作。
'''如果启动设备后新的数字转换器无法正常工作,请关闭它,然后断开并重新连接电池接口。
将你的电子垃圾带到R2或e-Stewards认证回收商。
维修没有按计划进行吗?尝试一些基本故障排除后的故障排除,或向我们的Nintendo Switch 社区寻求帮助。
34等其他人完成本指南。


15指南评论
Are Digitizers from original models (HAC-001) and revision models (HAC-001-(01)) compatible?
I don’t mean switch lite but the revision with the longer lasting battery.
Yes, the digitizer is compatible with both models!
No .
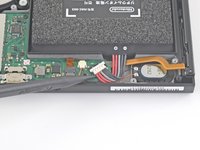
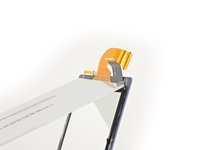
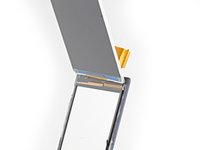
The ribbon cable for the digitizer is too short and cannot plug in to the connecter on the game card reader. Any ideas what the issue could be? im using a custom housing for it
there should be a slit on the front housing where the ribbon cable goes straight through to the back. pay attention at where it comes out of on step 39