简介
请按照本指南安全地拆卸和更换 2018 年末 MacBook Air 的电池。
为最大限度地降低损坏风险,请打开 MacBook,让电池完全放电后再开始此操作。已充电的锂离子电池如果意外被刺穿,会非常危险。电池肿胀怎么办]
你所需要的
-
-
如果你的 MacBook 运行的是 Big Sur v11.1 或更高版本,禁用自动启动可能不起作用。 你可以正常进行拆卸,但请务必在打开后盖后立即断开电池连接。
-
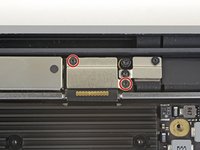
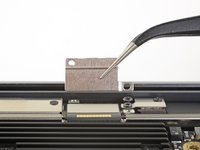
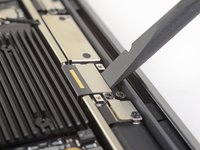
使用P5 螺丝刀卸下以下螺丝:
-
2个7.9毫米螺丝
-
2个7.1毫米螺丝
-
6个2.6毫米螺丝
-
-
-
-
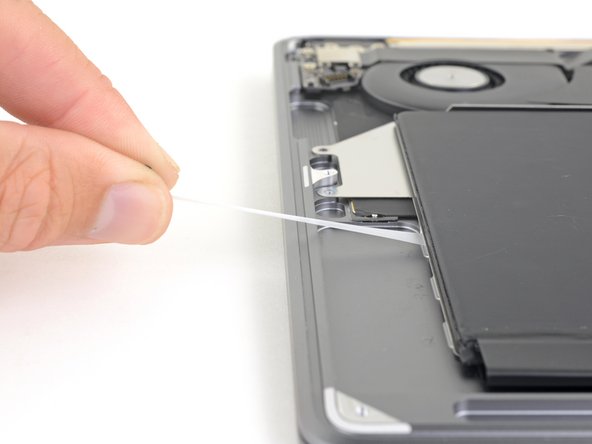
移除电池。
-
校准新安装的电池:将其充电至100%,并继续充电至少2小时。拔下电源插头并正常使用以耗尽电池电量。当你看到电池电量不足警告时,请保存你的工作,并保持笔记本计算机处于打开状态,直到由于电池电量不足而进入睡眠状态。等待至少5个小时,然后为笔记本电脑不间断充电至100%。
-


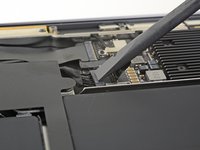


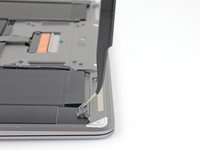
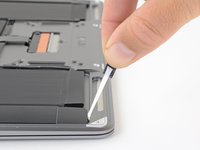
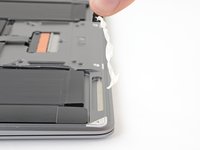


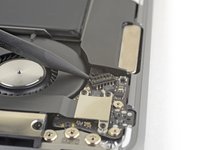
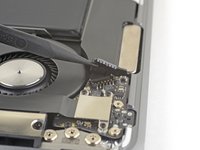


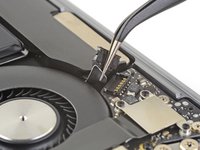
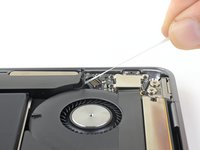
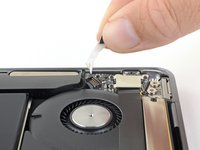


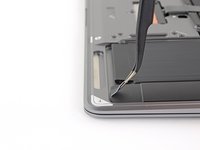
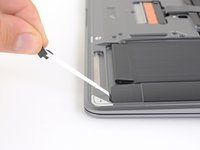
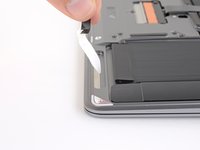


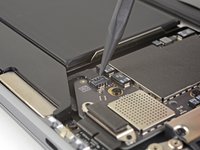
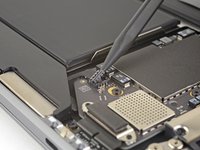
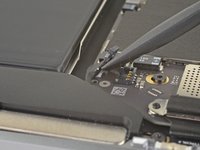

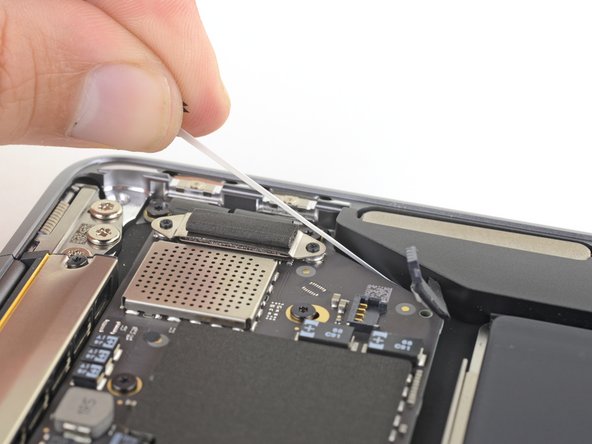

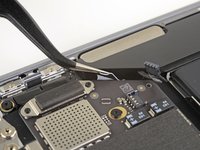
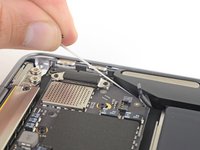
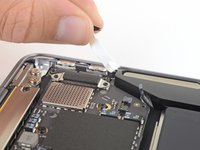


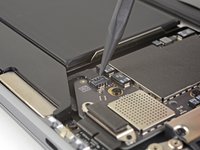
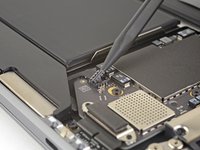
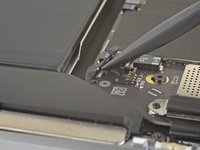


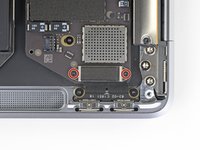
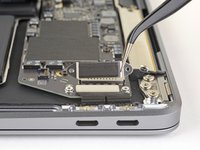


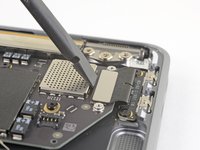
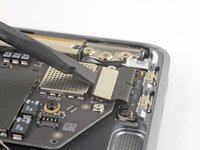


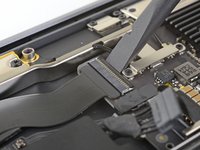
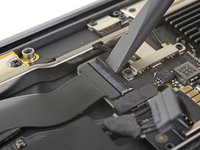
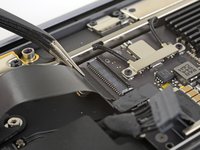


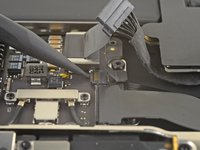
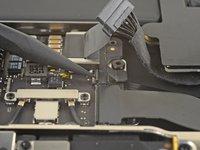
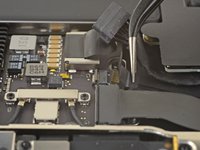


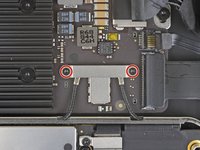
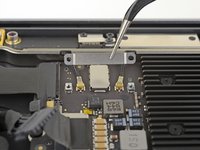


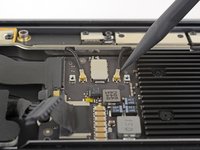
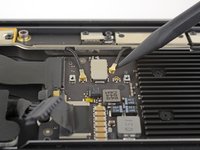
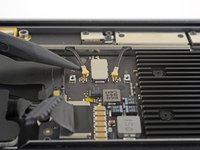




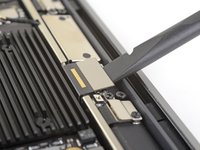


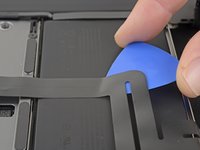
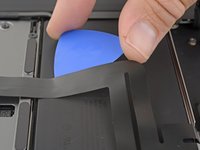


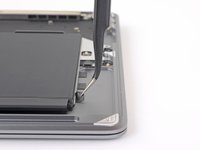
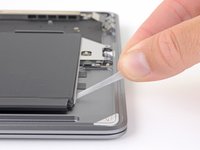
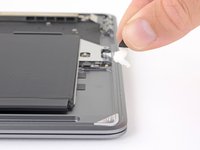


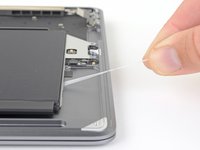
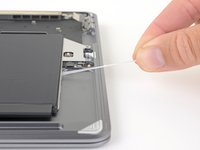



将新的替换部件与原部件进行比较--在安装之前,可能需要转移剩余部件或去除新部件上的背胶。
要重新组装设备,请按照相反的顺序执行上述步骤。
将电子垃圾送到R2 或 e-Stewards 认证的回收商。
维修没有按计划进行?请访问我们的 社区 获取故障排除帮助。
将新的替换部件与原部件进行比较--在安装之前,可能需要转移剩余部件或去除新部件上的背胶。
要重新组装设备,请按照相反的顺序执行上述步骤。
将电子垃圾送到R2 或 e-Stewards 认证的回收商。
维修没有按计划进行?请访问我们的 社区 获取故障排除帮助。
40等其他人完成本指南。


12条评论
Well done article and I acheived my goal of changing out my very puffy old battery for the new one (still need to recycle the old… ASAP). Curiously, I had to open it again as I, somehow, didn’t get the battery cable pushed in far enough and it wasn’t working. Now, all is well. Strangely, even after a couple of attempts at resetting the SMC, my fan is running almost constantly. I’m kind of not sure what to do about that at this point (yes, I used the iFixIt guide to clean my fan as well). Anyway, thanks for the help.
great article, havent used it as yet, but just wanted to check the complexity before I purchased the battery
New battery is in and on 1st round of charging! Thank you very much!!!
As a note, I also purchased some Tesa tape with the battery as the shopping cart recommended it. I used that under the speakers before replacing them. The left & right sides of the batteries are kind of loose, but I’m not overly worried about that as it’s attached to metal backing.
Extremely pleased with this tutorial and the ifixit.com battery replacement kit. Since one of my USB-C ports died and the Apple certified folks told me to expect to pay over $500 to replace the port and battery I came here to sort it out myself. Happy to say with ifixit's awesome parts and tutorials that I have a fully functional Air again for about $150. I also recommend the magnetic project board as this was super helpful in keeping all of the various sized screws organized to the steps.
Great guide, except a small mistake in the required tools: we don't need a T4 screwdriver at all but we do need a T5 screwdriver.
HugoThomas - 回复
