跳转到主内容

2019年13寸 MacBook Air 带Retina 显示屏左扬声器更换

注:你正在为你刚才查阅的指南编辑前提条件。你所做的任何更改将影响包括此步骤的7本指南

英语
中文

正翻译步骤 3

步骤 3
MacBook Air 13" Retina Display 2019 Left Speaker Replacement: 步骤 0 中的图像 1,3 MacBook Air 13" Retina Display 2019 Left Speaker Replacement: 步骤 0 中的图像 2,3 MacBook Air 13" Retina Display 2019 Left Speaker Replacement: 步骤 0 中的图像 3,3
  • Use tweezers to lift the adhesive pull tab at the top of the left speaker enough that you can grab it with your fingers.

  • Grab the adhesive strip pull tab and slowly and carefully pull the adhesive strip out from under the speaker.

  • Keep the angle of the adhesive strip as parallel to the laptop as you can. Try to avoid dragging it across the inside of the case.

  • If the adhesive strip breaks, or if the first adhesive strip broke, use a heated iOpener or heat gun to help remove the adhesive:

  • Apply heat to the speaker to soften the adhesive underneath.

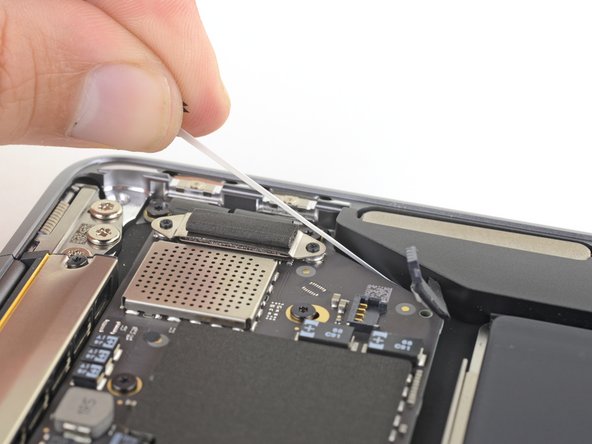
  • Carefully slide a spudger or opening pick underneath the speaker to separate the adhesive.

使用镊子将左扬声器顶部的粘性拉条抬起到足以用手指抓住的位置。

抓住胶带的拉条,然后缓慢小心地将胶带从扬声器下方拉出。

尽可能使胶带的角度与笔记本电脑平行。尽量避免将其拖到机箱内部。

如果胶带断裂,或者第一条胶条断裂,请使用加热的iOpener或热风枪来帮助除去胶粘剂:

向扬声器加热,以软化下方的粘合剂。

小心地将撬棒或撬棒滑到扬声器下方,以分离粘合剂。

您的所有投稿皆享有基于开源创作共享许可协议(CC BY-NC-SA)著作权利