
Huawei Honor 9 Screen Replacement

简介
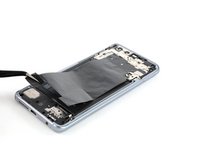
转到步骤 1Use this guide to remove the screen of the Huawei Honor 9.
Before disassembling your phone, discharge the battery below 25%. The battery can catch fire and/or explode if accidentally punctured, but the chances of that happening are much lower if discharged.
Note: This guide instructs you to replace only the screen while leaving the original frame and motherboard in place. However, some replacement screens for this phone come pre-installed in a new frame (a.k.a. chassis), which requires a very different procedure. Make sure you have the correct part before starting this guide.
This guide involves removing the rear glass cover and the battery—you will need replacement adhesive to reattach both and/or a new battery. If your replacement part does not come with adhesive, use a strong double-sided tape to secure it.
你所需要的
修复工具包
本套装包含完成指南所需的所有零件和工具。

配件

工具


查看更多...
-
-
Switch off your phone.
-
Heat an iOpener and apply it to the back of the phone for around two minutes. This will help soften the adhesive securing the rear glass.
-
You might need to reheat and reapply the iOpener several times during the rear glass removal.
-
-
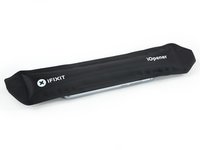
在这个步骤中使用的工具:Tesa 61395 Tape$5.99
-
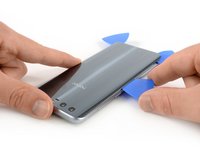
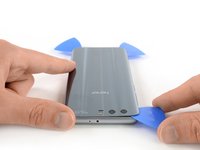
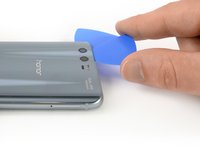
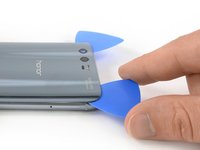
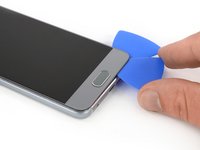
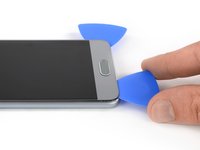
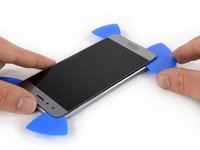
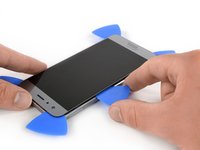
Carefully lift the rear glass and remove it.
-
Secure the new rear glass with pre-cut adhesive or double-sided adhesive tape.
-
After installing the rear glass, apply strong, steady pressure to your phone for several minutes to help the adhesive form a good bond, such as by placing it under a stack of heavy books.
-
-
-
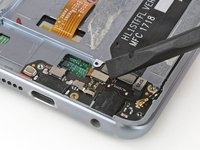
Remove the three Phillips #00 screws (3.45 mm length).
-
Remove the five Phillips #00 screws (2.9 mm length).
-
-
-
-
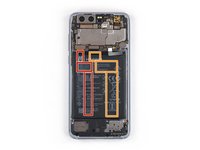
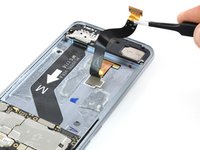
Apply an iOpener to the center of the display, to loosen the adhesive beneath the battery.
-
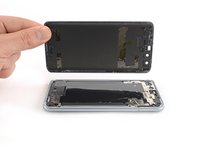
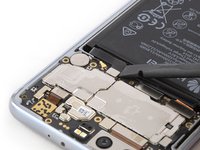
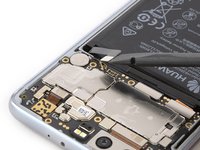
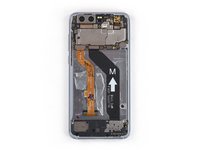
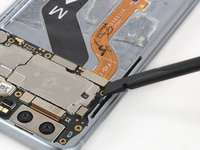
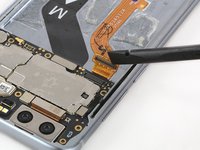
Display flex cable
-
Interconnect flex cable
-
-
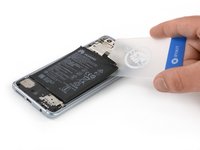
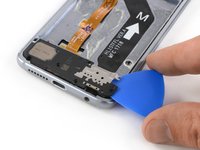
在这个步骤中使用的工具:Plastic Cards$2.99
-
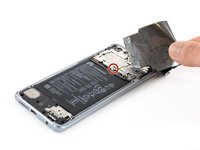
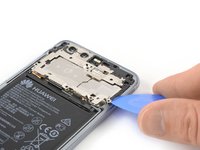
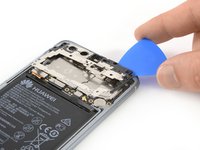
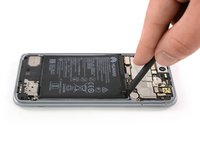
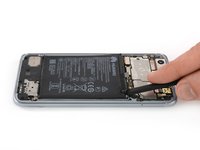
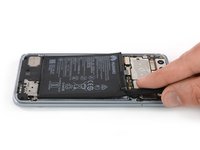
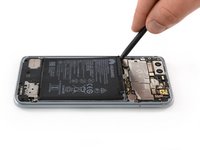
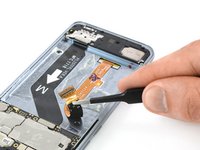
Insert an opening pick or plastic card between the frame and the battery.
-
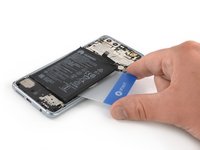
Cut any remaining adhesive underneath the battery.
-
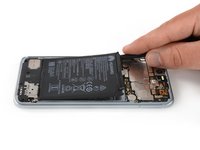
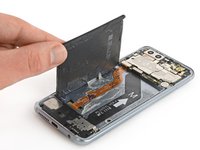
Pry up the battery until you can get a good grip.
-
-
-
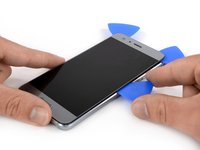
Apply an iOpener to the bottom end of the display to soften the adhesive beneath the loudspeaker.
-
-
-
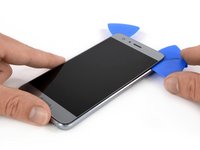
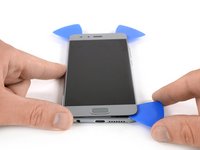
Apply a heated iOpener to the display for around two minutes to soften the adhesive underneath.
-
-
-
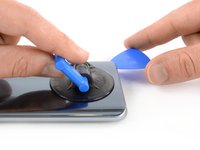
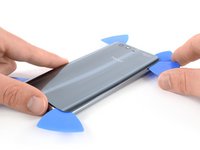
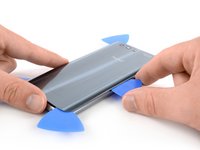
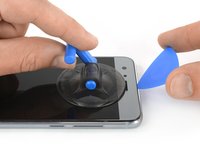
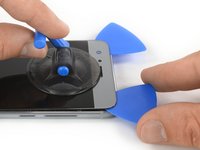
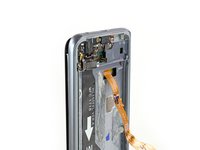
Once the screen is warm to the touch, apply a suction cup near the top edge of the phone right under the earpiece speaker.
-
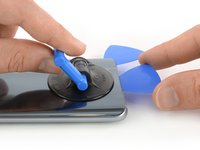
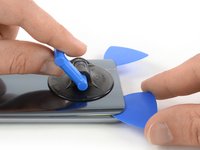
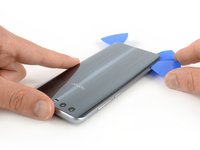
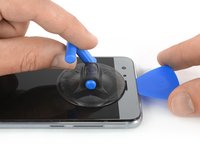
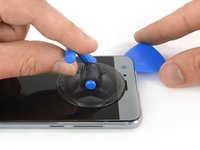
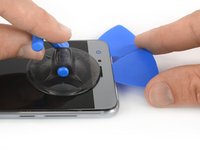
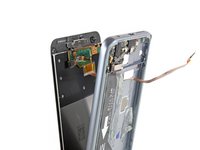
Pull up on the suction cup and insert the tip of an opening pick under the display near the earpiece speaker.
-
Slide the opening pick to the top left corner of the phone to cut the adhesive.
-


To reassemble your device, follow these instructions in reverse order.
Take your e-waste to an R2 or e-Stewards certified recycler.
Repair didn’t go as planned? Check out our Answers community for troubleshooting help.
To reassemble your device, follow these instructions in reverse order.
Take your e-waste to an R2 or e-Stewards certified recycler.
Repair didn’t go as planned? Check out our Answers community for troubleshooting help.
5等其他人完成本指南。

