简介
本指南由iFixit员工编写而未经谷歌认证。点击此处了解更多有关维修指南的信息
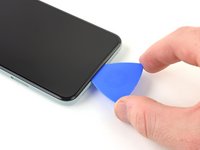
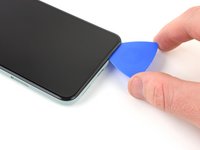
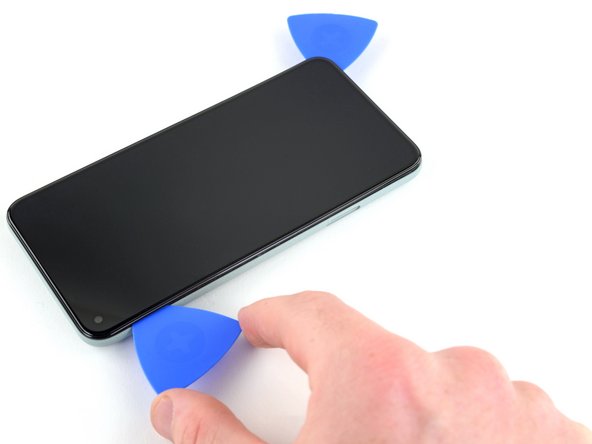
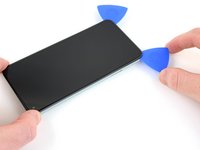
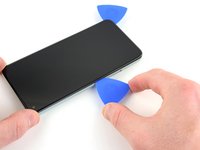
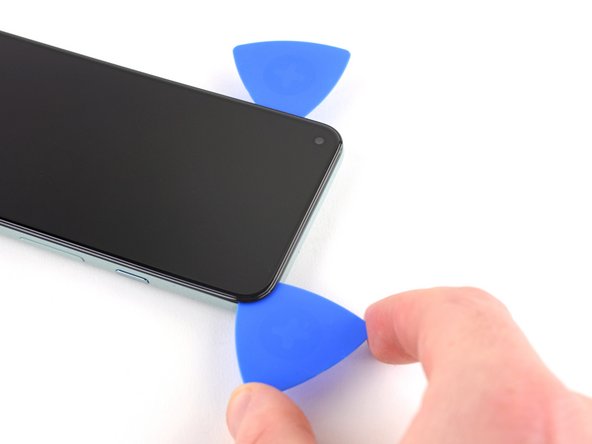
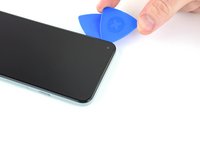
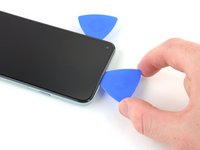
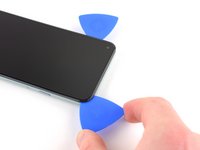
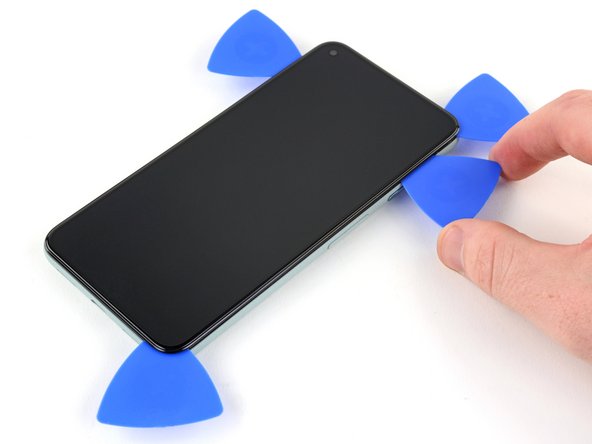
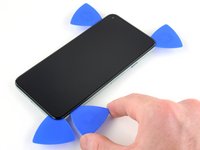
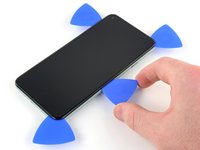
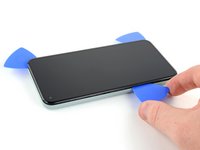
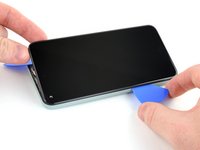
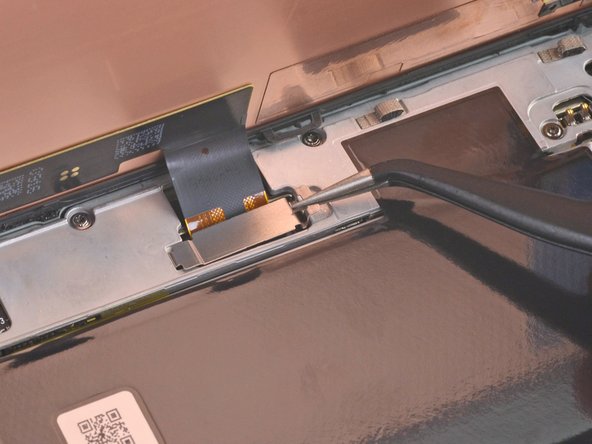
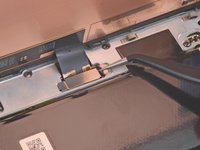
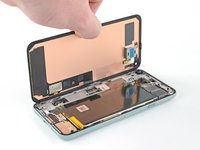
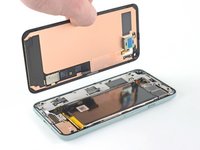
请按照本指南更换破碎或破裂的 Google Pixel 5 屏幕。
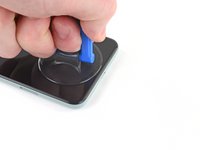
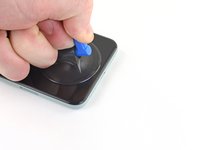
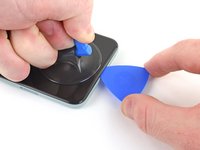
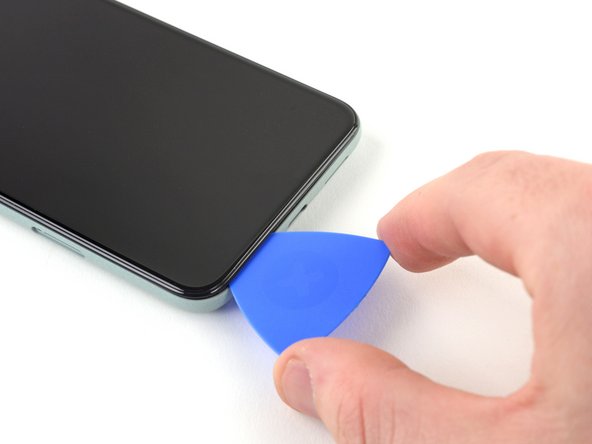
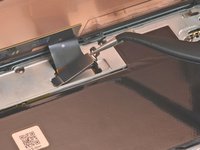
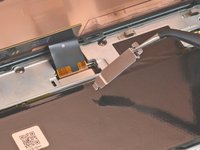
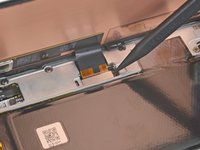
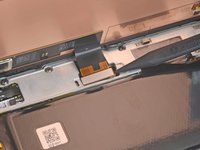
与以前的 Google Pixel 机型不同,Pixel 5的屏幕采用了金属框架加固。听筒扬声器也被粘在屏幕的背面。
你所需要的


72等其他人完成本指南。


33指南评论
if i want only screen (lcd display) of pixel 5 from where can i get the screen. sudhri@gmail.com my mail address
Hello! This tutorial is well explained and seems ok to realize, but the problem i’m facing is to find the right spare part… Once contacted, google assistance said the only option is to send it back to them for 138€ and 7-10 days… Can you recommand a trustworsthy website for that?
Usually i look on amazon (sent by amazon) to get the warranty if i got any problem.
Check out the iFixit store. We stock some parts for the Pixel 5, including the screen and battery.
Zac Hall -
The screen that I ordered has a cable that runs the wrong way. It would need to be twisted to make it fit my Pixel 5. Any suggestions?