简介
This repair guide was authored by the iFixit staff and hasn’t been endorsed by Google. Learn more about our repair guides here.
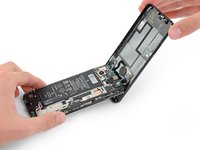
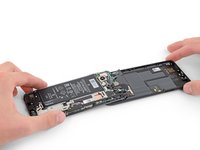
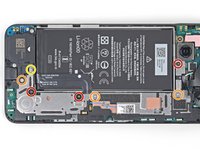
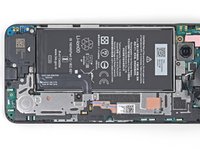
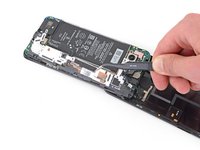
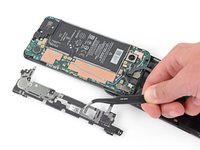
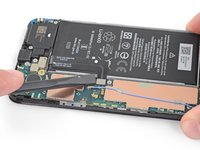
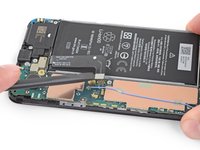
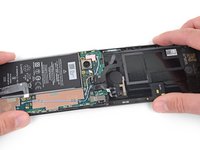
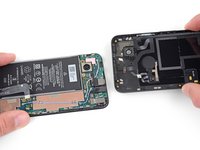
Follow this guide to replace the battery on a Google Pixel 4a.
For your safety, discharge your battery below 25% before disassembling your phone.
This reduces the risk of a dangerous thermal event if the battery is accidentally damaged during the repair. If your battery is swollen, take appropriate precautions.
The unreinforced display panel of the Pixel 4a is fragile. Pay special attention to the warnings in the opening procedure if you are reusing the screen.
你所需要的
-
-
Insert a SIM eject tool, bit, or straightened paper clip into the SIM tray hole.
-
Press directly into the hole to eject the SIM card tray.
-
Remove the SIM card tray.
-
-
-
Take note of the two seams on the edge of the phone:
-
Screen seam: This seam separates the screen from the rest of the phone. This is where you should pry.
-
Frame seam: This is where the plastic frame meets the back cover. It is held in place by screws. Do not pry at this seam.
-
Before you begin, note the following areas on the screen:
-
Screen flex cable: Do not insert the opening pick deeper than instructed or you risk damaging this cable.
-
Adhesive perimeter: Prying beyond this narrow perimeter without angling the pick will damage the OLED panel.
-
-
-
Apply a heated iOpener to the right edge of the display for one minute to soften the adhesive.
-
-
-
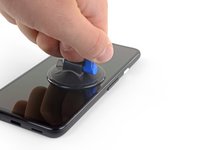
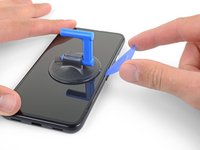
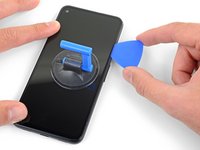
Place a suction cup as close to the right edge of the screen as possible.
-
Lift the suction cup with a strong steady force.
-
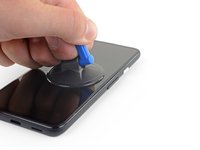
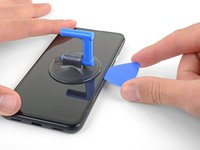
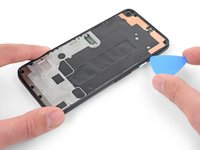
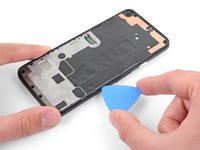
Insert the tip of an opening pick into the screen seam no more than 1 mm.
-
-
-
With the pick 1 mm into the gap, pivot the pick upwards to a steep angle.
-
At a steep angle, carefully push the pick into the gap about 1/4 inch (6 mm). The pick should slide in below the OLED panel.
-
-
-
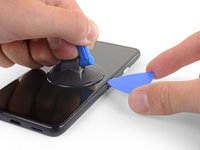
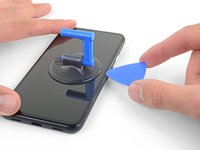
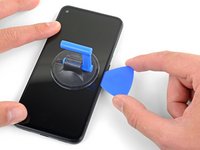
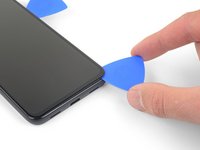
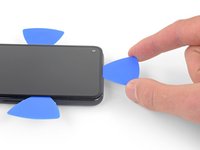
Slide the pick along the right edge of the screen to cut the adhesive.
-
Leave the pick in the top right corner to prevent the adhesive from re-sealing.
-
-
-
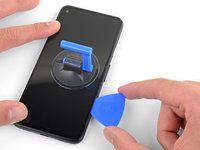
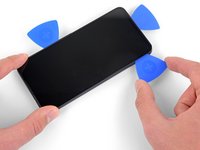
Insert another opening pick into the right edge of the phone at an angle where a gap has already formed to prevent damage to the OLED panel.
-
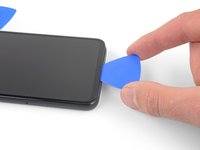
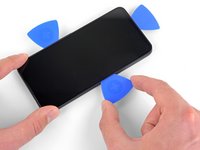
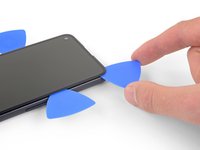
Slide the opening pick around the bottom of the phone to cut the adhesive.
-
Leave the pick inserted along the bottom edge to prevent the adhesive from resealing.
-
-
-
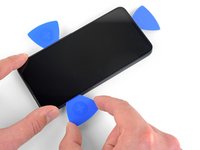
Insert another opening pick into the bottom edge of the phone at an angle where a gap has already formed to prevent damage to the OLED panel.
-
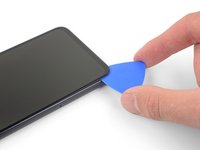
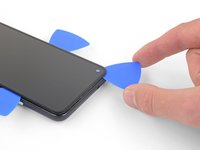
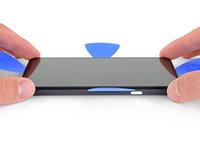
Use the pick to slice through the left edge of the phone.
-
Leave the pick inserted along the left edge of the phone to prevent the adhesive from re-sealing.
-
-
-
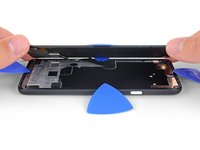
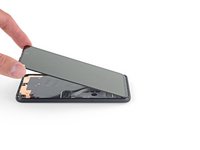
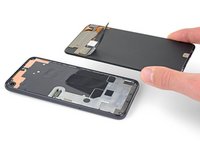
Lift from the top edge and swing the screen over the bottom edge until you can rest it glass-side down.
-
-
-
在这个步骤中使用的工具:Tweezers$4.99
-
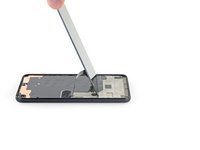
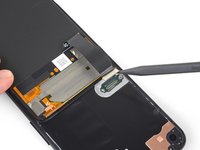
Use a pair of tweezers to carefully peel up the black tape covering the screen connector bracket.
-
-
-
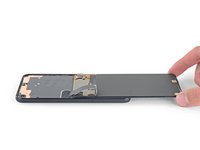
Remove the screen.
-
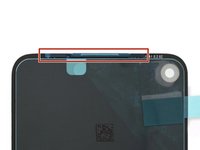
Check if your replacement screen has speaker mesh and top edge adhesive pre-installed.
-
If it does, you won't need the top edge adhesive.
-
If it doesn't, remove the larger clear liner from the top edge adhesive and apply it to the screen (not the frame). Make sure the larger cutout lines up with the speaker mesh.
-
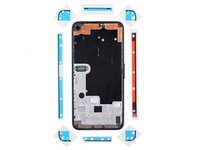
Follow this guide to apply the custom-cut adhesive.
-
-
-
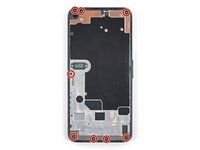
Use a T3 Torx driver to remove the eight 4.3 mm screws securing the back cover to the midframe.
-
-
-
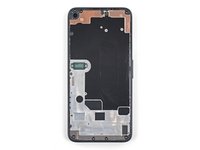
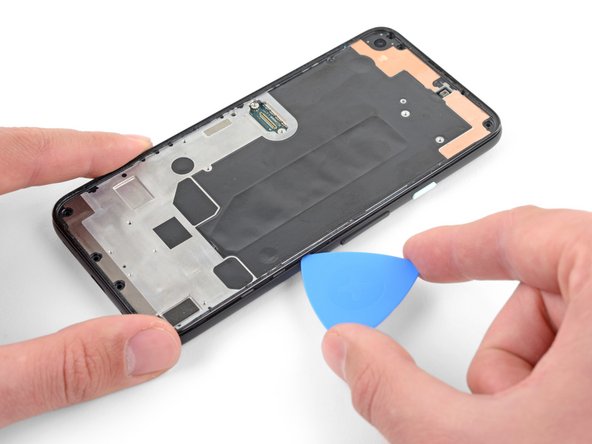
This photo shows the midframe components behind the back cover. Note the spring contacts near the edge of the midframe. As you slice with the opening pick in the next step, be sure not to insert the pick more than 2 mm to avoid damaging the spring contacts.
-
-
-
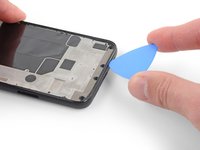
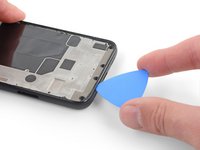
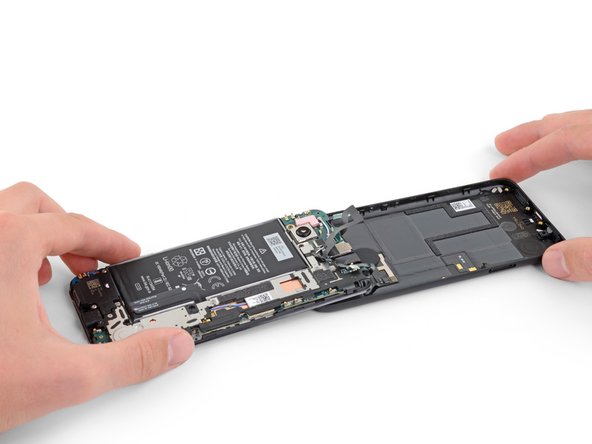
Insert an opening pick into the seam between the midframe and the back cover. Angle the pick downwards at a steep angle into the seam.
-
Slide the opening pick along the bottom edge of the phone to release the plastic clips securing the back cover to the midframe.
-
-
-
Use a T3 Torx driver to remove the seven screws securing the motherboard bracket:
-
Three 2.9 mm-long black screws
-
Three 2 mm-long screws
-
One 4.1 mm-long screw
-
-
-
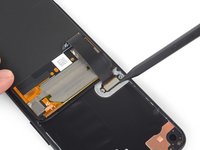
Use the flat end of a spudger to pry up and disconnect the battery cable.
-
-
-
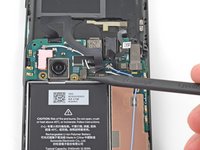
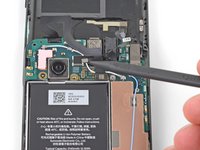
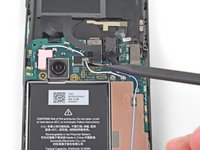
Use the tip of a spudger to disconnect the two flex cables connecting the fingerprint sensor and buttons to the motherboard.
-
-
在这个步骤中使用的工具:Tweezers$4.99
-
Flip the midframe over.
-
Use a pair of tweezers to remove the two pieces of black tape covering the battery adhesive pull tabs.
-
-
-
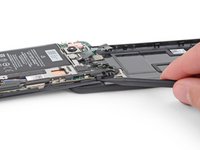
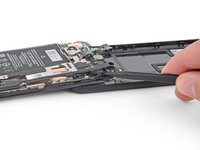
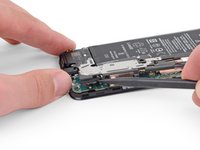
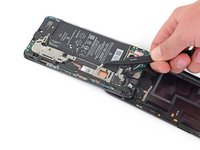
Slowly pull one battery adhesive tab away from the battery, towards the bottom of the phone.
-
Pull steadily, maintaining constant tension on the strip until it slips out from between the battery and the midframe. For best results, pull the strip at as low an angle as possible.
-
If the battery adhesive tabs break during the removal process, use your fingers or blunt tweezers to retrieve the remaining length of adhesive, and continue pulling.
-
If any of the adhesive strips broke off underneath the battery and could not be retrieved, apply a few drops of 90% isopropyl alcohol into the opening of the affected tab and tilt the phone towards the top edge so that the alcohol flows toward the remaining adhesive. Wait one minute for the adhesive to soften, then proceed to the next step.
-
To reassemble your device, follow the above steps in reverse order.
Take your e-waste to an R2 or e-Stewards certified recycler.
Repair didn’t go as planned? Try some basic troubleshooting, or ask our Answers community for help.
To reassemble your device, follow the above steps in reverse order.
Take your e-waste to an R2 or e-Stewards certified recycler.
Repair didn’t go as planned? Try some basic troubleshooting, or ask our Answers community for help.
87等其他人完成本指南。
60条评论
Do you stock the 4A and 4A 5G batteries? my local repair shops will not just sell me the battery.
Tricky. I don't suggest sweating to save the pieces of tape. Just attach new tape for the battery.
T3 Tip on my kit worked, don't know why it didn't for previous commentor.
Fuwah Chez - 回复


