简介
你的Pixel手机的屏幕是否无法正常使用或者碎裂了吗?你可以跟随本教程完成更换!
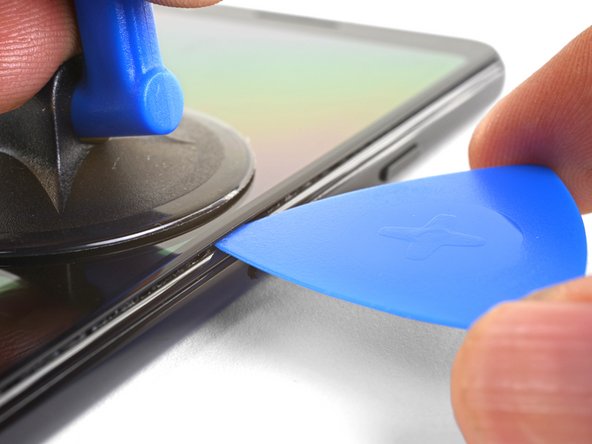
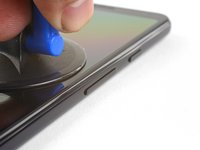
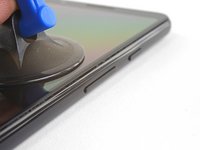
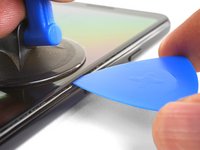
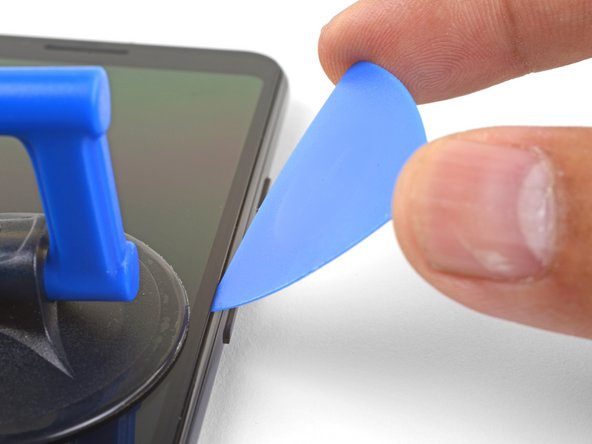
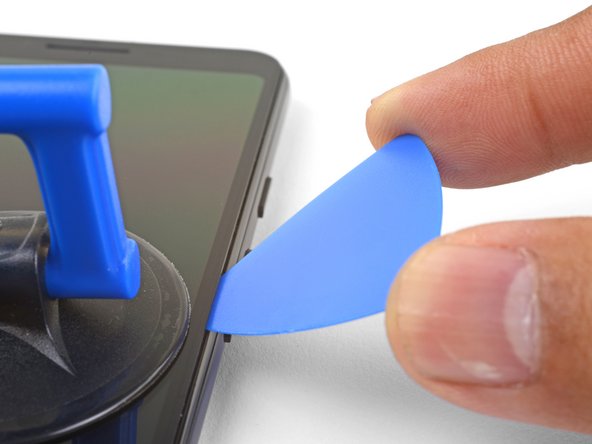
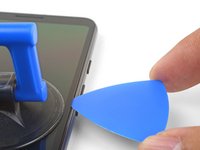
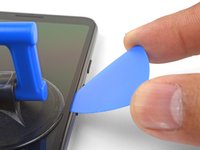
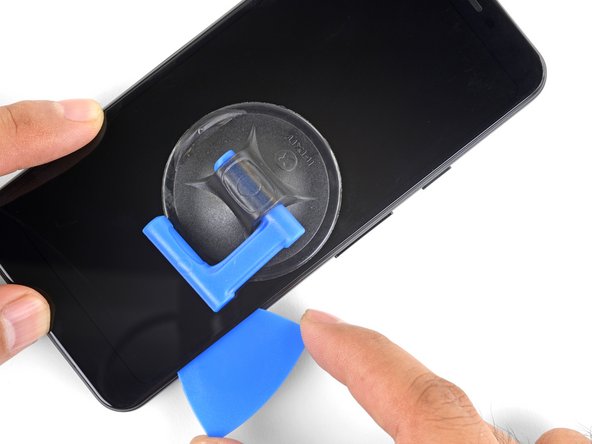
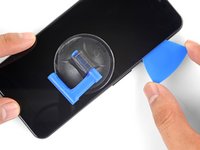
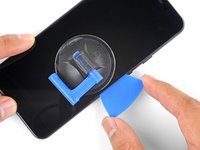
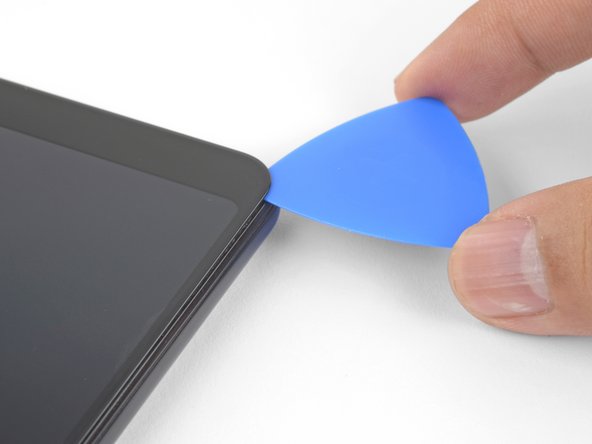
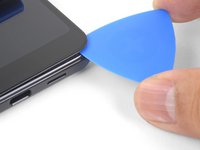
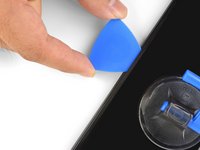
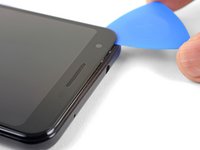
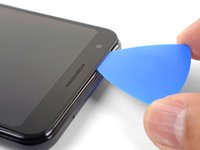
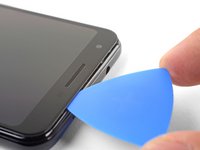
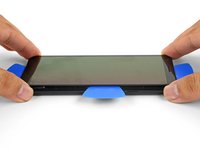
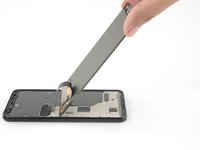
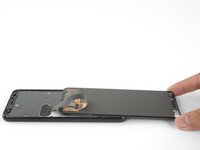
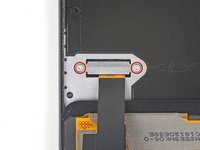
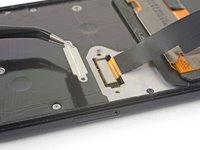
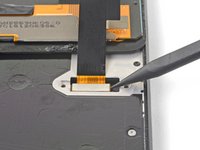
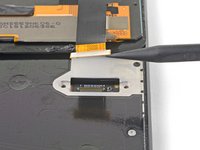
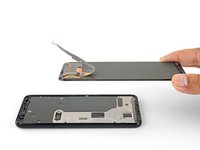
Pixel 3a的未加固显示面板非常脆弱,如果你想要重复利用这块屏幕,请确保特别注意教程中“打开”过程的警告。
你所需要的


如果你的Pixel在更换屏幕之后无法开机,手机有可能会在你连上电池后以静默方式启动。长按电源键几秒钟,直到手机振动。之后,重新连接屏幕,再试一次。
如果需要组装你的手机,请按照指南中相反的顺序进行操作。
请将产生的电子垃圾交给本地认证的电子垃圾回收商。
维修的过程不如你所愿?你可以来论坛,向社区提问,获得解决方案。
83等其他人完成本指南。


50指南评论
Any word on the replacement screens?
We should have replacement screens in stock in the next month or two! Thanks for your patience.
Arthur Shi - 分享
I’ve cracked not only my LCD screen, but also the frame seam (shown with orange line in step 1 above). Will you be posting a guide to replace this also, or could you incorporate into this guide? Also interested if this will be available as a spare? Thanks.
Mark Waring - 回复 分享
Hi Mark,
I’m sorry to hear that! The frame seam is part of the plastic midframe—you would need to replace the midframe to replace the cracked seam. Instructions on how to do so can be found in this guide.
Because the Pixel 3a is a relatively new phone, replacement parts are harder to find for it. You can always buy a broken phone and transfer the part over, or use some adhesive to hold the cracked frame seam in place.
Arthur Shi - 分享