Google Pixel 3 XL Back Cover Adhesive Installation
简介
转到步骤 1This repair guide was authored by the iFixit staff and hasn’t been endorsed by Google. Learn more about our repair guides here.
Follow this guide to correctly apply replacement back cover adhesive to your Pixel 3 XL after a repair.
Before you begin, you should have already removed your Pixel’s back cover and set it aside. Detailed instructions for this can be found here.
-
-
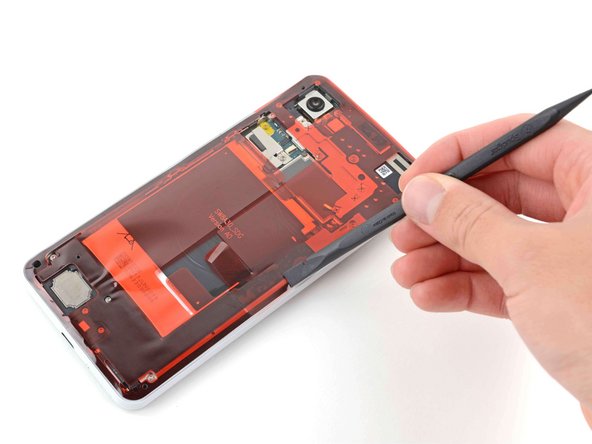
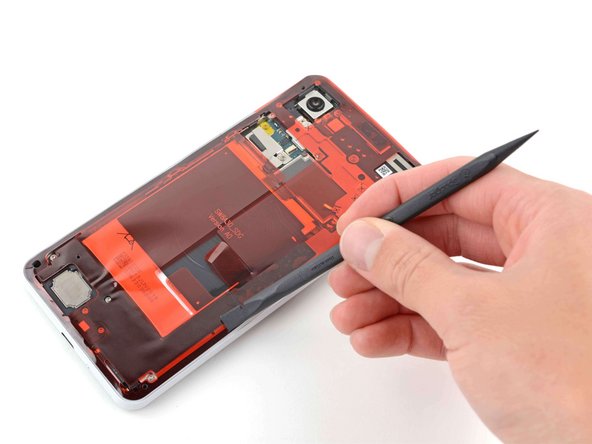
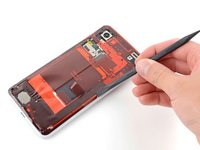
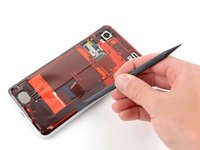
Pick and scrape away the old adhesive from the frame.
-
Use a spudger to scrape away any lingering adhesive.
-
For best results, clean the area underneath the removed adhesive with 90% or greater isopropyl alcohol to prep the surface for the new adhesive.
-
-
-
Repeat the previous step for the back cover adhesive.
-
-
-
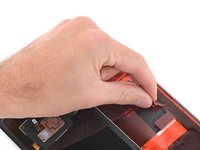
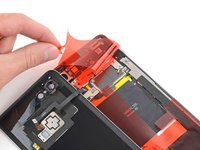
Peel away the plastic lining to expose the frame side of the replacement adhesive.
-
-
-
-
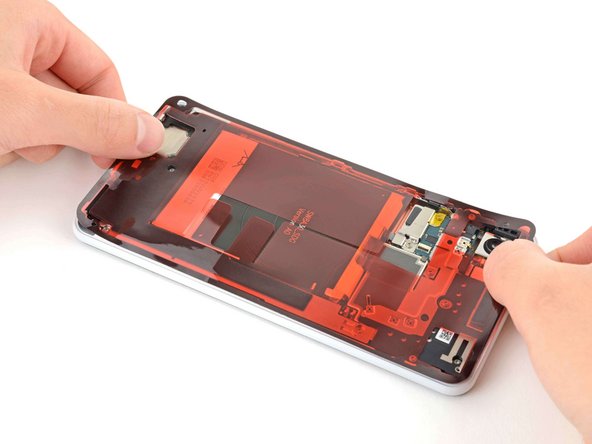
Lower the adhesive onto the frame.
-
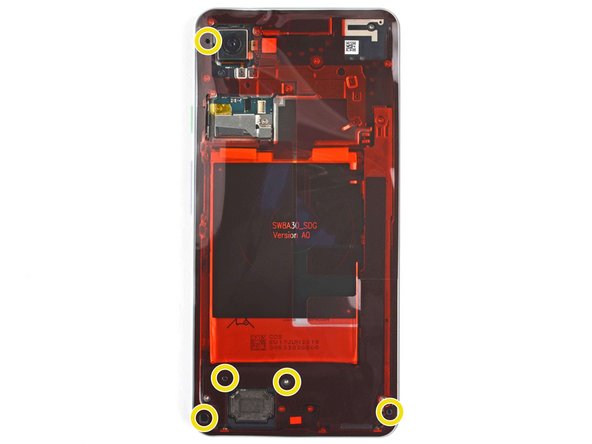
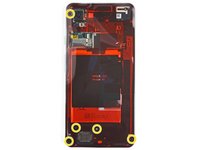
Use the holes in the frame to properly align the adhesive.
-
-
-
Use the flat end of a spudger or your fingernail to press down on the adhesive.
-
Slide along the perimeter to secure the adhesive to the frame.
-
-
在这个步骤中使用的工具:Tweezers$4.99
-
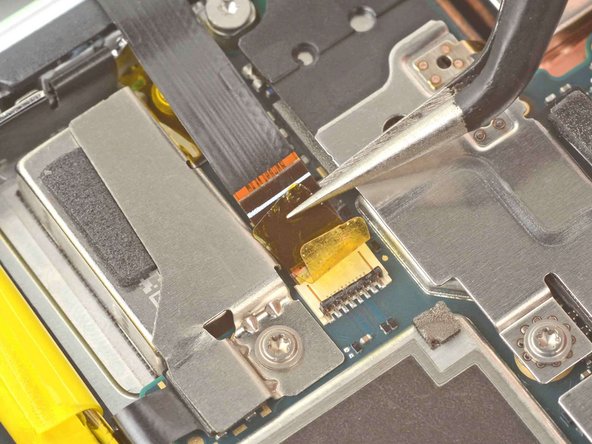
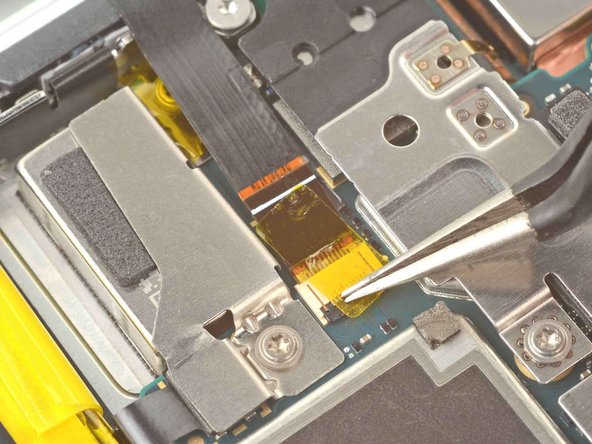
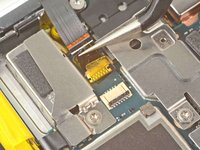
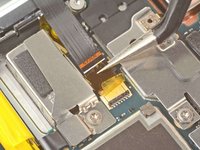
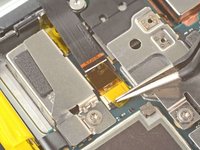
Use tweezers to guide the fingerprint sensor cable into its socket.
-
Press down on the latch to secure it.
-
-
-
Peel away the plastic lining to expose the back cover side of the adhesive.
-
-
-
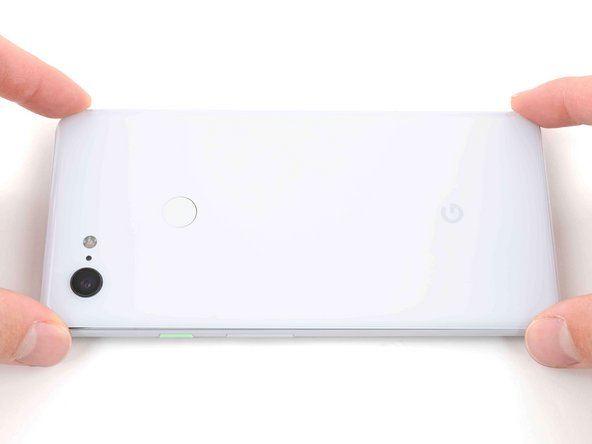
Lower the back cover onto the frame.
-
Press down on all edges of the back cover to secure it to the frame.
-
Repair didn’t go as planned? Try some basic troubleshooting, or ask our Pixel 3 XL Answers community for help.
Repair didn’t go as planned? Try some basic troubleshooting, or ask our Pixel 3 XL Answers community for help.
5等其他人完成本指南。


