简介
本维修指南是由iFixit工作人员撰写的,没有得到谷歌的认可。了解更多关于我们的维修指南, 请点击这里。
使用本指南来更换Google Pixel 6 Pro 破损的屏幕。
你需要用一个带有指纹识别功能的新屏幕来更换。如果没有,你将需要把原来的指纹读取器重新安装到你的新屏幕上,如果要更换指纹读取器,则需要重新校准它以保持其功能。
如果框架变形了,就必须更换它,以确保新屏幕能正确安装,不会因压力不均而受到损害。
如果你的电池肿胀了,采取适当的预防措施。在拆卸你的设备之前,将电池放电到25%以下。如果电池在维修过程中意外损坏,这样可以减少发生电池过热的风险。
注意:Pixel 6 Pro 含有 1 级激光。拆卸可能导致接触到不可见的红外激光辐射。
维修后能否保持防水性能取决于重新涂抹粘合剂的效果,但你的设备会不再具有IP(侵入防护)的等级。
在你开始这个过程之前,一定要为后玻璃和屏幕准备一套替换用的粘合剂。
你所需要的
-
-
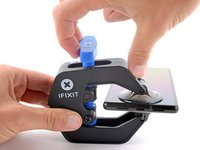
加热 iOpener,将其穿过夹臂。
-
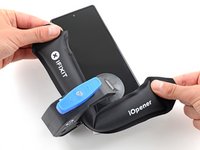
折叠 iOpener,使其位于手机底部边缘。
-
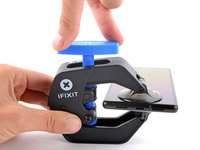
等待一分钟,让粘合剂有机会脱落,出现开口缝隙。
-
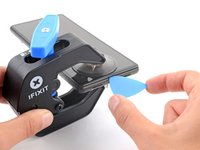
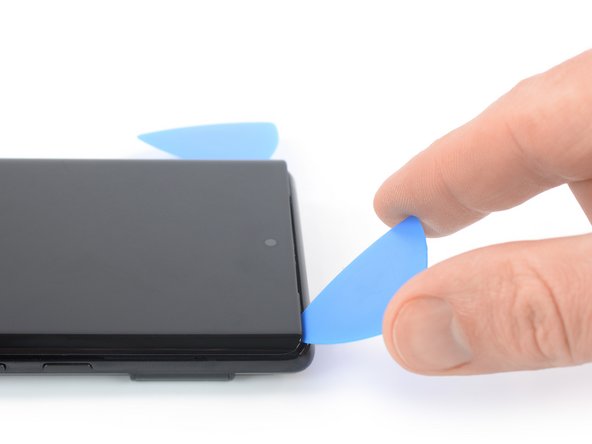
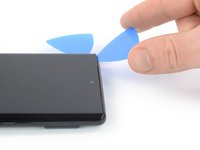
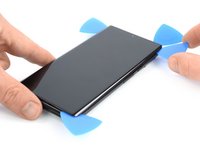
在反向钳创建足够大的间隙时,将撬片插入屏幕框下。
-
跳过接下来的两个步骤。
-
-
-
-
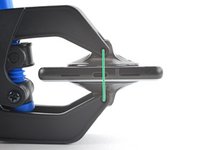
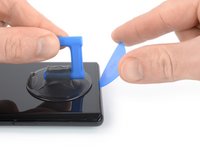
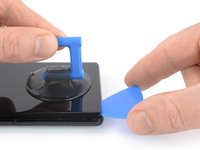
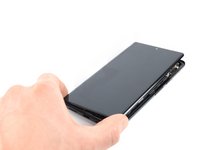
等到屏幕摸起来有温热感时,在下边框处放好吸柄。
-
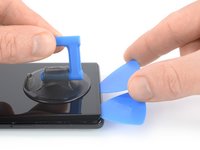
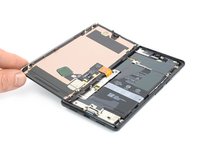
提拉吸盘把手,将屏幕和周围的保护边框提至屏幕总成和手机机身有缝隙出现。
-
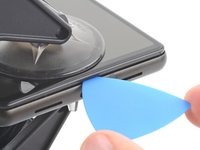
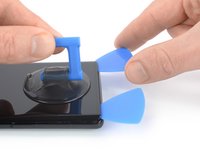
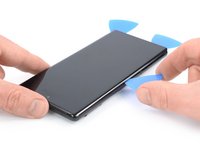
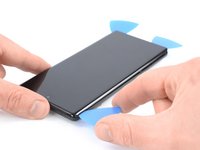
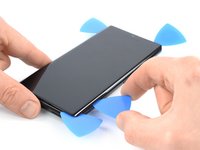
把三角撬片插入屏幕总成和机身的空隙处。
-
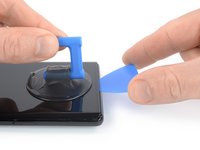
将三角撬片向左下方滑动,把胶水划开。
-
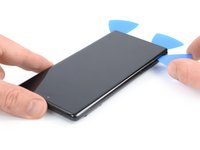
将三角撬片留在原处,以免胶水重新粘合。
-
-
在这个步骤中使用的工具:Magnetic Project Mat$19.95
-
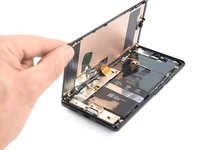
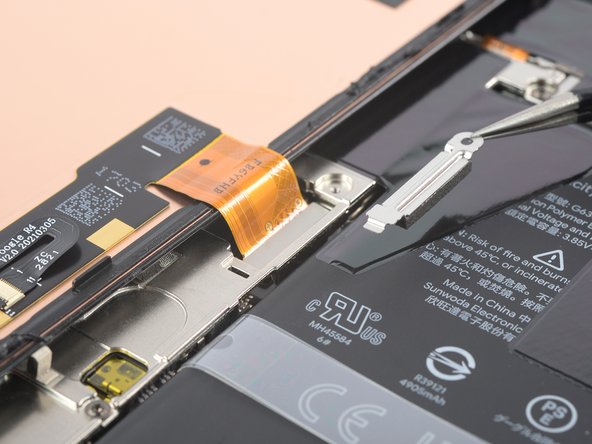
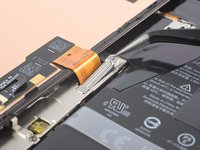
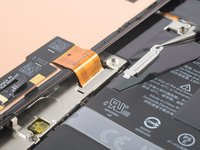
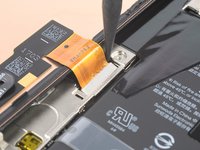
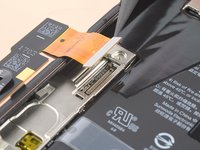
使用 Torx T3 螺丝刀,卸下固定显示屏电缆金属托架的 2.0 毫米长 3IP Torx Plus 螺丝。
-
-


如果可能的话,在安装新的粘合剂和重新密封之前,将你的手机开机并测试你的修复工作是否成功了。
要重新组装你的设备,请按照这些说明以相反的顺序进行操作。
固定新屏幕的最好方法是在屏幕的背面贴上一张定制的双面胶。
如要运行手机内置的Pixel Diagnostic诊断工具,请参阅本文档。
把你的电子垃圾送到经R2或e-Stewards认证的回收机构。
114等其他人完成本指南。


66指南评论
The fingerprint scanner doesn't work. I get a message that I need to visit, but the website doesn't exist. Google has a fingerprint repair tool where you connect your phone and boot into rescue mode, but the program says I can't use it as my phone's firmware is newer than the tool's firmware.
Do a google search to see, there are many others with this issue and a few Google support threads where google acknowledged the issue for over two years but doesn't address the issue other than to say it should be fixed in the future firmware update.
So, now I'm stuck without a fingerprint scanner that I used for all security and banking apps.
Did you transfer your existing fingerprint scanner from your original screen to the new one ?
See my note below; I found a solution for this.