本指南有最近更改,您可查看未经巡查的最新版本。
简介
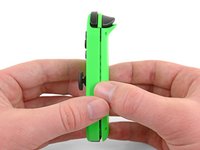
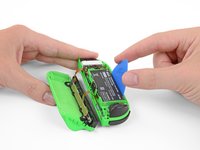
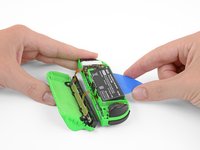
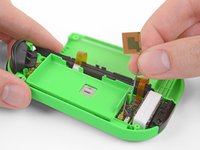
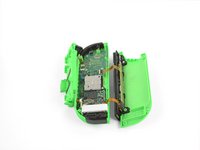
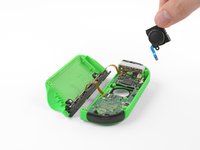
任天堂Switch有两个Joy-Con控制器。这篇指南将会直到你更换右Joy-Con手柄的摇杆。更换左Joy-Con摇杆的步骤与右摇杆是不同的,所以请确保你使用的是正确的指南。
请注意这篇指南与左Joy-Con有不同的步骤。如果你想要更换左摇杆,请参考我的另一篇指南。
你所需要的
-
-
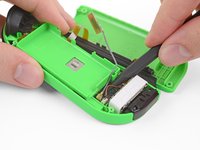
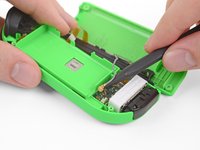
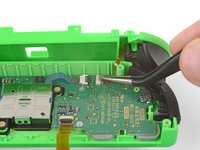
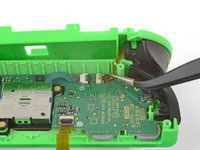
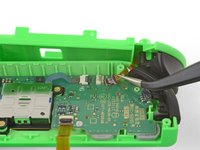
在这个步骤中使用的工具:Tweezers$4.99


如需重新组装您的设备,按照指南的相反顺序操作即可。
请将您的电子垃圾送至R2 or e-Stewards certified recycler。
修理出现了意外状况?欢迎查看我们有关Joy-Con的问答社区以寻求帮助。
如需重新组装您的设备,按照指南的相反顺序操作即可。
请将您的电子垃圾送至R2 or e-Stewards certified recycler。
修理出现了意外状况?欢迎查看我们有关Joy-Con的问答社区以寻求帮助。
482等其他人完成本指南。


团队

66条评论
A good guide though for the antenna instead of disconnecting the cable it would be easier to simply slide out the plate and wire from the side of the battery tray
The antenna and battery don’t need to be disconnected, you can easily move them out of the way.
When reassembling, reconnecting the ribbon cable for the RL button is fiddly, easier if you can avoid disconnecting it as well. Just rotate the plastic battery plate a quarter turn counterclockwise to get it out of the way and access the analog stick.
You can test the controller immediately after seating the joystick to make sure the ribbon cable is properly connected.
In agreement with the others, antenna definitely doesn’t need to be removed. Also noticed that the Y000 bit worked a lot better than the Y00 for the outside screws.
Hello I have followed the guide succesfully for the most part, however the joy con doesn’t seem to power up after reconnecting the battery and the anthenna. I even tried swapping the batteries between joy- cons and battery from the right one does work in the left one. The right joy con doesn’t turn on even with the other battery inserted. Any ideas?