视频概述
-
-
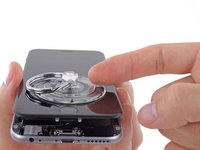
将蓝色的手柄朝铰链的方向拉,以解除反向钳的分离模式。
-
将支撑臂滑过 iPhone 的左边缘或右边缘。
-
将两个吸盘放到Home键上方的屏幕——一个在前,一个在后(屏幕朝向自己的地方为前)。
-
将上方吸盘向下压以施加吸力到目标位置。
-
-
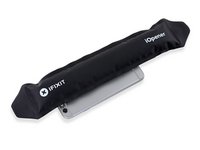
在这个步骤中使用的工具:Clampy - Anti-Clamp$24.95
-
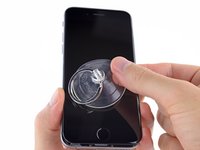
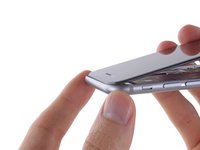
如果你没有反向钳这个工具,使用单个吸盘来分离前面板。
-
将吸盘按压在屏幕上,位置在Home键的正上方。
-
-
-
在这个步骤中使用的工具:Magnetic Project Mat$16.96
-
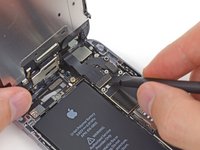
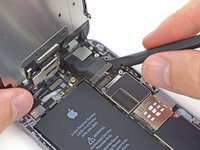
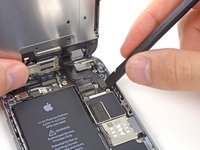
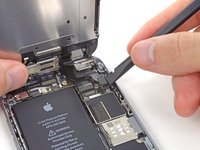
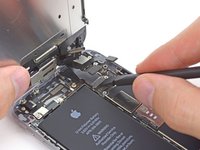
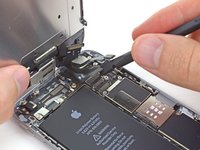
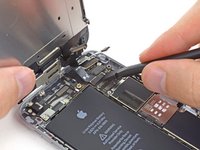
卸下电池排线固定架上的两颗十字型螺丝。
-
一个2.2毫米螺丝
-
一个3.2毫米螺丝
-
-
-
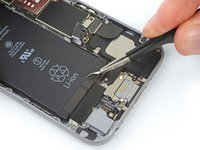
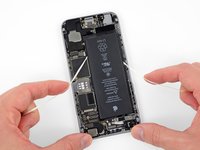
如果电池仍然粘在后壳上, 请准备一个iOpener或使用吹风机直接加热电池后面的后壳。 应该加热到稍微有点热而无法舒适地触摸的程度。
-
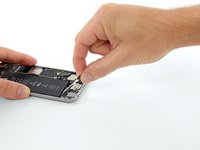
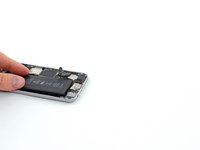
然后,使用塑料打开工具轻轻提起电池。
-
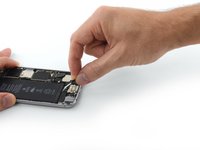
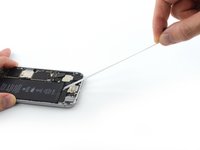
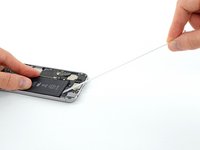
或者在机身和电池之间插入一个塑料卡。
-
相对于牙线,一种更强的替代品是未缠绕的吉他弦,例如 12 弦组中的 0.009 E 弦。
-


将新的替换部件与原始部件进行比较 - 在安装之前,您可能需要转移剩余的组件或去除新部件上的背胶。
要重新组装您的设备,请按相反顺序执行上述步骤。
将您的电子废物带到 R2 或 e-Stewards 认证回收商。
修复没有按计划进行? 请查看我们的 [链接|https://www.ifixit.com/Answers/Device/iP...|Answers 社区] 获取故障排除帮助。
3309等其他人完成本指南。


412指南评论
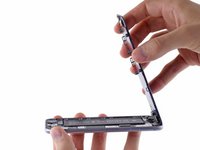
Is it absolutely necessary to do step 11-15
Or is it possible to lean the front panel up while still connected and only removing the battery screws and the battery
I strongly recommend following ALL of the steps as shown. The cables are extremely fragile and can tear easily. It will only add about 5 minutes or so to the project, but could save hours and dollars. Also, take your time removing the battery adhesive strips. If they break off underneath the battery, they are a bear to get out.
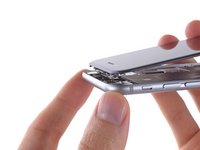
I definitely skipped ahead and left these attached. I just held the screen up and only laid it down to apply the adhesive to the new battery.
leon -
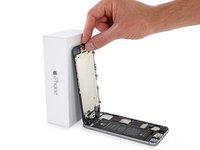
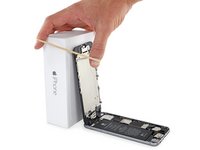
I stuck the screen on to an iPhone box (just like in the photo) and did not have to remove the display cables.
BUT, you need to be very careful -- especially if the white strips break on you. If you need to use the plastic card and/or heat to remove the battery, I recommend disconnecting the display.
Carlos -