简介
拆卸iPhone 8 显示屏总成的必要步骤。
你所需要的
-
在这个步骤中使用的工具:Clampy - Anti-Clamp$24.95
-
接下来的三个步骤演示了如何使用反向钳,一个旨在简化打开过程的工具。 如果你不使用 反向钳,请跳过这两个步骤以使用替代方法。
-
将蓝色手柄拉向铰链以解锁反向钳。
-
将手机塞进反向钳的两臂之间。
-
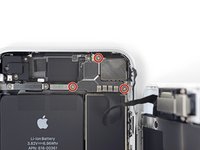
将吸盘放在屏幕上主页按钮的正上方——一个在前面,一个在后面。
-
向下推吸盘以将吸力施加到所需区域。
-
-
-
加热 iOpener并将其穿过反向钳。
-
折叠 iOpener,使其位于 iPhone 的底部边缘。
-
等待一分钟,让粘合剂有机会释放并出现开口间隙。
-
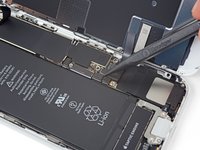
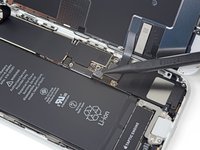
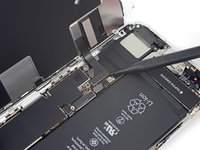
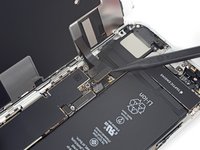
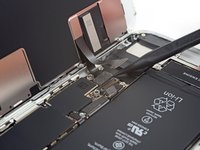
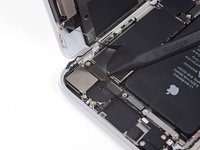
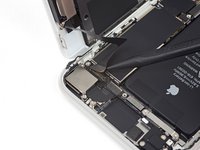
将撬片插入间隙中。
-
跳过接下来的三个步骤。
-
-


若想重新组装您的设备,请倒序按照本指南操作。
7等其他人完成本指南。


5指南评论
I used a bit of Acetone on a Q-tip to clean off the glue from the metal parts, making sure that it doesn’t touch anything plastic. Instead of the adhesive that is supplied, I installed a strip of one-sided electrical tape. I can only think of one reason for the tape in the first place and it is to keep the battery from flopping around. I figured that a strip of one-sided electrical tape would be just as good at taking up any space between the battery and the back of the display and it would have the benefit of not having to be removed next time ‘round and it would make it easier to remove the battery as well. The battery doesn’t flop around and everything works just as before. I’ve done about four of these now on iPhone 6’s and 8’s