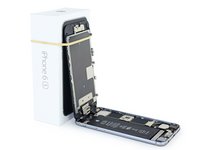
简介
初级的维修者,可以选择用我们的这个 fix kit 和下面的 this shorter guide 指南,那样将会更容易完成整个显示组件的更换工作。
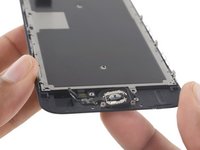
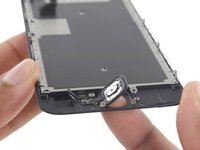
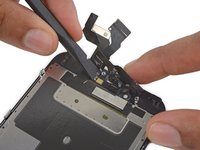
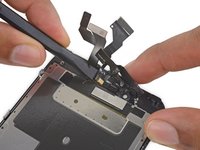
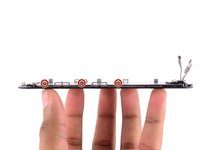
对于有经验的维修者, 这个指南将帮助你完成只包含LCD屏幕和数字转换器的屏幕组件的更换(一般称为“前面板”)。这就需要你在安装新的前面板之前,把原前面板上的一些部件拆下来并安装到新面板上—这包括了前置摄像头组件、耳部扬声器组件、LCD的防护挡板,还有Home键组件。
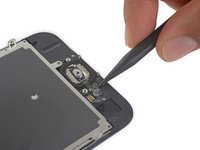
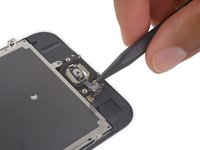
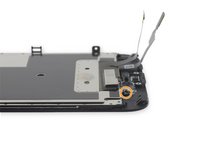
涉及到前面板、屏幕的所有维修,都必须注意,要把原配的Home键组件安装到新的屏幕上,这样才能保证TouchID(指纹识别)功能可以正常运作。
“根据这份指南,那还可以更换下面的部件:”
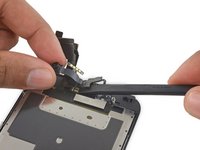
- Front Panel Assembly Cable Bracket
- LCD Shield Plate
- LCD 保护罩
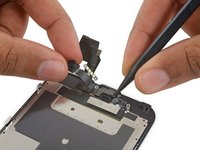
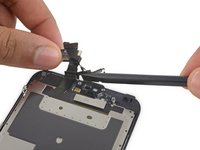
- 前置摄像头固定部件
- 耳部麦克风
你所需要的
-
-
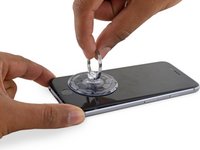
如果你的屏幕玻璃碎了,可以使用胶带粘住整个屏幕,防止玻璃碎屑伤到你。
-
使用胶带粘满整个iPhone屏幕,直到覆盖整个显示屏。
-
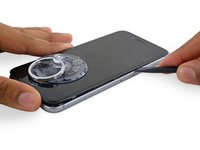
如果破碎的玻璃在接下来的几个步骤中使吸盘很难粘住,请尝试使用强力胶带(例如布基胶带,然后用其提起显示屏。
-
-
-
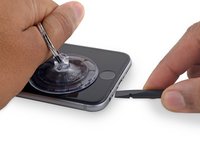
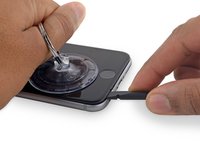
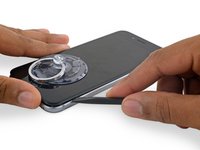
将蓝色的手柄朝铰链的方向拉,以解除反向钳的分离模式。
-
将支撑臂滑过 iPhone 的左边缘或右边缘。
-
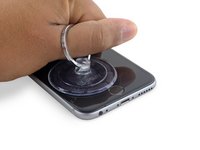
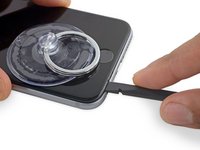
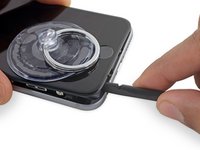
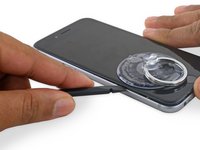
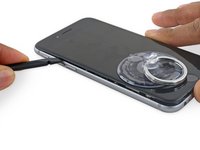
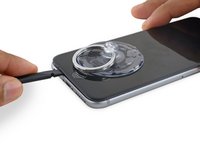
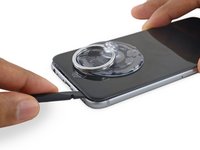
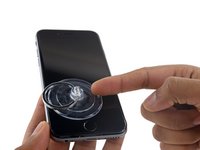
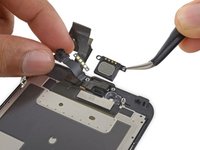
将两个吸盘放到Home键上方的屏幕——一个在前,一个在后(屏幕朝向自己的地方为前)。
-
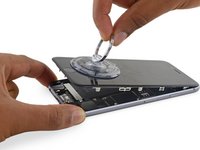
将上方吸盘向下压以施加吸力到目标位置。
-
-
-
在这个步骤中使用的工具:Magnetic Project Mat$16.96
-
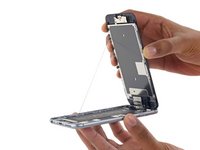
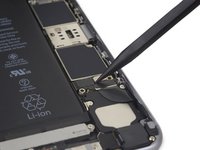
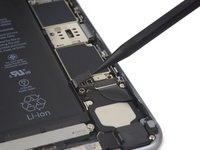
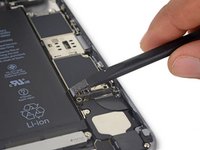
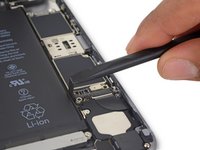
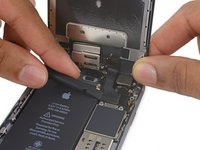
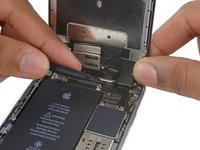
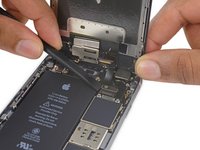
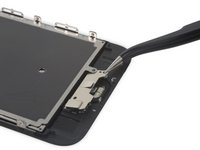
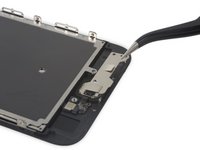
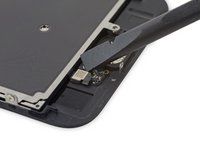
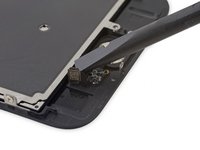
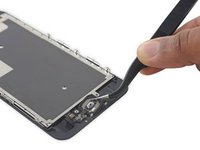
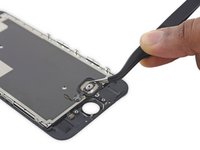
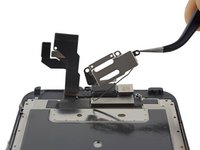
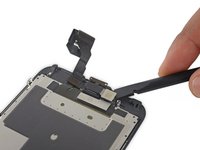
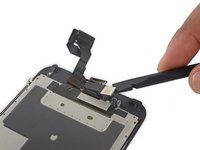
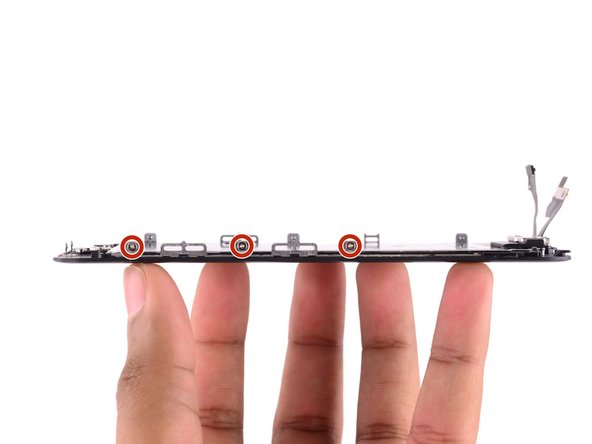
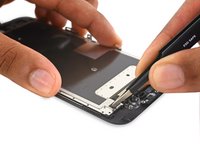
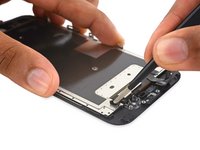
卸下电池排线固定架上的2颗十字 #00 螺丝。
-
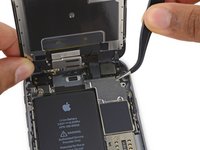
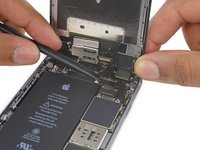
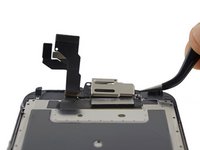
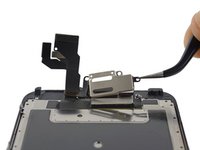
1颗2.9 mm螺丝
-
1颗2.2 mm螺丝
-


如要组装的话, 请按逆序操作一下步骤。
473等其他人完成本指南。


50指南评论
Swapping out the home button/main board flex cable on the iPhone 6 disabled TouchID. I assume it was also digitally signed like the home button. Is this also true of the 3D Touch panel now that it supplies that cable? In short, Is the original 3D Touch panel necessary for TouchID to work or will the replacement 3D Touch panel built into the replacement work?
I've had touchID work after replacing the flex cable... I cant imagine there would be a problem with it this year...
Andrew -
Does the 6S need the home button flex cable to be moved for touch ID to work like the 6?
Nope! The home button flex cable is integrated into the display and cannot be transferred to the new one.
And then on the Iphone 6s the original flex cable hasn't to be moved. Only the button itself because it is paired with the CPU.
revher -