简介
你所需要的
-
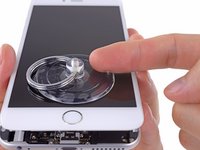
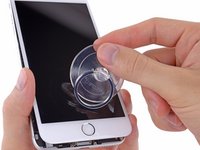
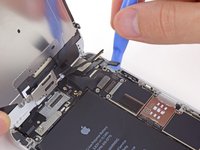
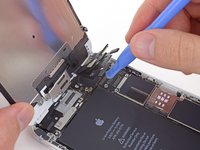
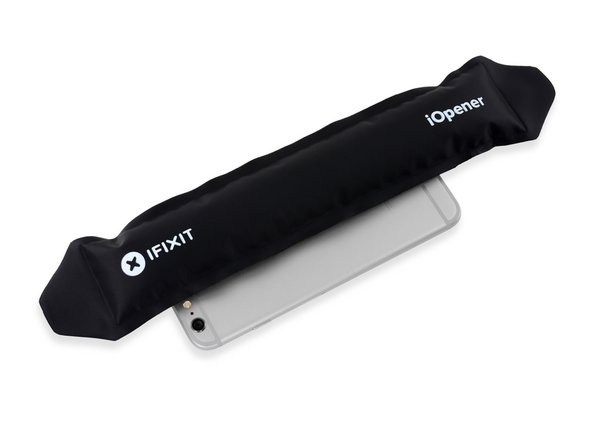
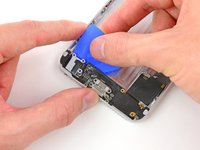
在这个步骤中使用的工具:Clampy - Anti-Clamp$24.95
-
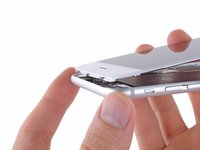
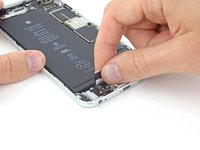
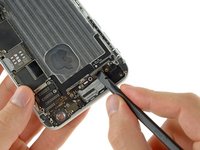
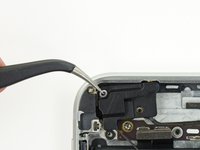
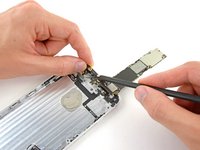
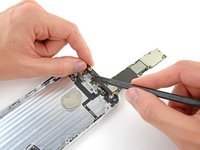
将蓝色手柄拉向铰链以解锁反向钳的手臂。
-
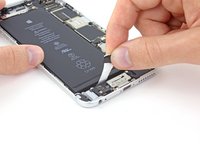
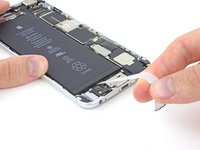
将反向钳手臂滑过 iPhone 的左边缘或右边缘。
-
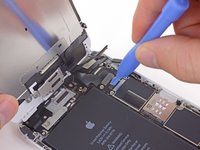
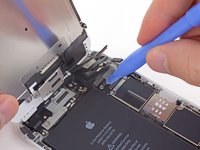
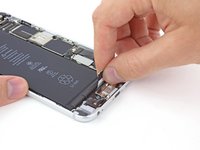
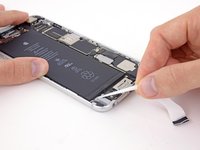
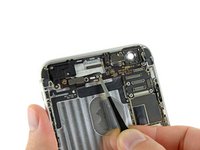
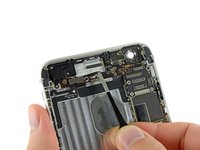
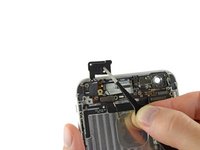
将吸盘放在靠近 iPhone 底部边缘的位置——一个在正面,一个在背面。
-
向下推吸盘以将吸力施加到所需区域。
-
-


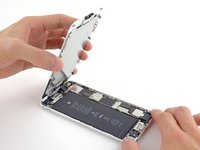
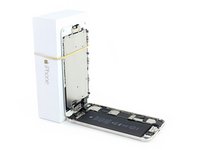


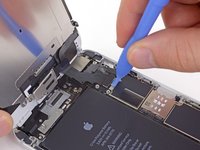
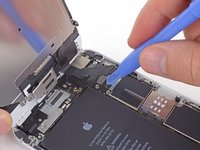


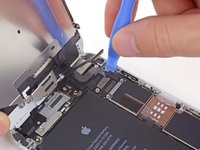


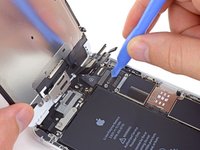


请倒序重组你的设备。
59等其他人完成本指南。


6指南评论
what are the 5 metal "spacers" attached to the housing? they are simplistic metal spacing bars with a tiny rubber block. all held to the left side and right side walls with 2 screws per spacer. The instructions totally skipped this step about removing them. all housings i see being sold do not include them, so wouldnt you want to move them over too?
they probably don't add it because its pretty self explanatory.
step 84, When you have finished tearing it all down, there are a couple of things you missed, the rubber piece that is connected to the case near the speaker and the charging port housing when you remove the board at the bottom.
jamielee2k - 回复 分享
In addition to the metal "spacers," the screen for the speaker and the charging port housing, don't forget to transfer a few other things that weren't mentioned in the guide to your new rear case: the power button, the little metal switch for the sim tray; there's a tiny black speaker screen near the headphone jack that must be transferred over (might want to clean it off if it has collected dust); in the top left corner there are two more screws to loosen: one is for a tiny metal spacer piece and the other for the antennae connector cable; there is also a little metal square that cushions the antenna connector's socket; a small strip where the earpiece speaker would be that looks like a black rolled piece of tape; and finally, the foam cushion for the rear camera and the little black screen next to it. But yea... pretty self explanatory.
ikennaugwuh - 回复 分享
Hi all,
During the instructions, the screws flip from having #00 next to them and then nothing.
Does this mean that these screws are different? If so, how do you differentiate them? I have a replacement set of screws that are unsorted so hoping to sort them with my digital caliper.
All the best
Mike