简介
使用本指南对iPhone 6 Plus前置摄像头和传感器组件进行更换
你所需要的
-
-
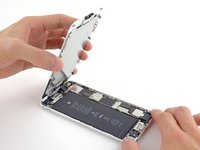
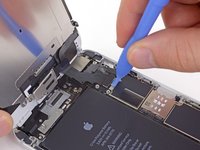
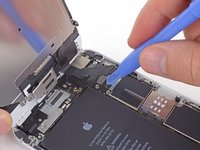
将蓝色手柄拉向铰链以解锁反向钳的手臂。
-
将反向钳手臂滑过 iPhone 的左边缘或右边缘。
-
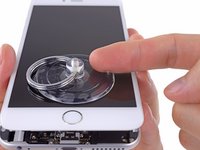
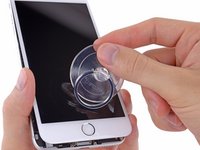
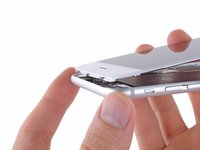
将吸盘放在靠近 iPhone 底部边缘的位置——一个在正面,一个在背面。
-
向下推吸盘以将吸力施加到所需区域。
-
-


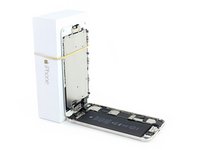


请倒序重组你的设备。
127等其他人完成本指南。

13指南评论
My front microphone had completely stopped working exactly a week out of warranty. I replaced the front assembly with a new one from Fixit and afterwards it still did not work. Then I realized the microphone did pick up very soft sound if I shouted directly into it. I eventually repeated the entire disassembly and found a very thin yellow film glued to the microphone grill which had been muffling 97% of the sound. After peeling this off my microphone is working perfectly! I did not notice this on the microphone the first time and assume it was the backing for the self adhesive. Make sure you remove this - it is not obvious to spot!
Fantastic instructions! fixed my problem first time. Just be patient and try not to touch anything to roughly. Thanks for the tip from a previous comment saying to remove the yellow piece of film over the microphone. This saved me a lot of hassle. Thanks
Glad to have siri, dictation, sound in videos and hansfree calls back :)
Is the picture quality the same