简介
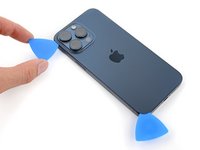
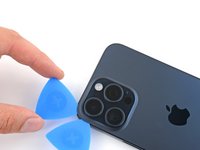
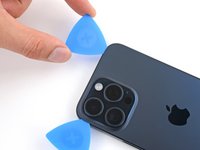
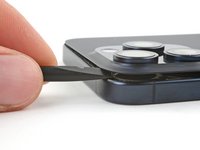
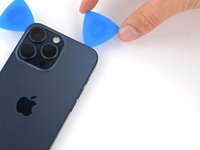
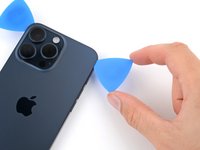
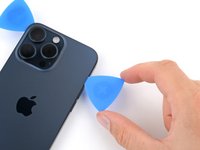
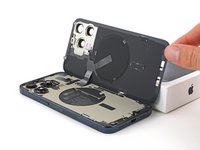
参照本指南,为 iPhone 15 Pro 更换破损的后盖玻璃。
注意:在 iOS 18及更新版本的系统中,可以使用 Apple 提供的维修助手工具校准替换的原装正品后盖玻璃部件。
重新安装后盖玻璃时,需要更换后盖玻璃粘胶。
你所需要的


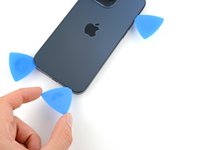


如要重新组装设备,请按照本指南的逆序操作。
在维修结束后,取决于使用的替换部件, iOS 18及更新版本的系统允许使用 Apple 提供的维修助理工具进行校准。升级设备后,进入 设定 → 通用 → 关于本机 → 部件及服务历史 选单,点击 重新启动并完成维修 选项,然后按照屏幕指示操作。
将电子废物带到R2或E-Stewards认证回收商.
41等其他人完成本指南。


团队

4指南评论
I’m looking for the same answer can’t find oem quality back glass of iphone
Great instructions, but where do we get a new replacement back glass from? Please suggest.
Apple's OEM parts are available through SelfServiceRepair.com, including the back glass for this iPhone. None of the aftermarket stores I'd generally recommend carry this part, but it looks like there's quite a few options on marketplace sites. The best advice I can give there is to look at seller reviews, and when possible, feedback for that specific part. Best of luck!