简介
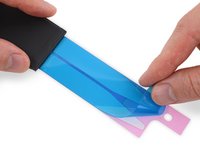
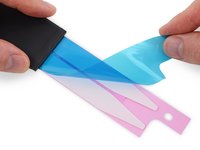
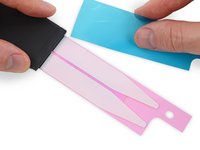
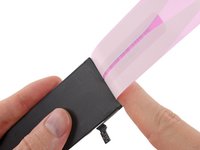
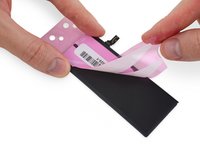
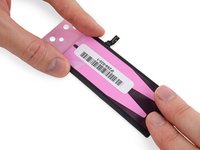
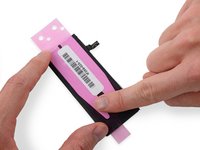
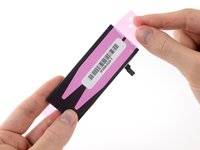
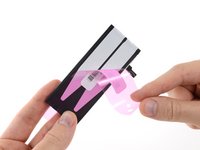
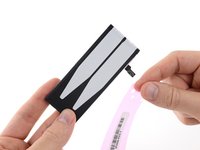
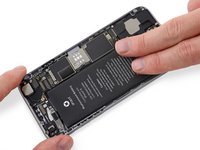
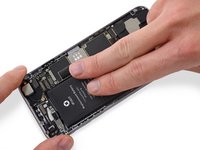
使用本指南可以对许多 iPhone 的新机型进行电池胶更换。一旦取下电池,就需要对电池胶进行更换。如果安装不正确的话,电池胶是很容易损坏的。所以说如果你是第一次使用本指南对电池胶进行更换,请多准备一些胶条备用。
凡是 Plus 版本的 iPhone 需要使用 3 条胶条而不是 2 条,但更换步骤是一样的。
在开始之前,请确保你是按照以下链接中的指南移除你的手机电池的:(备注:iPhone5 及以前的机型是没有电池胶的)
- iPhone 6 Battery Replacement
- iPhone 6 Plus Battery Replacement
- iPhone 6s Battery Replacement
- iPhone 6s Plus Battery Replacement
- iPhone 7 Battery Replacement
- iPhone 7 Plus Battery Replacement
要更换其他型号iPhone中的电池胶条,请使用以下指南之一:
- iPhone 5s, 5c, and SE Battery Adhesives Strips Replacement
- iPhone 8, 8 Plus, and XR Battery Adhesive Strips Replacement
- iPhone X, XS, and XS Max Battery Adhesive Strips Replacement
- 视频地址:
你所需要的


若想重新组装你的iPhone ,请按照之前的iPhone电池更换指南逆序操作即可。
记得将您的旧电池带到 R2 or e-Stewards certified recycler.
若想重新组装你的iPhone ,请按照之前的iPhone电池更换指南逆序操作即可。
记得将您的旧电池带到 R2 or e-Stewards certified recycler.
1622等其他人完成本指南。


68条评论
I had to read these directions thoroughly three times before proceeding as I didn't want to screw it up on the adhesive. Went slow and it worked just fine
I would say jus watch out as you go from step 4 to step 5 - the white adhesive can become slightly detached from the backing as you push it onto the edge of the battery and then around to the back side. Extreme care here! Very good guide and equipment. Galaxy class!
All was good, aside from the adhesive bunched up when I removed the blue backing and it started to separate from the pink backing. I had to just gingerly make sure it was all straight and kept steady like a heart surgeon until I had it smoothed down as best as possible. It all went well, but I was worried I'd end up with a big stuck ball of white adhesive in the middle of the battery plate, making it all uneven and stupid looking.
DiscoDan74 - 回复
What happens if I use a different adhesive than this one?
The iPhone adhesive strips we sell (and the original Apple ones) are special since they have very strong adhesion, but they can be removed easily by pulling on the tabs on the lower edge of the battery. People have had success with our 3M double-sided sticky tape (aka sticker tape), but standard plastic double-sided tape may not have enough strength to hold the battery in place. If you want the strongest adhesive possible, you should use iPhone adhesive strips mentioned above, but if your phone isn't subject to lots of movement, you could get by with some sticker tape.