
iPad 2 Wi-Fi EMC 2560 Display Data Cable Replacement

简介
转到步骤 1Use this guide to replace a non-functioning data cable.


-
-
Fill a pot or pan with enough water to fully submerge an iOpener.
-
Heat the water to a boil. Turn off the heat.
-
Place an iOpener into the hot water for 2-3 minutes. Make sure the iOpener is fully submerged in the water.
-
Use tongs to extract the heated iOpener from the hot water.
-
Thoroughly dry the iOpener with a towel.
-
Your iOpener is ready for use! If you need to reheat the iOpener, heat the water to a boil, turn off the heat, and place the iOpener in the water for 2-3 minutes.
-
-
-
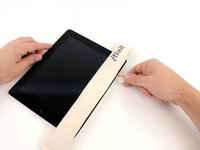
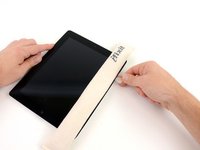
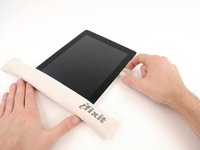
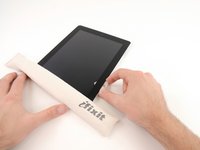
If your display glass is cracked, keep further breakage contained and prevent bodily harm during your repair by taping the glass.
-
Lay overlapping strips of clear packing tape over the iPad's display until the whole face is covered.
-
Do your best to follow the rest of the guide as described. However, once the glass is broken, it will likely continue to crack as you work, and you may need to use a metal prying tool to scoop the glass out.
-
-
-
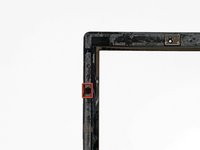
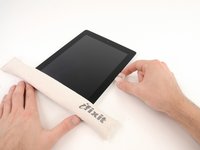
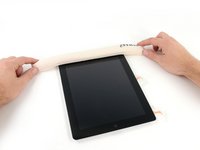
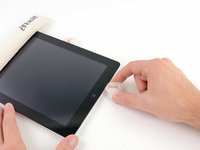
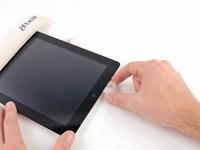
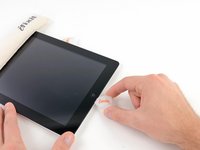
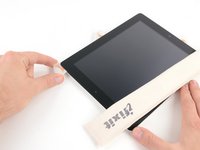
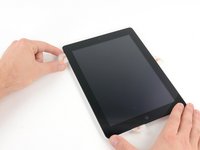
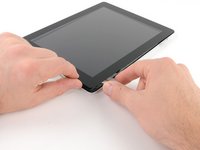
There is a small gap in the iPad's adhesive ring in the upper right corner of the iPad, approximately 2.0 inches (~5 cm) from the top of the iPad. You are going to exploit this weakness.
-
Align the tool with the mute button. Insert the tip of a plastic opening tool into the gap between the front glass and the plastic bezel. Just insert the very tip of the opening tool, just enough to widen the crack.
-
-
-
-
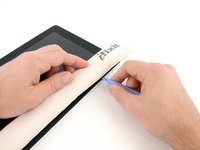
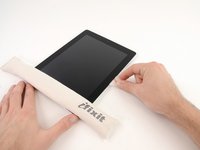
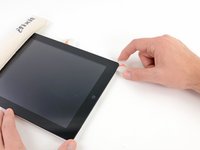
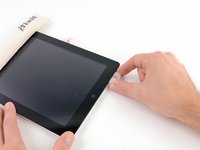
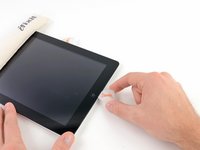
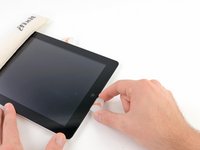
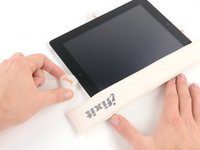
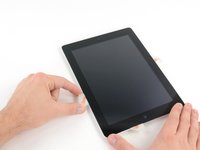
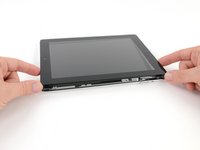
Once you have moved past the Wi-FI antenna (approximately 3" (75 mm) from the right edge, or right next to the home button) re-insert the opening pick to its full depth.
-
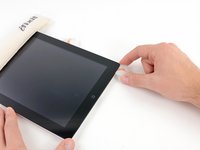
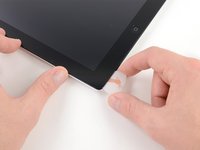
Slide the pick to the right, releasing the adhesive securing the Wi-Fi antenna to the front glass.
-
The antenna is attached to the bottom of the iPad via screws and a cable. This step detaches the antenna from the front panel, ensuring that when you remove the panel, the antenna will not be damaged.
-
-
-
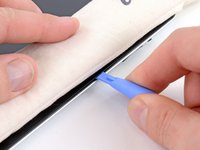
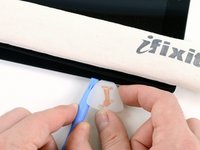
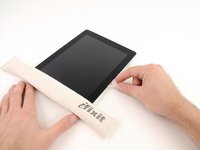
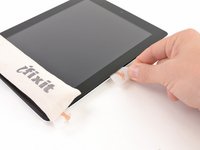
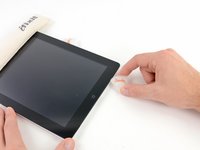
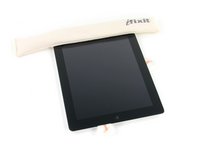
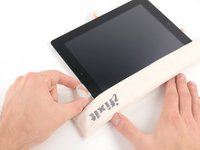
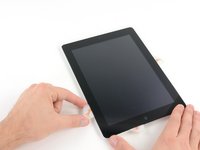
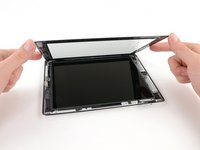
Slide the opening pick along the top edge of the iPad, pulling it out slightly to go around the front-facing camera bracket.
-
The adhesive along this section is very thick, and a fair amount of force may be required. Work carefully and slowly, making sure to not slip and damage yourself or your iPad.
-
-
-
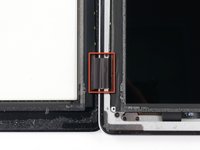
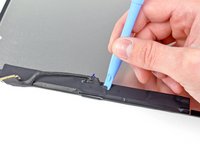
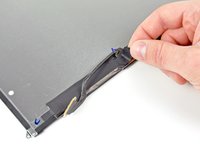
Remove the small strip of black tape covering the display data cable connector on the LCD.
-


To reassemble your device, follow these directions in reverse and use our iPad 2 Wi-Fi EMC 2560 Front Panel Adhesive strips guide to reattach the front panel.
To reassemble your device, follow these directions in reverse and use our iPad 2 Wi-Fi EMC 2560 Front Panel Adhesive strips guide to reattach the front panel.
8等其他人完成本指南。


一条评论
Bonjour,
Super tutoriel merci, j’ai été trop vite malheureusement et ai coupé la nappe de la dalle LCD, attention à vraiment bien respecter le sens des étapes. Très compliqué de décoller la dalle en premier lieu, un outil en métal est nécessaire, le reste vient ensuite avec une carte en plastique style carte de fidélité. OK avec l’iOpener !