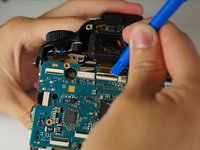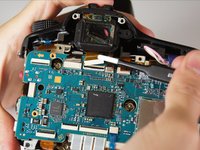
Sony SLT Alpha-65V Motherboard Replacement
简介
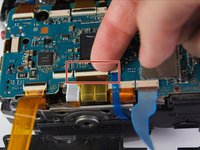
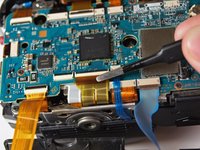
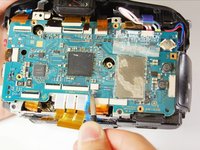
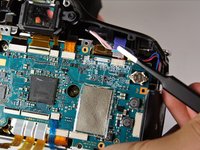
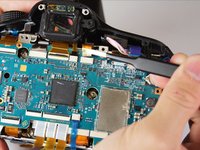
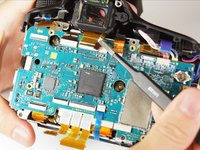
转到步骤 1This guide will show you how to disconnect and remove the main circuit board of the Alpha 65 camera. This requires using a Phillips #00 screwdriver, plastic opening tool, and tweezers. Be sure to keep track of all screws and parts removed from the camera.
-
-
Remove the two 4.0 mm Phillips #00 screws on the base of the camera.
-
Remove the 3.0 mm Phillips #00 screw on the hinge of the screen.
-
-
-
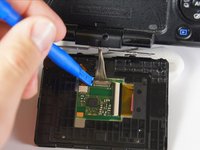
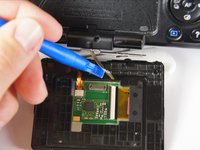
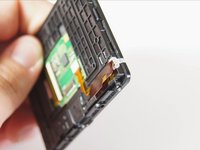
Use a plastic opening tool to disconnect the silver wires from the screen's circuitry and completely remove the screen from the camera.
How do you open the plastic cover holding the lcd screen itself after ? It seems sealed :(
-
-
-
Unscrew the four 4.0 mm Phillips #00 screws with a on the base of the camera below the the scheme that separates the front and back panels.
-
Unscrew the 5.0 mm Phillips #00 screw on the bottom right of the camera.
-
-
-
-
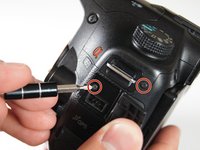
Unscrew the two 4.0 mm Phillips #00 screw at the top of the camera by the eyepiece.
-
Unscrew the 5.0 mm Phillips #00 screw of the dial below the other two screws.
-
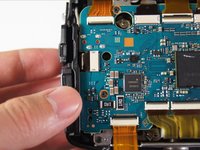
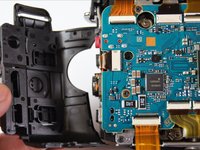
Once all the screws are removed, carefully use your hands to detach the back panel from the camera. Working around the edges can help as well.
-
-
-
Remove the four 3.0 mm Phillips #00 screws.
-
Remove the 5.0 mm Phillips #00 screw.
-
To reassemble your device, follow these instructions in reverse order.
To reassemble your device, follow these instructions in reverse order.
12等其他人完成本指南。
5条评论
I posted this link to a "Can't read SD card problem" below. On most SLTmodels apparently the SD card reader is part of the main circuit, and my local repair shop wanted $160 for labor (!) to swap out the part:
does anyone know if replacing the motherboard would fix a fried aperture lever control motor?
Thank you for all these Fixit helps. I am missing the replacement of the shutter motor. This is the most important repair in my eyes.


