
简介
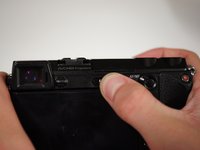
转到步骤 1本指南将教您如何拆卸和更换相机的屏幕。 该指南有许多步骤,需要花费一些时间才能完成,但是每个步骤都相对容易,因为该指南不需要任何高级技术。 坚持做完这些步骤,您将成功完成维修!


重新组装设备时,请按照相反的顺序进行操作。
重新组装设备时,请按照相反的顺序进行操作。
6等其他人完成本指南。

团队

Cal Poly, Team 10-55, Amido Spring 2014 Cal Poly, Team 10-55, Amido Spring 2014 的会员
CPSU-AMIDO-S14S10G55
4 名成员
创作了36篇指南
4条评论
oh oh - took my nex 7 apart - got to step 28 "Conclusion" an realized I need more steps;
how do I disassemble ( and re-assemble )the "screen" that I have now "removes from the metal panel" ?!?
the part I was hopping to replace is part "LCD Screen Display for Sony nex7" a thin panel, dark gray on one side
and mirror-like on the other.....
Is there another how-to out there somewhere on how to do that ?
or did I order a pert that's to detailed/intricate for a how to series ....
Thanks for any advice
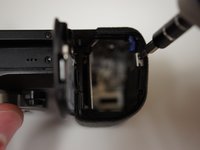
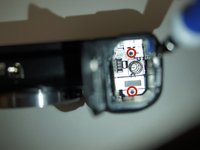
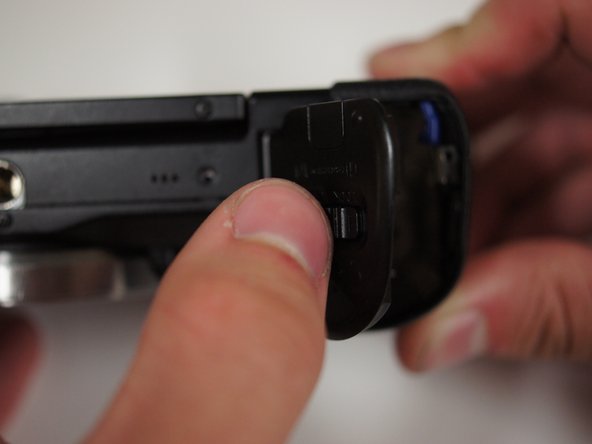
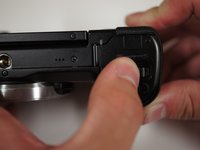
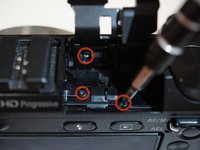
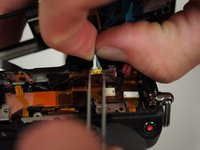
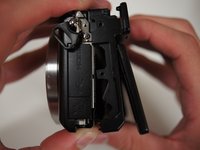
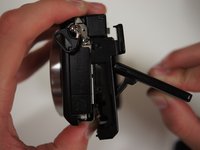
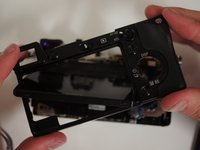
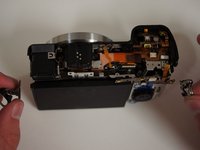
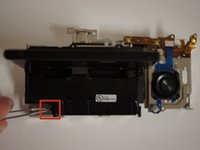
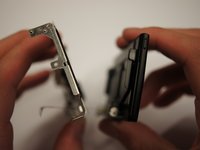
A much simpler process for this is to remove the two screws at the bottom of the screen, flip the screen to 90 degrees out from the body, and remove the two screws on the back. Then the top plastic piece can be worked loose and the LCD frame can be removed from the metal bracket.
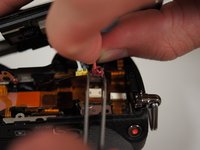
Reinstallation is a little bit tricky because the plastic piece and the metal back plate much be held in place along with the LCD frame before any of the screws can be reinstalled.
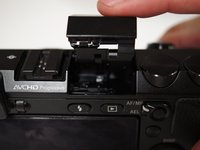
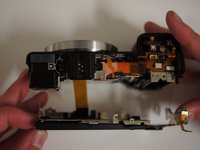
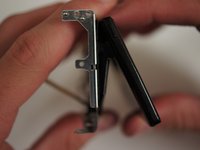
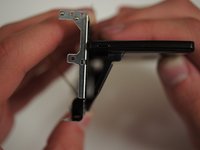
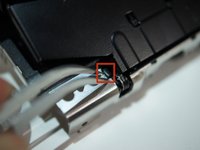
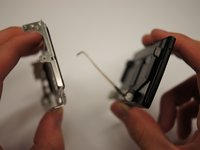
Note that there is a plastic spring piece that clips in the top of the LCD frame, and also a clear/white plastic piece that sits on the light sensor element in the corner of the screen.
Long story short is that the metal LCD hinge does not need to be removed from the body in order to replace the LCD…. so, 4 screws instead of 28.
Much easier 4 screw method here:-
feenix4eva - 回复