
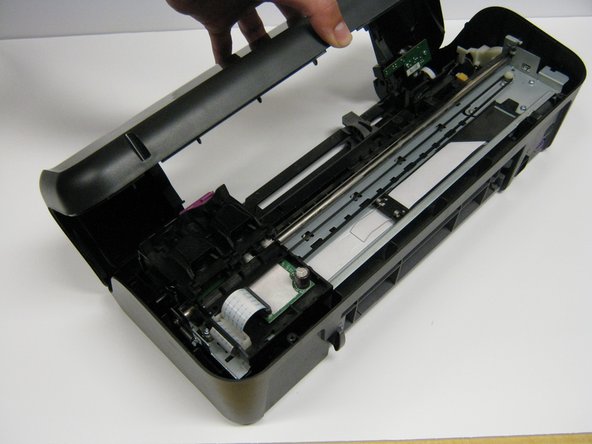
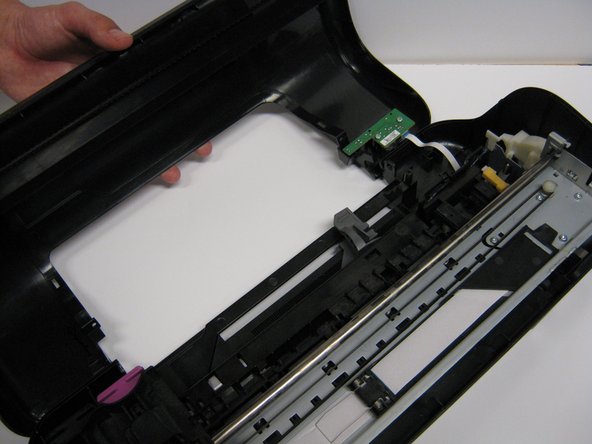
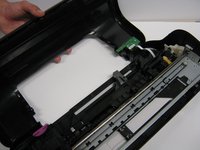
Removing the Cover From the Printer
没有估计
中等
仅作为前提条件
本指南仅用作其他指南的先决条件。不能单独使用。


即将完成!
To reassemble your device, follow these instructions in reverse order.
结论
To reassemble your device, follow these instructions in reverse order.
团队

Cal Poly, Team 1-41, Maness Winter 2014 Cal Poly, Team 1-41, Maness Winter 2014 的会员
CPSU-MANESS-W14S1G41
4 名成员
创作了14篇指南