简介
Use this guide to replace a worn-out or dead battery in your OnePlus 8.
This guide was written using an IN2013 model. If you have a OnePlus 8 5G UW (Ultra Wideband) model IN2019, the BLP761 battery will not fit your phone. IN2019 models contain the battery model number BLP763.
For your safety, discharge the battery below 25% before disassembling your phone. This reduces the risk of fire if the battery is accidentally damaged during the repair. If your battery looks swollen, take appropriate precautions.
You'll need replacement adhesive for both the battery and the rear glass in order to complete this repair.
Note: Retaining water resistance after the repair will depend on how precisely the adhesive is reapplied, but your device will lose its IP (Ingress Protection) rating. However, only the T-Mobile (IN2017) and Verizon (IN2019) models offer IP ratings.
你所需要的
-
-
Power off your phone and unplug any cables.
-
Heat an iOpener and apply it to the rear glass for two minutes.
-
-
-
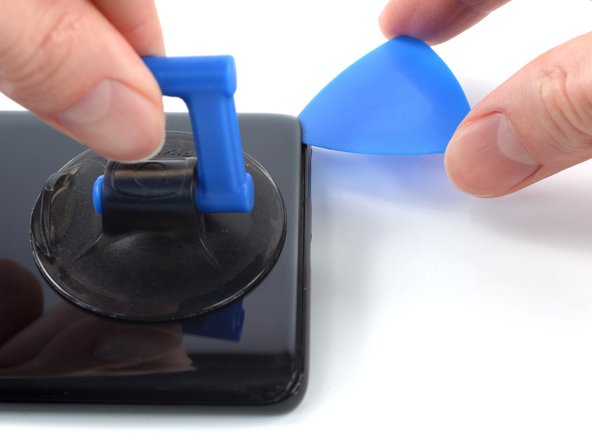
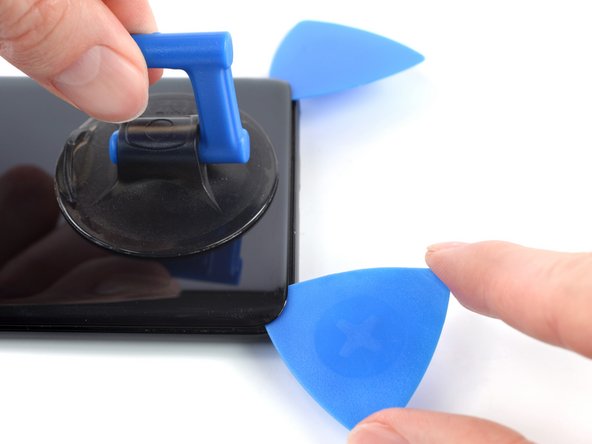
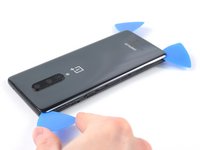
Apply a suction handle to the center of the bottom edge of the rear glass, as close to the edge as possible.
-
Pull up on the suction handle with strong, steady force to create a gap between the rear glass and frame.
-
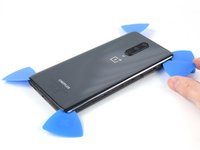
Insert an opening pick into the gap.
-
-
-
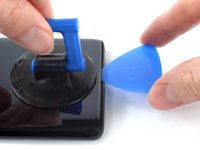
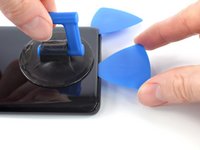
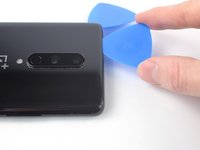
Slide the opening pick to the bottom right corner to slice the adhesive securing the rear glass.
-
Leave the opening pick in the bottom right corner to prevent the adhesive from resealing.
-
-
-
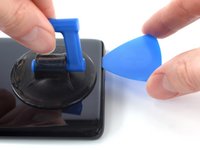
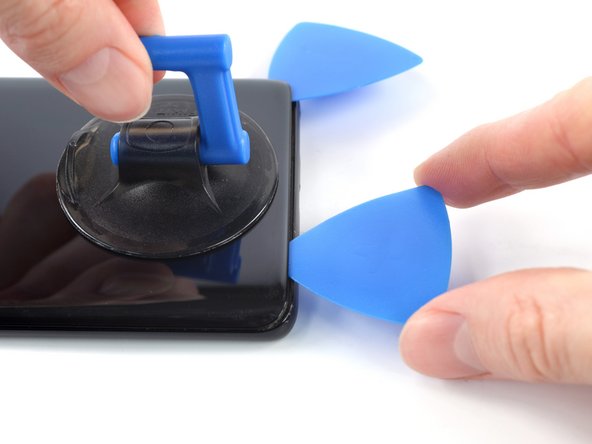
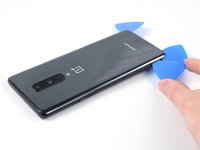
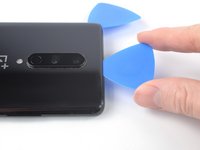
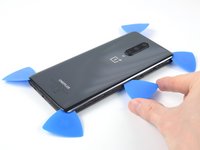
Insert a third opening pick under the bottom left corner of the rear glass.
-
Slide the opening pick up the left edge to slice the adhesive.
-
Leave the opening pick in the top left corner to prevent the adhesive from resealing.
-
-
-
-
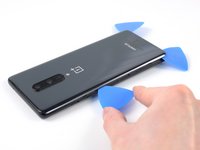
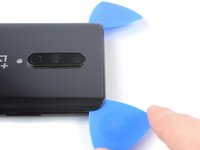
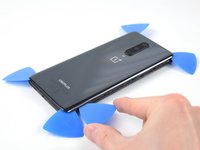
Insert a fourth opening pick under the top left corner of the rear glass.
-
Slide the opening pick along the top edge to slice the adhesive.
-
Leave the opening pick in the top right corner to prevent the adhesive from resealing.
-
-
-
Insert a fifth opening pick under the top right corner of the rear glass.
-
Slide the opening pick down the right edge to slice the remaining adhesive.
-
-
-
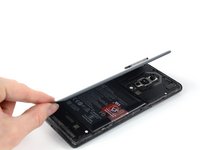
Remove the rear glass.
-
Secure the rear glass with pre-cut adhesive or double-sided adhesive tape.
-
After installing the rear glass, apply strong, steady pressure to your phone for several minutes to help the adhesive form a good bond.
-
-
在这个步骤中使用的工具:Tweezers$4.99
-
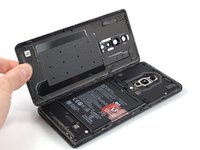
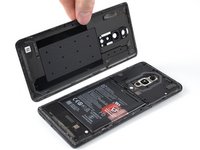
Use a Phillips screwdriver to remove the eleven 3.3 mm-long screws securing the motherboard cover.
-
-
-
Insert the flat end of a spudger under the center of the motherboard cover's bottom edge.
-
Twist the spudger to release the clips.
-
Lever the motherboard cover up until you can grip it with your fingers.
-
-
-
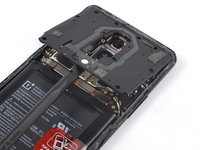
Use a spudger to disconnect the battery cable by prying the connector straight up from its socket on the bottom left corner of the motherboard.
-
-
-
Use a spudger or your fingers to peel the tape up from the right edge of the battery.
-
-
-
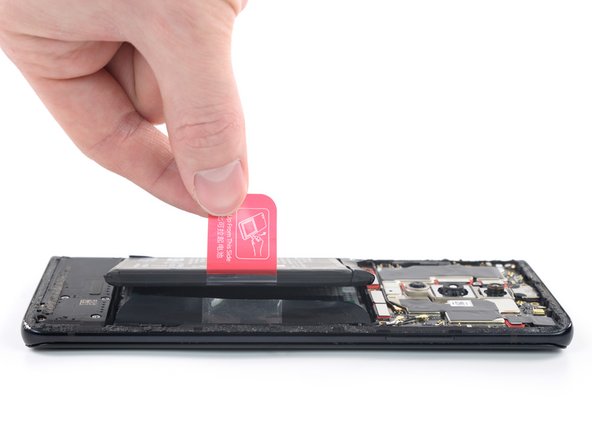
Peel the red pull tab away from the top of the battery.
-
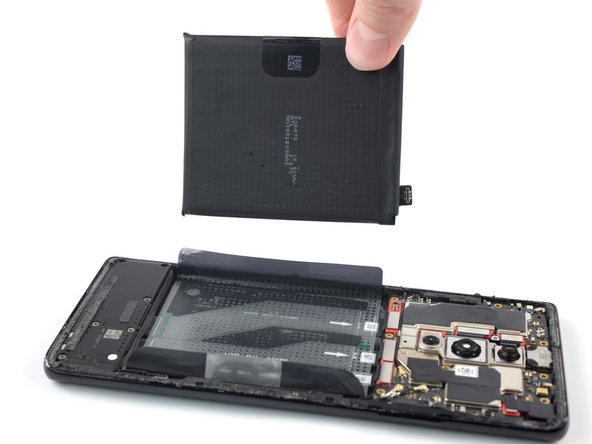
Using one hand to hold the phone steady, use your other hand to slowly and steadily lift the red pull tab up to separate the adhesive securing the battery underneath.
-
-
-
Peel the battery away from the extra tape on its left edge and remove it.
-
Temporarily reconnect the battery to the motherboard before you press it into place to ensure correct alignment. Disconnect the battery after it's seated.
-
Secure the new battery with pre-cut adhesive or double-sided adhesive tape. In order to position it correctly, apply the new adhesive into the frame where the old adhesive was located, not directly onto the battery itself.
-
Press the new battery firmly into place to secure it.
-


To reassemble your device, follow these instructions in reverse order.
For optimal performance, calibrate your newly installed battery after completing this guide.
Take your e-waste to an R2 or e-Stewards certified recycler.
Repair didn’t go as planned? Try some basic troubleshooting, or ask our Answers community for help.
8等其他人完成本指南。


1指南评论
Thanks highly.
First real smart phone and was surprised that my battery decided to gain some weight :)
Bloated is usually what woman talk about when pregnant. A phone? Anyway it went as smooth as it could be. Only issue is my own as to how engineering has gotten
to the point that such exceptionally tiny connectors can be made to precisely fit where its supposed too. I was glad to feel the connectors snap in then started
realizing how tight the tolerances are to make them fit. I guess the ole 9 volt batteries are a past thing but I reminisce about them anyway. Laugh about when I last used one and how its now funny that I would get upset when I tried to put one in backwards. Times have really changed.
thx again.