Nook HD+ Charging Port Replacement
简介
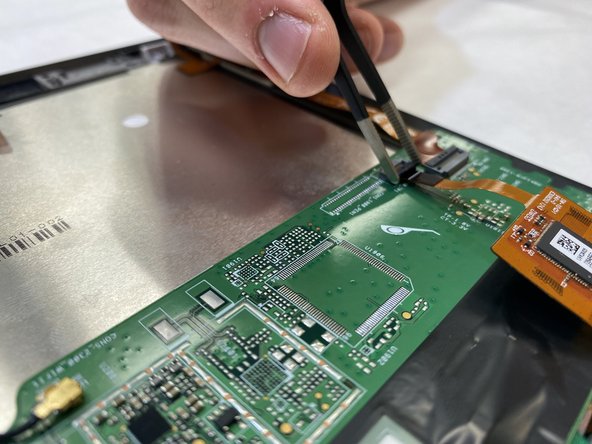
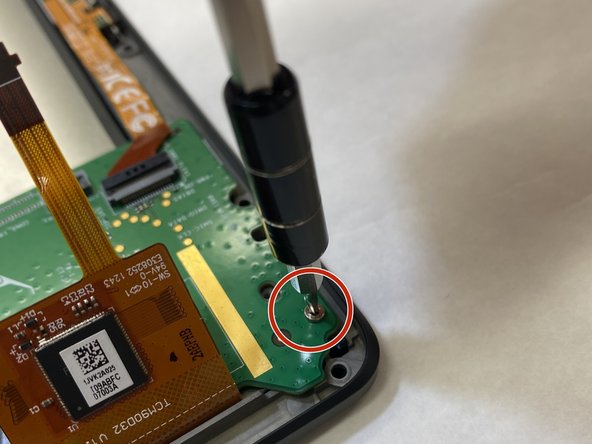
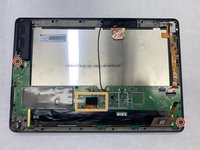
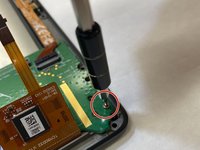
转到步骤 1This guide shows how to replace the Nook HD+ charging port in 8 easy to understand steps. The tools needed to replace this piece of the Nook HD+ are the plastic opening tool, a T5 screwdriver, tweezers, and a soldering iron. A guide explaining how to solder and desolder connections is here to help replace the charging port.
Make sure to treat the motherboard gently throughout the entire process to minimize damages, and be mindful of where and how hard the soldering iron is placed on connections. Being too forceful with the iron may harm the motherboard to the point of it being unfixable and in need of a replacement.
-
-
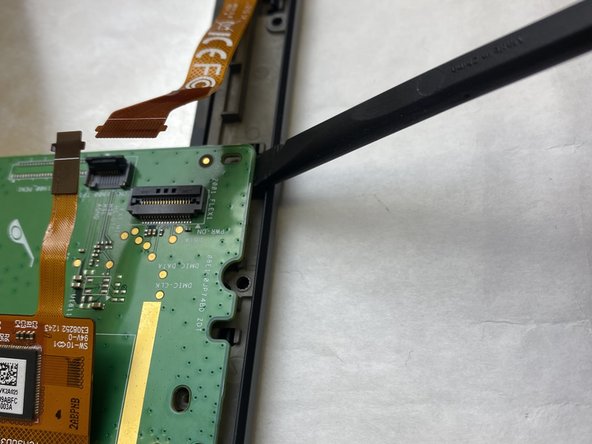
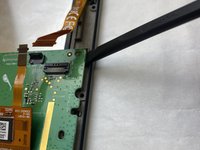
Open the plastic frame by wedging the plastic iFixit opening tool under the plastic frame to remove adhesive.
-
Pop up all plastic tabs that secure the frame to the chassis.
-
-
-
-
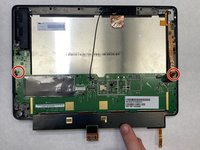
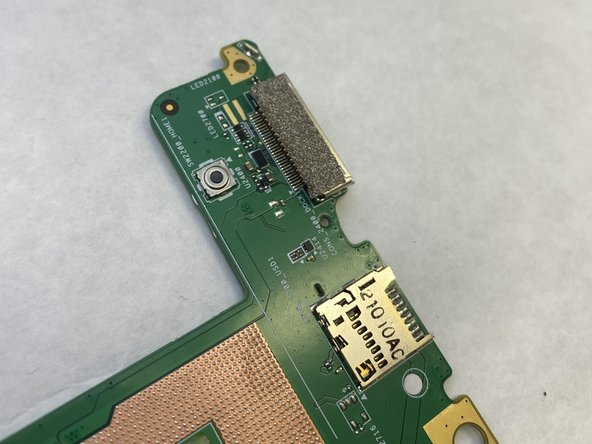
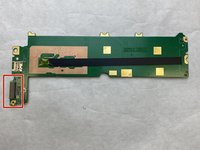
Once removing the motherboard, flip it over and locate the charging port. Use a soldering iron to disconnect the charging port from the motherboard. If confused here's a reference.
-
Solder the new charging port to the motherboard.
-
To reassemble your device, follow these instructions in reverse order.
To reassemble your device, follow these instructions in reverse order.
另外一个人完成了本指南。


