跳转到主内容
Nokero SunRay Pro Power Panel Front and Back Case Replacement

Nokero SunRay Pro Power Panel Front and Back Case Replacement

Jeremy

Jeremy4 其他贡献者

最后更新于 June 18, 2015

5分钟
简单

Removing the front and back case will allow you access to other parts of this device.

你所需要的

工具

查看更多...

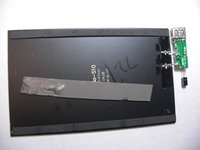
  1. Nokero SunRay Pro Power Panel Front and Back Case Replacement, Front and Back Case: 步骤 1 中的图像 1,1
    • Turn over the device so that the back of the device is facing up.

  2. Nokero SunRay Pro Power Panel Front and Back Case Replacement: 步骤 2 中的图像 1,3 Nokero SunRay Pro Power Panel Front and Back Case Replacement: 步骤 2 中的图像 2,3 Nokero SunRay Pro Power Panel Front and Back Case Replacement: 步骤 2 中的图像 3,3
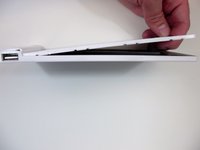
    • Insert the first plastic opening tool along the side to pry open the case.

    • Sliding the plastic opening tool, while inserted, along the seam may help the removal process.

    • Use a second plastic opening tool to help separate the remaining seams.

  3. Nokero SunRay Pro Power Panel Front and Back Case Replacement: 步骤 3 中的图像 1,2 Nokero SunRay Pro Power Panel Front and Back Case Replacement: 步骤 3 中的图像 2,2
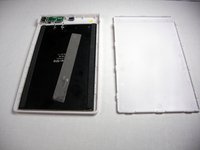
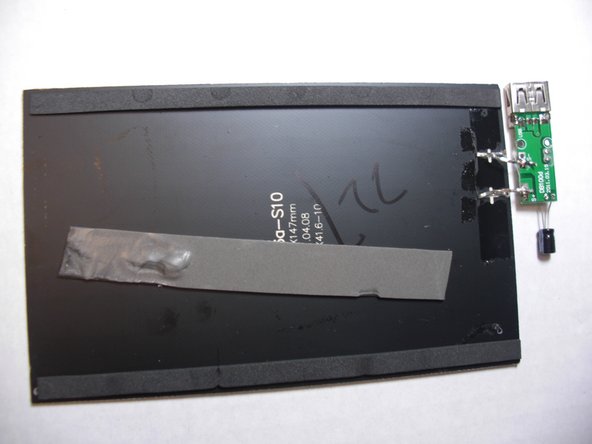
    • There is a long strip of double sided adhesive foam tape that prevents the back case from easily being removed.

    • Pull the back case off by applying steady pressure to remove it from the adhesive foam tape.

  4. Nokero SunRay Pro Power Panel Front and Back Case Replacement: 步骤 4 中的图像 1,2 Nokero SunRay Pro Power Panel Front and Back Case Replacement: 步骤 4 中的图像 2,2
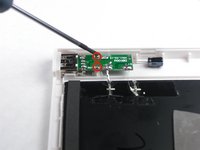
    • Use the Phillips precision screwdriver to unscrew the two 5.0 mm Phillips screws from the circuit board.

    • Remove the solar panel and circuit board from the front case.

结论

To reassemble your device, follow these instructions in reverse order.

另外一个人完成了本指南。

Jeremy

于01/21/15注册

157 声望

撰写一个指南

团队

USF Tampa, Team 9-3, Blackwell Winter 2015 USF Tampa, Team 9-3, Blackwell Winter 2015 的会员

USFT-BLACKWELL-W15S9G3

3 名成员

创作了3篇指南

0指南评论

添加评论

浏览统计数据:

过去 24 小时: 0

过去 7 天: 0

过去 30 天: 16

总计 236